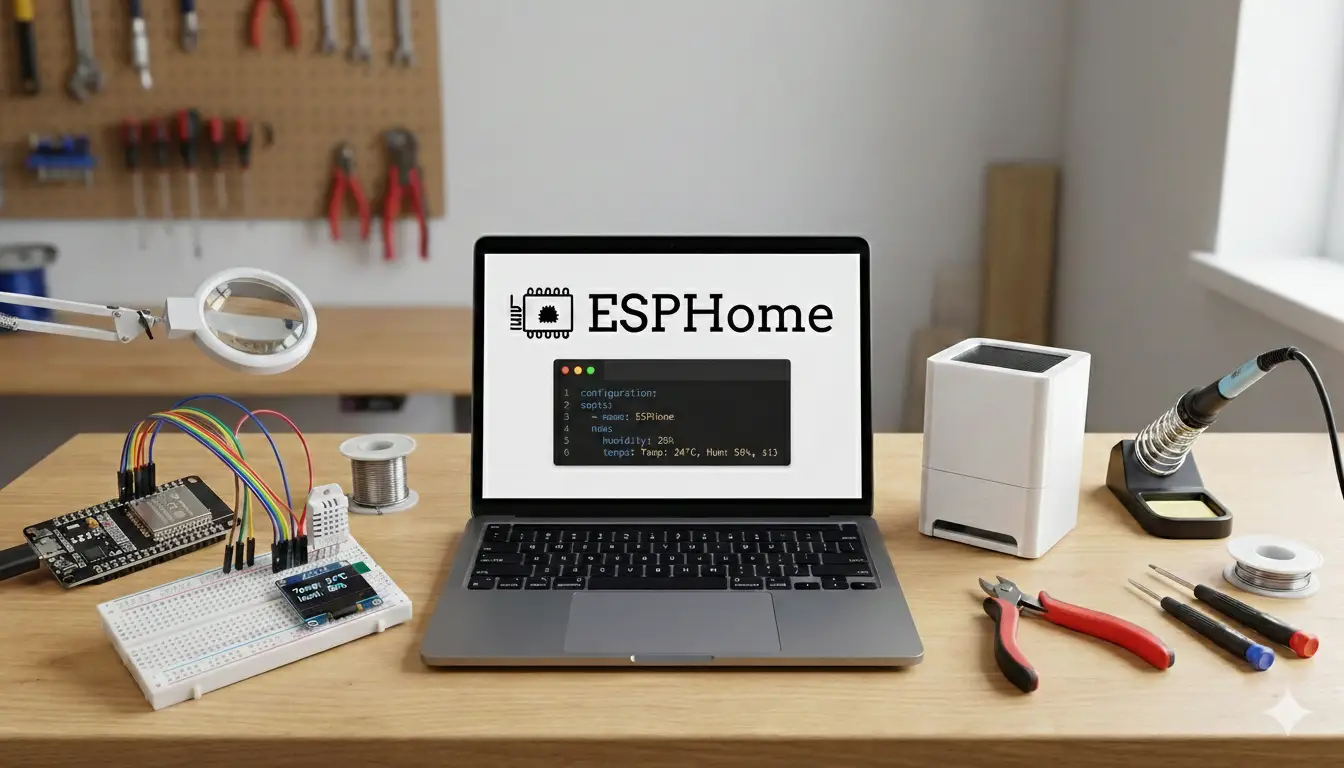
ESPHome is an open-source firmware generator and configuration system for turning ESP32 and other supported microcontrollers into custom smart home devices. You can define the hardware and behaviour in YAML or use the visual Device Builder, then ESPHome compiles that configuration into firmware for the board. It is especially popular with Home Assistant because devices can connect directly through ESPHome’s native API.
If you build DIY smart home devices, that cuts out a lot of repetitive work. You still choose the board, pins and hardware, but ESPHome handles much of the Wi-Fi, entity setup and Home Assistant integration for you.
The useful question is not whether ESPHome replaces coding. It is how much of the repetitive firmware work you actually need to write yourself for a sensor, relay or light.
What is ESPHome?
ESPHome lets you build firmware for microcontroller boards using YAML configuration instead of writing a traditional program. ESP32 and ESP8266 are still the most common starting points, but current ESPHome releases also support boards based on RP2040/RP2350, BK72xx, RTL87xx, LN882x, nRF52 and other platforms.
It helps to think of ESPHome as two parts. The Device Builder runs on Home Assistant, a desktop computer or another host and is used to create the configuration, compile firmware and install updates. The second part is the firmware running on the microcontroller itself. Once it is flashed, the device runs locally on the board rather than depending on the Device Builder to stay online.
Rather than writing a full program, you describe what your device should do in a simple text file:
- what board you’re using
- which pins your sensors and relays are on
- how it connects to Wi-Fi
- how it should talk to Home Assistant
ESPHome takes that YAML, generates C++ under the hood, compiles it, and flashes it to your device. You don’t have to see or touch the low-level code unless you really want to.
In practice it turns “write firmware” into “fill in a config file and click upload”.
How does ESPHome work with ESP32 and Home Assistant?
The easiest way to picture it is that ESPHome builds the firmware, the ESP32 runs it, and Home Assistant talks to the finished device. The Device Builder validates your configuration, compiles it and installs it on the board. After that, the ESP32 handles the sensors, switches or outputs you configured and communicates with Home Assistant over ESPHome’s native API.
That setup connects three things:
- Your ESP32 / ESP8266 / ESP32-C3 / ESP32-C6 boards
- Your Wi-Fi network
- Your Home Assistant installation
The ESP32 runs the firmware ESPHome generates. That firmware:
- connects the device to Wi-Fi
- exposes sensors, switches and lights as entities
- understands how to talk to Home Assistant over its native API (or via MQTT if you prefer)
On the Home Assistant side, devices using ESPHome usually auto-discover. You plug in a new device, flash it, and Home Assistant pops up a notification saying “hey, I found something new”.
That means much less fiddling with manual MQTT topics, JSON payloads or hand-written integrations.
Why ESPHome makes things easier
The main benefit is that you spend less time on boilerplate and more time on what your device actually does. The current ESPHome Device Builder also gives beginners a visual way to choose boards, add supported components and build simple automations, while still keeping the underlying YAML available when you want more control.
A few reasons it feels easier day to day:
- No full C++ program to maintain. You describe components and pins instead of writing a loop function by hand.
- Built-in components. Common sensors, relays, displays and effects have ready-made blocks you just drop into YAML.
- Native Home Assistant integration. Entities show up with the right types, units and icons without you crafting payloads.
- Over-the-air updates. Once a device is on the network, you can re-flash it wirelessly from the ESPHome Device Builder.
- Consistent patterns. Every device you build “feels” the same in terms of config and behaviour.
If you’re building more than one or two devices, that consistency starts to matter a lot.
What the ESPHome workflow looks like
Using ESPHome feels more like configuring a service than programming a microcontroller.
A typical workflow goes like this:
- Create a new device in the ESPHome Device Builder and give it a name.
- Pick a board type that matches your hardware.
- Add Wi-Fi details and the basic
api:/ota:sections. - Add components for sensors, switches, lights or outputs, and assign them to pins.
- Click “Install” to compile and flash the firmware over USB the first time.
- After that, use over-the-air updates for changes.
Most of the time your edits are just small tweaks to the YAML: changing a pin, adding a filter, adjusting a sleep interval, or renaming an entity.
A simple ESPHome example
Here’s a tiny example to show what ESPHome config looks like. Imagine an ESP32 with one status LED on a pin and a DHT temperature/humidity sensor.
esphome:
  name: hallway-sensor

esp32:
  variant: esp32

wifi:
  ssid: "YourWiFi"
  password: "YourPassword"

api:
ota:
  - platform: esphome

sensor:
  - platform: dht
    pin: GPIO4
    model: DHT22
    temperature:
      name: "Hallway Temperature"
    humidity:
      name: "Hallway Humidity"
    update_interval: 60s

output:
  - platform: gpio
    pin: GPIO2
    id: status_led

light:
  - platform: binary
    name: "Hallway Status LED"
output: status_ledYou haven’t written any loops, delay calls or Wi-Fi code here. But once you flash this, Home Assistant will see two sensor entities and a light entity ready to use in automations.
What kind of devices can you build with ESPHome?
Most small smart devices around the house map nicely to ESPHome.
A few examples:
- Environmental sensors – temperature, humidity, CO₂, light level, air quality, soil moisture.
- Tank and level monitors – ultrasonic or pressure sensors for water tanks, sumps or header tanks.
- Smart relays and switches – pumps, fans, irrigation valves, lights and low-power loads.
- LED strips and light bars – status lights, ambient lighting, notifications and effects.
- Simple input devices – buttons, contact sensors, motion sensors, reed switches.
If you can wire it to GPIO and someone has written a component for it, ESPHome will probably let you drop it in with just a few lines of YAML.
When ESPHome might not be the right choice
ESPHome is great for a lot of “normal” smart devices, but it doesn’t suit every situation.
If you want to build something that:
- runs complex custom logic with tight timing or heavy processing
- uses unusual peripherals that don’t have an ESPHome component yet
- must work completely standalone without Home Assistant and needs a richer local interface
…then writing firmware directly in C++ with the Arduino core or ESP-IDF may still be a better fit.
You can also mix approaches. Some devices in your setup can run ESPHome while others run hand-written firmware where needed.
Getting started with ESPHome
You don’t need much to try it. If you want to follow the current official setup path, the ESPHome getting started guide walks through Device Builder, the first USB install and connecting the device to Home Assistant.
You’ll want:
- A compatible board (ESP32, ESP8266, ESP32-C3, etc.).
- A way to run ESPHome. The easiest options are the ESPHome Device Builder app in Home Assistant or the official desktop app for Windows, macOS and Linux. Docker and command-line installs are still available if you prefer to manage it yourself.
- A USB cable for the first flash, then Wi-Fi for OTA updates.
The learning curve is mostly about getting comfortable with the YAML structure and knowing how to find and read the component documentation. Once you’ve done one or two devices, the rest feel very similar.
A good first project is something like a single sensor plus a status LED, or a simple relay module that you can toggle from a Home Assistant dashboard. That gives you a complete loop: configure, flash, see entities appear, and press a button on your phone to make something click in the real world.
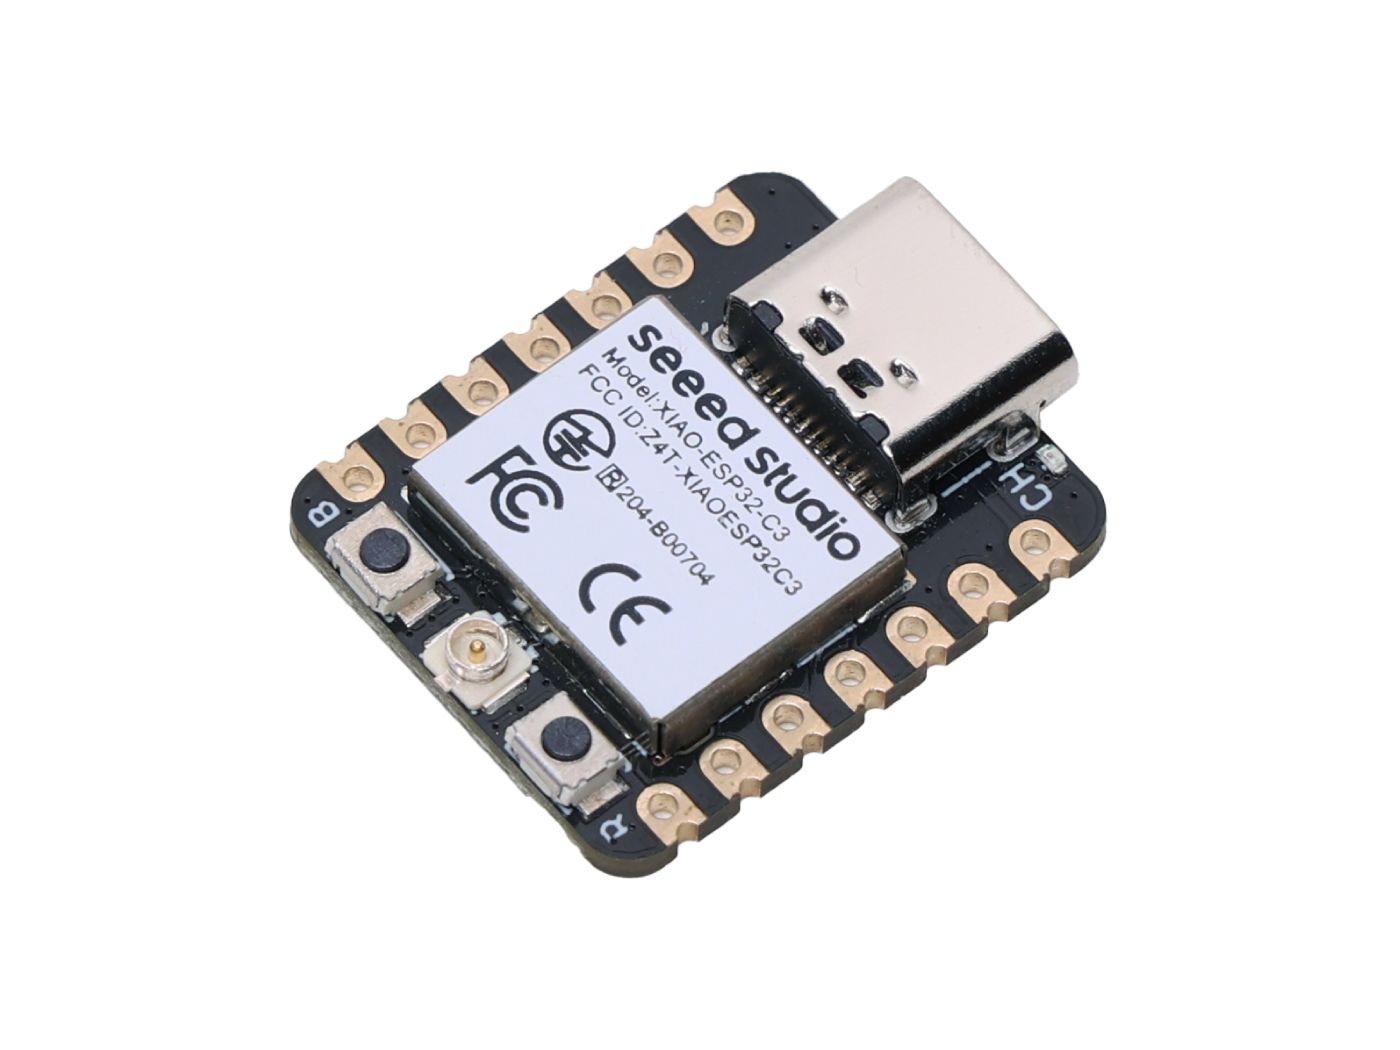
XIAO ESP32-C3
A tiny ESP32-C3 board with Wi-Fi, Bluetooth LE, USB-C and battery charging support, making it a great option for compact IoT and ESPHome projects.
Does ESPHome need Home Assistant?
No. ESPHome devices can run on their own, and you can build local automations directly on the device. Home Assistant is a very common pairing because the native API makes it easy to bring ESPHome sensors, switches and other entities into your smart home.
Does ESPHome need the internet?
Not for normal local operation. Once the device is set up, it can communicate with Home Assistant over your local network without depending on a cloud service. You may still need internet access when installing software, downloading components or compiling something that is not already cached.
Why ESPHome is worth learning
If you’re already using Home Assistant and ESP32 boards, ESPHome sits in the sweet spot between flexibility and effort.
You still get to build custom devices with your own wiring and 3D-printed enclosures, but you don’t have to reinvent Wi-Fi code, entity handling and update mechanisms for every project. Once you understand how one ESPHome device is put together, you can reuse that pattern across the rest of your house.
For a lot of DIY smart home builders, that’s the difference between “I made one cool thing” and “I actually have a whole network of devices that I can maintain without losing my mind.”