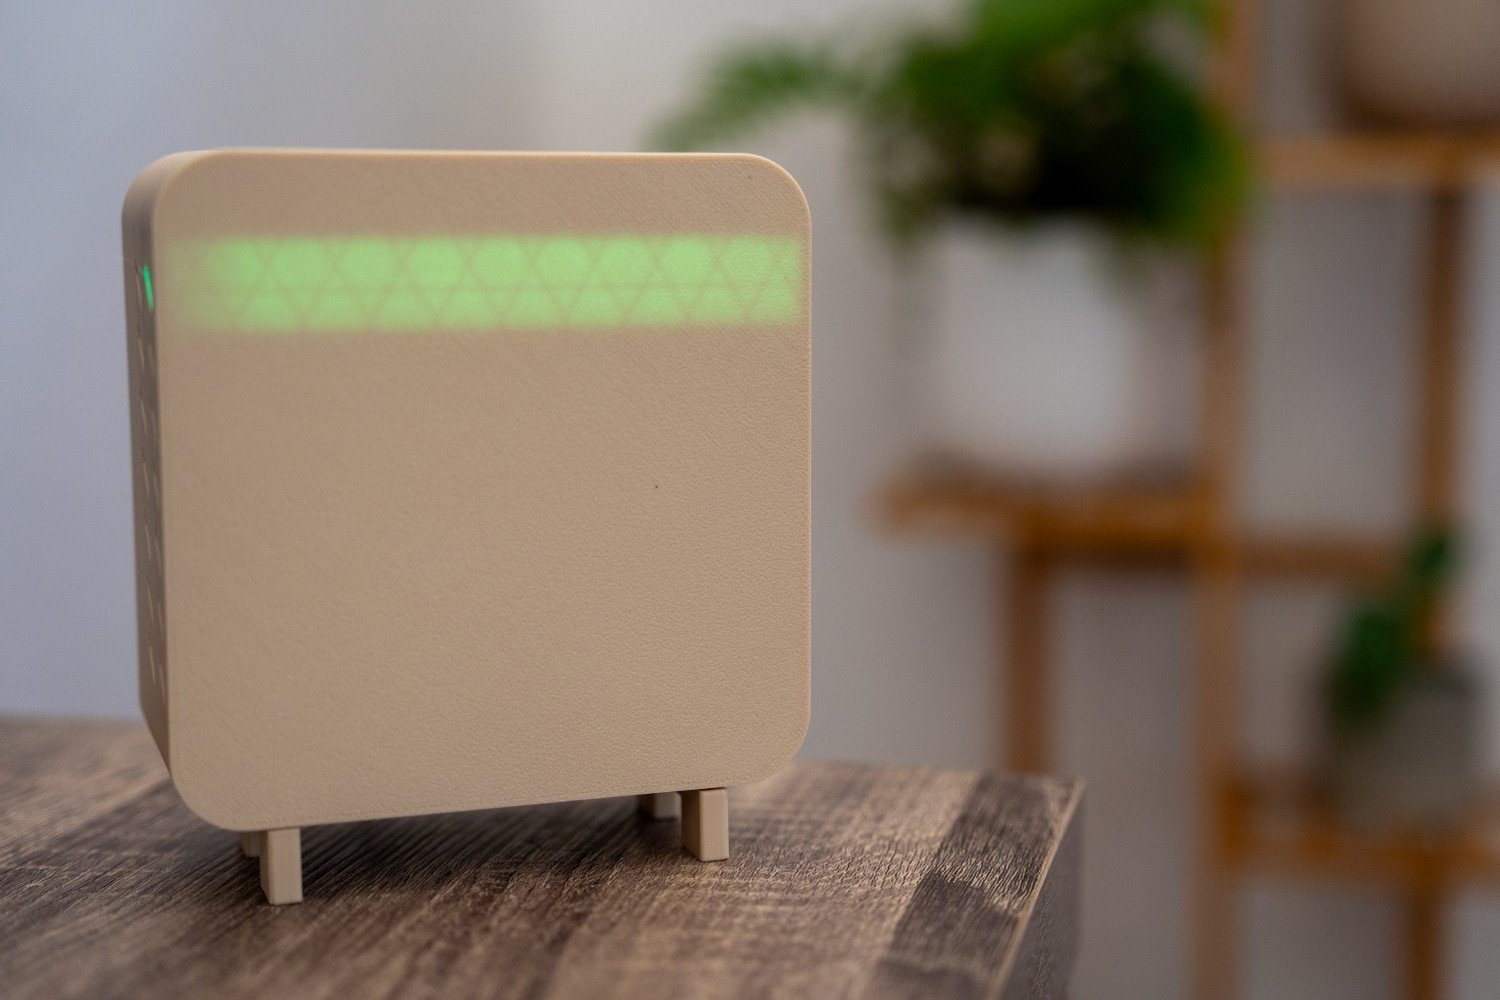
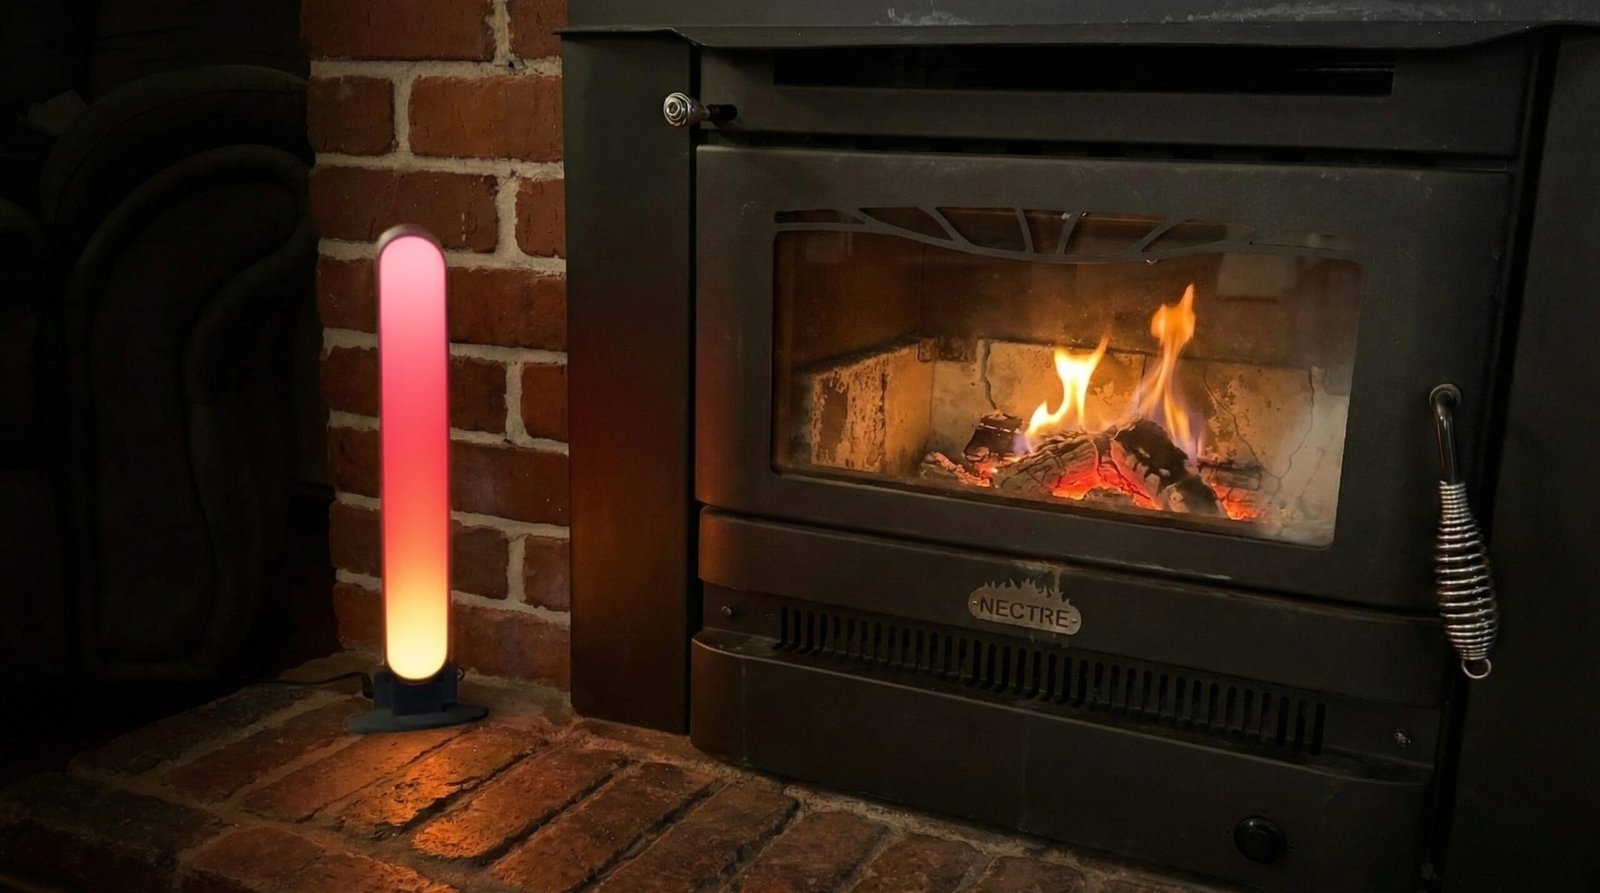
If you’ve been hunting for a tall, slim, smart LED light bar and nothing off-the-shelf quite fits, building your own is a solid option. With a 3D printer, an ESP32, and a simple LED driver board, you can make a custom bar that fits your setup perfectly and integrates with WLED and Home Assistant.
What You’ll Build
- A 3D-printed LED light bar around 400 mm tall
- Addressable LED strip (e.g. WS2812 / NeoPixel-style)
- Powered by a Seeed Studio LED driver board
- Controlled by an ESP32-C3, running either your own code or WLED
- Fully controllable from your phone and Home Assistant
Parts and Tools
Core electronics
- ESP32-C3 board (XIAO or similar)
- Seeed Studio LED driver board (compatible with addressable LEDs)
- Addressable RGB LED strip (e.g. WS2812B, cut to 10 LEDs)
- 5V power supply (sized to your LED count – for 10 LEDs, even 1 A is plenty)
- Basic wires, connectors and heatshrink or electrical tape
If you don’t have a 3D printer:
Enclosure options
If you have a 3D printer (download STLs here):
- 3D-printed light bar housing
- 3D-printed diffuser (in white / translucent filament)
- PLA or PETG filament (you’ll use under half a 1 kg roll)
If you don’t have a 3D printer:
- Aluminium LED channel with a frosted diffuser, or
- PVC pipe / acrylic tube that can act as a housing and diffuser
Tools
- 3D printer
- Soldering iron and solder
- Small screwdriver
- Wire cutters / strippers
Step 1 – Design or Choose Your Housing
Option A: 3D-printed housing (FreeCAD or similar)
The bar design is fairly simple: a tall, narrow housing that holds:
- The LED strip along the inside
- The diffuser on the front
- Space at the base or rear for the driver board and ESP32-C3
Key design points:
- Height: around 400 mm gives a nice tall look for a desk or TV unit.
- Internal channel: wide enough to fit your LED strip and allow airflow.
- Mounting: include a flat base or mounting holes if you want it freestanding or wall-mounted.
Designing the diffuser
A good diffuser stops you seeing the individual LED hotspots and gives a smooth glow.
- Split the diffuser into two pieces (top and bottom) so it’s easier to print.
- To hide the join, add a small lip on one side that overlaps the joint:
- One half has a thin overlap.
- The other half slides underneath.
- Once you glue them together, the seam is much less noticeable and the light looks more even.
Tip: Print the diffuser in a white or translucent filament and use a higher infill or extra perimeters so it doesn’t turn see-through.
Step 2 – Prepare the LED Strip
- Cut the strip to 10 LEDs (or however many your design needs).
- Identify the 5V, GND, and Data In (DIN) pads.
- Tin the pads with a small amount of solder.
- Solder on three wires:
- 5V → red
- GND → black
- Data In → another colour (e.g. green)
Tip: If your first one or two LEDs behave strangely – flickering or not responding – and everything is wired correctly, don’t rule out a faulty strip. Sometimes swapping to a different strip (or brand) solves the issue instantly.
Step 3 – Wire the Driver Board and ESP32-C3
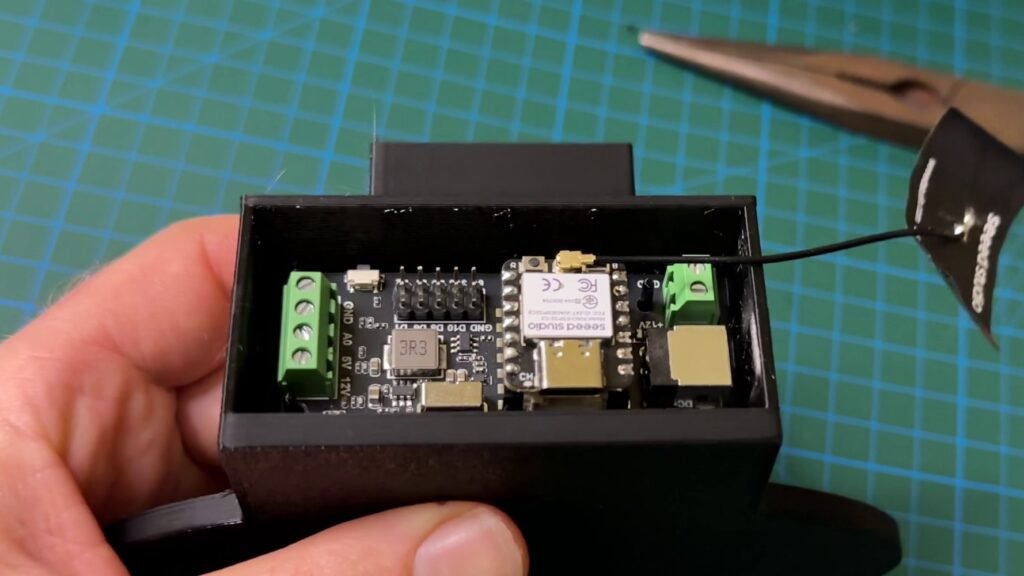
The Seeed Studio LED driver board sits between the ESP32 and the LED strip. It:
- Delivers stable power to the LEDs
- Buffers the data signal
- Adds some protection between the microcontroller and the strip
- Supports both 5V and 12V strips (check your exact board and strip)
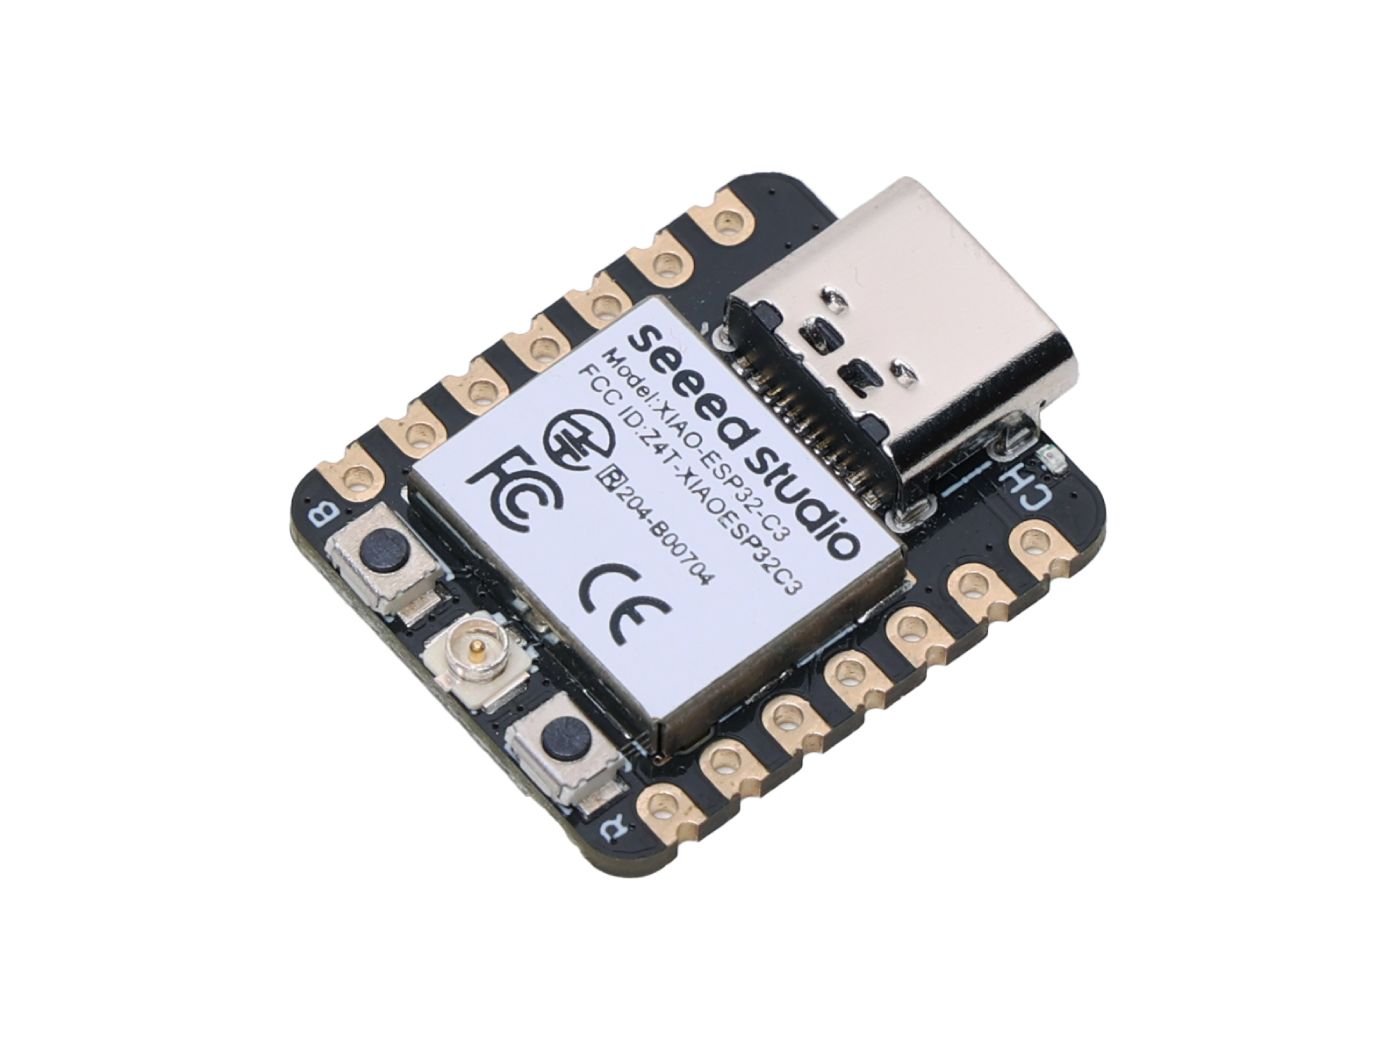
XIAO ESP32-C3
A tiny ESP32-C3 board with Wi-Fi, Bluetooth LE, USB-C and battery charging support, making it a great option for compact IoT and ESPHome projects.
Basic wiring layout
General idea (exact pins may vary by board – always double-check the pinout):
- Power
- Power supply 5V → Driver board VIN / 5V
- Power supply GND → Driver board GND
- Driver board 5V output → LED strip 5V
- Driver board GND output → LED strip GND
- Data
- ESP32-C3 data pin (e.g. GPIO on your board) → Driver board data input
- Driver board data output → LED strip DIN
- ESP32 power
- ESP32-C3 powered either via USB or from the same 5 V supply (depending on your setup and board specs).
Make sure:
- All grounds are common (ESP32, driver board, LED strip, power supply).
- The strip voltage (5 V / 12 V) matches what the driver and strip are rated for.
Step 4 – Assemble the Smart LED Light Bar
- Install the LED strip
- Stick or mount the strip inside the 3D-printed housing in a straight line.
- Route the wires neatly down to the base or electronics compartment.
- Fit the diffuser
- Dry-fit the two diffuser halves first to make sure they slide together nicely.
- Glue the overlapping lip so the seam lines up as cleanly as possible.
- Attach the diffuser to the front of the housing.
- Mount the electronics
- Secure the driver board and ESP32-C3 inside the base or rear compartment.
- Ensure there’s some ventilation and you’re not pinching any wires.
Step 5 – Flash WLED to the ESP32-C3
You can run custom code on the ESP32 if you like, but WLED gives you a huge amount of control with almost no effort.
- Go to the WLED web installer (search for “WLED install ESP32”).
- Plug the ESP32-C3 into your computer via USB.
- Use the one-click installer:
- Select your board.
- Click Install and wait for it to flash.
- Once it’s flashed, connect to the temporary Wi-Fi network it creates and:
- Enter your home Wi-Fi details.
- Let the ESP32 reboot and join your network.
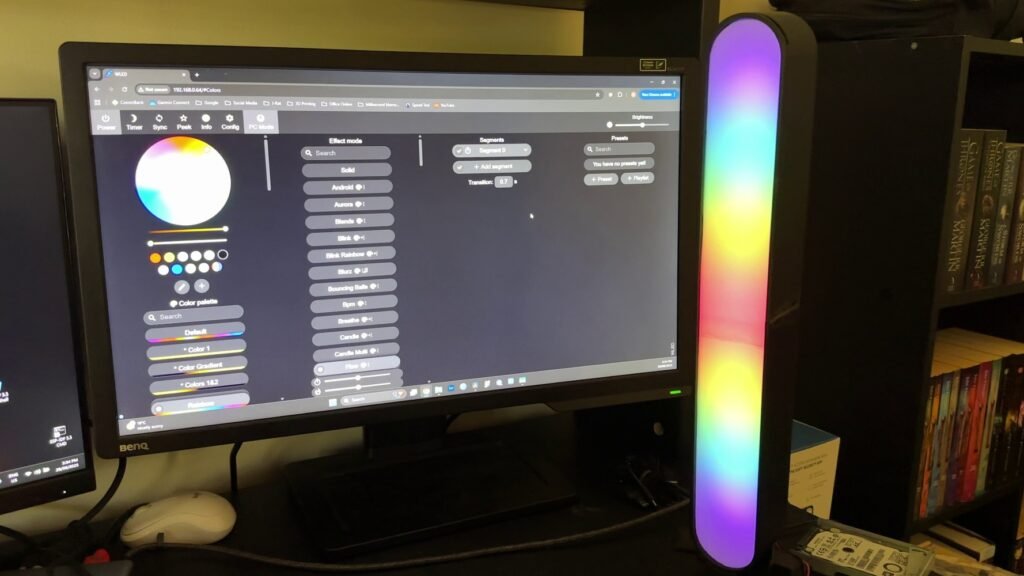
Step 6 – Configure WLED
Once WLED is on your Wi-Fi:
- Open the WLED web interface (or use the app to find it).
- Go to LED Preferences:
- Set the LED count to 10 (or however many you used).
- Choose the correct LED type (e.g. WS281x / NeoPixel).
- Test:
- Turn the light on.
- Try a few effects and colors to confirm everything responds correctly.
You now have:
- Brightness control
- Color control
- Dozens of built-in effects
- Presets for different moods (e.g. warm white, night light, party mode)
- Optional features like music sync, timers, and schedules
Step 7 – Integrate With Home Assistant
WLED integrates nicely with Home Assistant and shows up as a light entity.
Basic flow:
- In Home Assistant, go to Settings → Devices & Services.
- Add or enable the WLED integration.
- Home Assistant should auto-discover your WLED device on the network.
- Once added, you can:
- Control the light bar from your dashboard.
- Add it to automations and scenes (e.g. turn on at sunset).
- Use it as a notification light (e.g. pulse when an event occurs).
From here, you can go as simple or as advanced as you like – from basic on/off and color, to fully automated scenes across your whole smart home.
No 3D Printer? Alternative Housings
You can still build the same electronics and control system without printing a custom enclosure.
Some options:
- Aluminium LED channel with a frosted diffuser – commonly used for strip lights.
- PVC pipe – cut a slot and add a diffuser strip.
- Acrylic tube – mount the strip inside and cap the ends.
The result won’t look identical to a 3D-printed light bar, but functionally it’s the same:
- LED strip
- Driver board
- ESP32-C3 running WLED
Cost Breakdown (Approximate)
Here’s a rough idea of what this build costs:
- Seeed Studio LED driver board: ~$4.90
- ESP32-C3: ~$5.00
- 1 m addressable LED strip (using only part of it): ~$2.50
- 3D-printing filament (less than half a roll): ~$6.50 worth out of a $13 roll
- Miscellaneous (wiring, connectors, glue): a few extra dollars at most
In total, you’re looking at well under $20-$25.
For comparison, a commercial bar like the Philips Hue Play Light Bar is around $84, and you’re tied to the Hue ecosystem and bridge. With this DIY version, you control:
- The size and shape
- The number of LEDs
- The diffuser design
- How it integrates with your smart home
All with open-source tools like WLED and Home Assistant.
Ideas for Expanding the Project
Once you’ve built one light bar, it’s easy to scale the idea:
- Multiple bars: place several bars behind monitors, along a TV unit, or around a room, all synced via WLED.
- Different sizes: shorter bars for shelves, longer bars for walls or corners.
- Other layouts: under-desk lighting, behind a monitor, or as a backlight for a TV.
The control system stays the same – only the housing and LED count change. For a different real-world approach, I also built hidden smart LED lighting for my office desk using an ESP32-C6, ESPHome and Home Assistant.
Disclaimer: This project is shared for educational purposes only. If you choose to build it, you do so at your own risk. Double-check wiring, follow safety guidelines, and never work on live circuits if you’re unsure.
Some of the links in this post may be affiliate links. If you buy through them, I may earn a small commission at no extra cost to you.