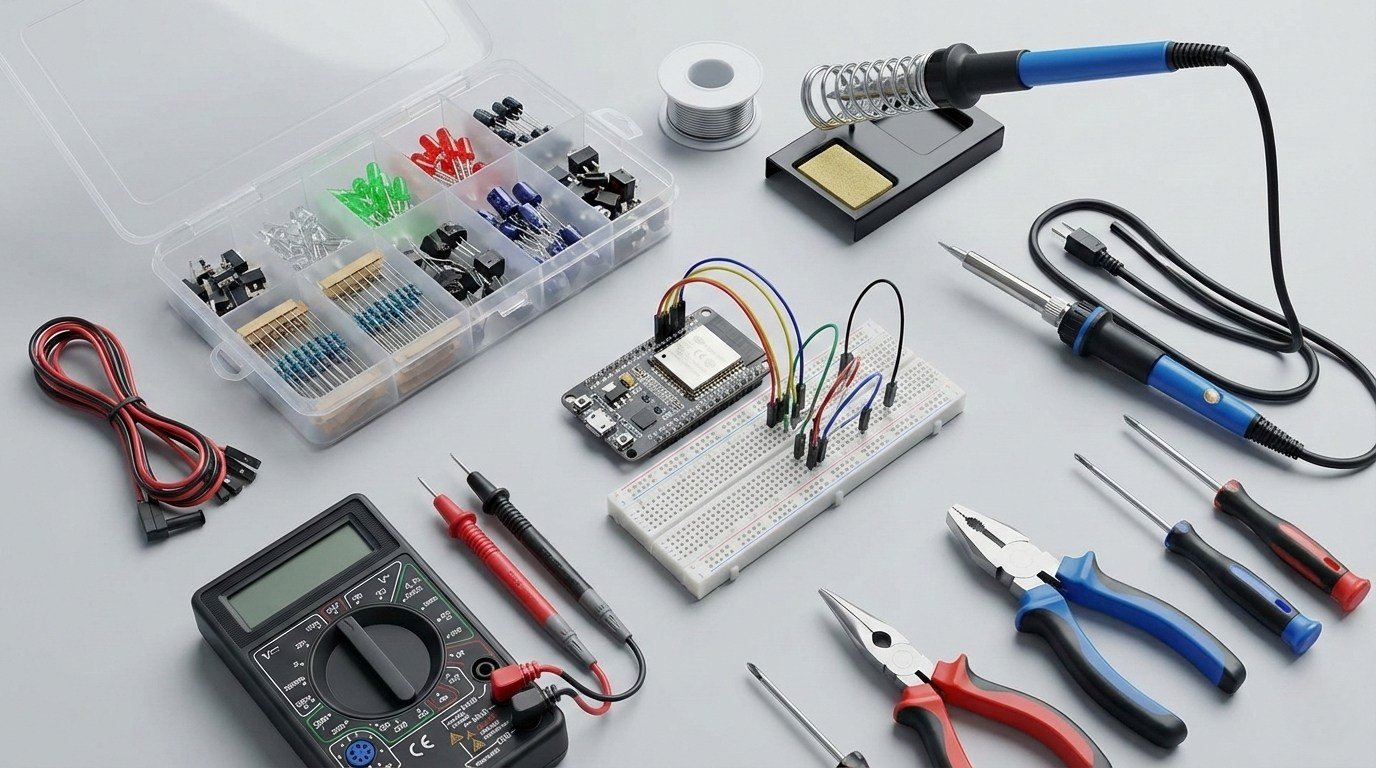
It is easy to overspend when you start buying electronics gear. There are endless component packs, tools and oversized kits, and most beginners do not need all of them.
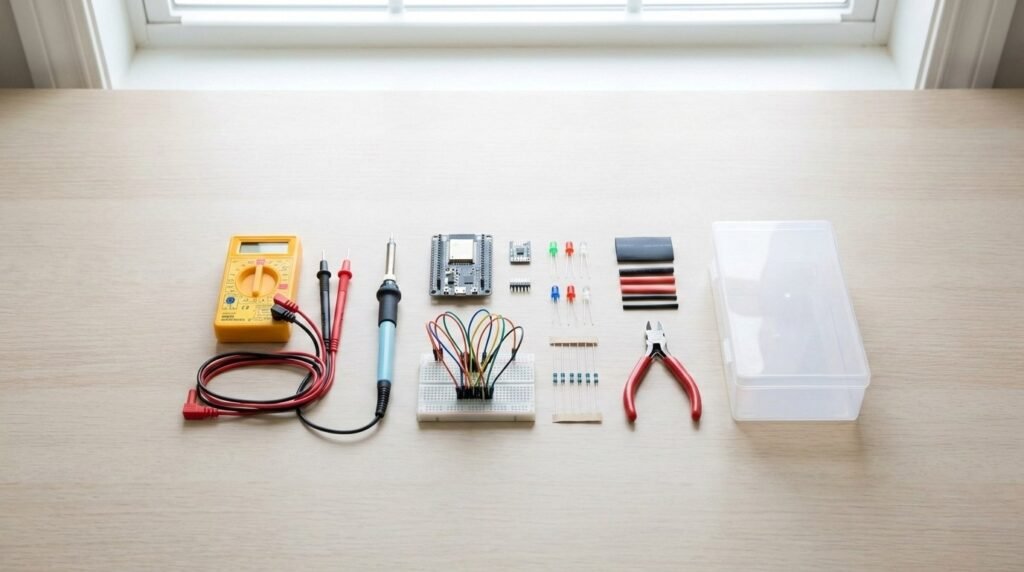
Start with the gear you will actually use: a development board, breadboard, multimeter, soldering basics and a few hand tools. The more specialised bench equipment can wait until a project gives you a reason to buy it.
This is aimed at the kind of small projects most people start with at home: ESP32 sensors, simple automations, LED builds and breadboard prototypes.
If you would rather buy a complete learning kit with the board, components and tutorials already matched together, see my Best Electronics Starter Kits for Beginners in 2026 guide.
Before you buy anything: a 1-minute reality check
You don’t need everything on day one.
A small, well-chosen setup will take you much further than a massive kit you don’t understand yet.
Buy for the projects you want to build.
If your goal is smart home sensors, automation, or ESP32 projects, you’ll need very different tools than someone building drones or robots.
Set a simple budget.
You can build a useful basic setup for around $35–75 USD if you start with the essentials. A more complete setup with a multimeter, soldering iron and hand tools will usually cost closer to $100–135 USD. You can always upgrade once you know what you actually use.
Beginner Electronics Setup: Quick List
If you just want a simple list of what to buy, start here.
Core beginner setup:
- ESP32 development board for beginners
- Beginner soldering iron with temperature control
- Digital multimeter for DIY electronics
- Breadboard and jumper wire starter kit
- Basic electronics component starter kit
- USB power supply for electronics projects
- Electronics hand tool kit (wire cutters, strippers, pliers)
- Heat shrink tubing assortment
- Solder, flux and a simple desoldering pump
- Precision screwdrivers, tweezers and a small PCB holder or helping hands
You can add the more specialised gear later, once a project actually needs it.
10 Essential Electronics Tools and Components for Beginners
1. A beginner-friendly microcontroller board (ESP32)
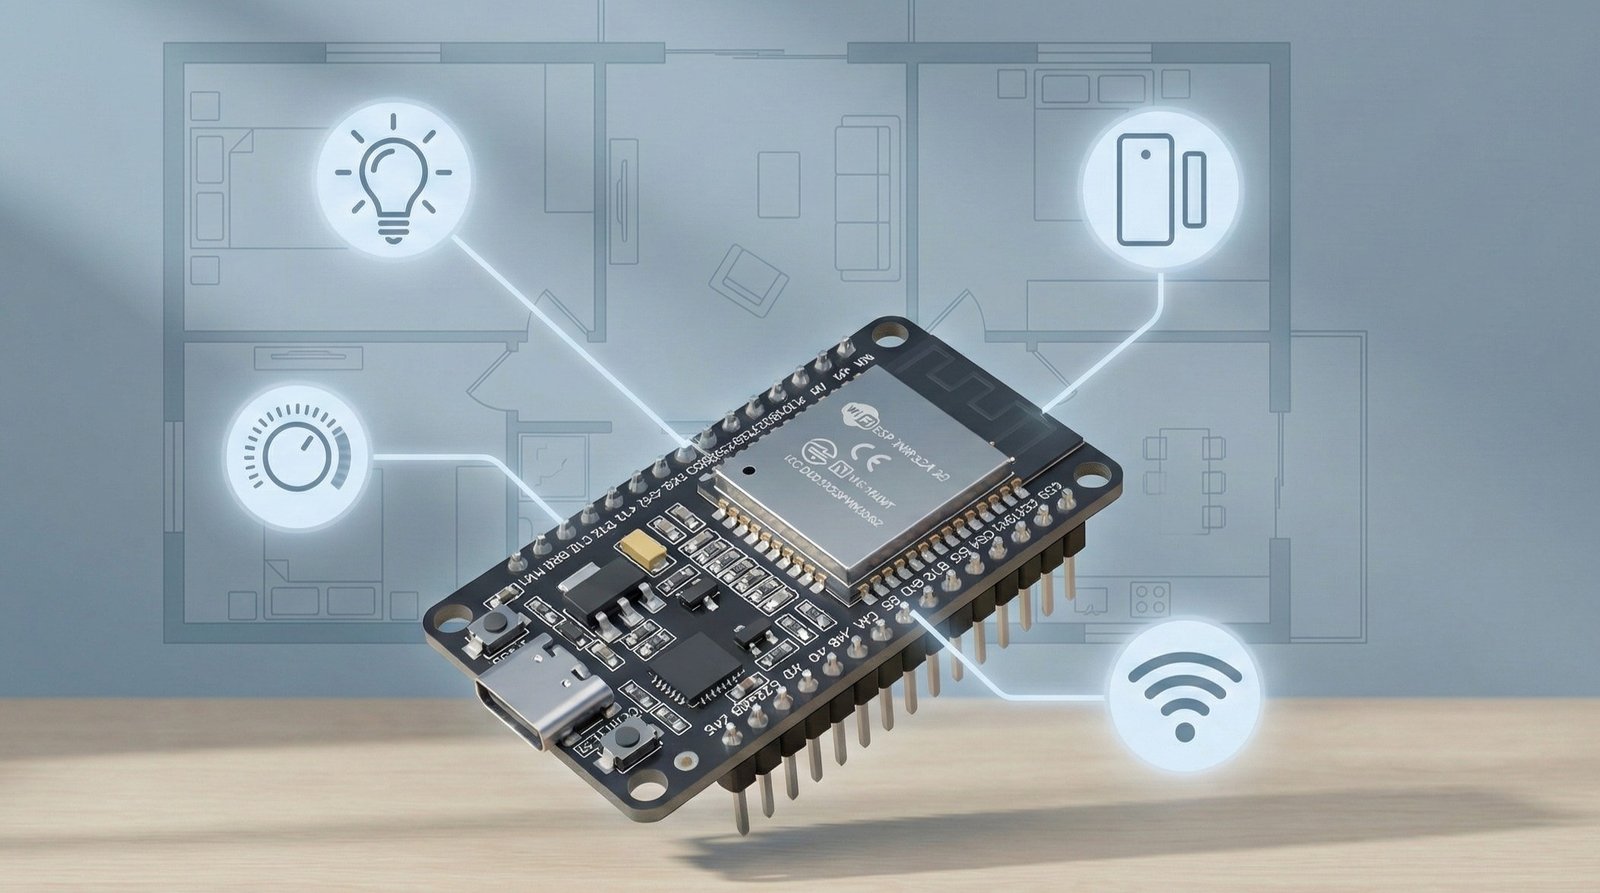
If you’re only buying one electronics item, make it a microcontroller development board. For the Wi-Fi, smart-home and connected projects covered on this site, an ESP32-based board is a strong place to start. If you are still deciding between platforms, my ESP32 vs Arduino vs Raspberry Pi comparison explains the differences.
In simple terms, this is the “brain” of your projects. It lets you read sensors, control outputs (like relays or LEDs), and connect your builds to Wi-Fi or Bluetooth.
ESP32 boards are cheap, well supported and already have Wi-Fi built in. That makes them useful for Home Assistant and ESPHome projects as well as basic breadboard experiments.
Example beginner projects:
- Smart temperature or humidity sensor
- Presence or motion-based automations
- Wi-Fi controlled lights or switches
- Simple dashboards in Home Assistant
What to look for when buying:
- USB-C (my preferred option) or micro-USB for easy programming
- Built-in Wi-Fi
- A popular board with strong community support
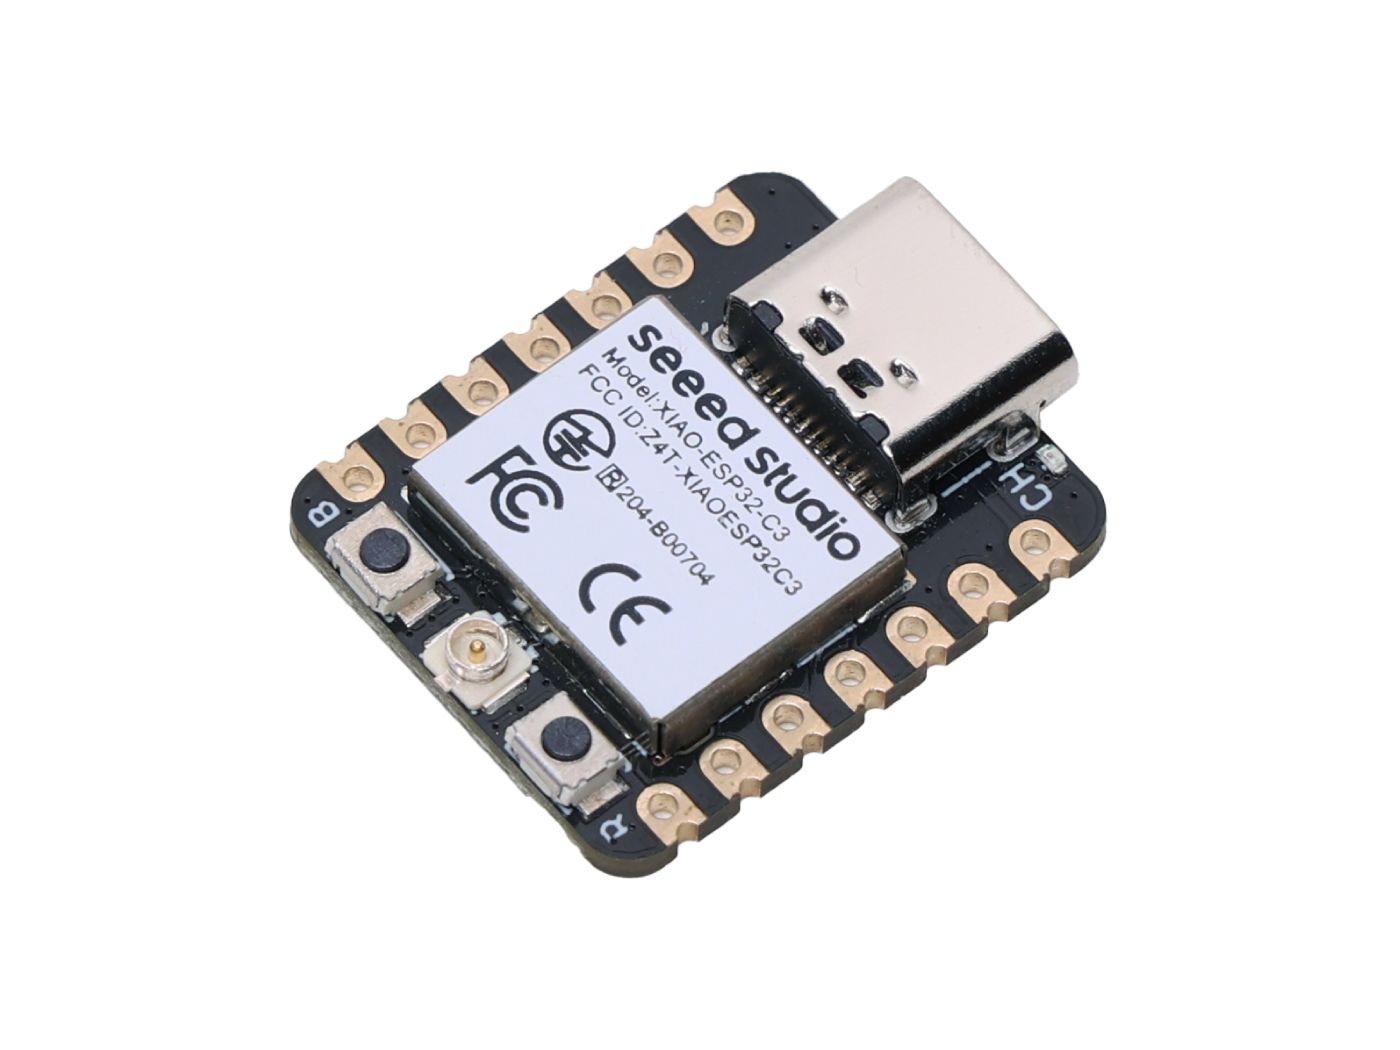
XIAO ESP32-C3
If you’re not sure where to start, this ESP32-C3 board for beginners is a reliable option with excellent community support and plenty of tutorials available.
2. A basic soldering iron
At some point, jumper wires won’t cut it anymore. That’s where a soldering iron comes in.
You don’t need a professional rework station, just something reliable that heats properly and doesn’t fight you while you’re learning.
Soldering is what lets you move from a temporary breadboard setup to something you can actually install and keep. Once you start adding headers, joining wires or building projects into enclosures, it becomes hard to avoid.
Example beginner projects:
- Soldering header pins onto an ESP32
- Building small sensor boards
- Making reliable wire connections
What to look for when buying:
- Adjustable temperature
- Fine tip included
- Readily available replacement tips
Use a proper stand, work in a ventilated area, and remember that the tip stays hot enough to burn you or damage nearby materials long after you put the iron down.
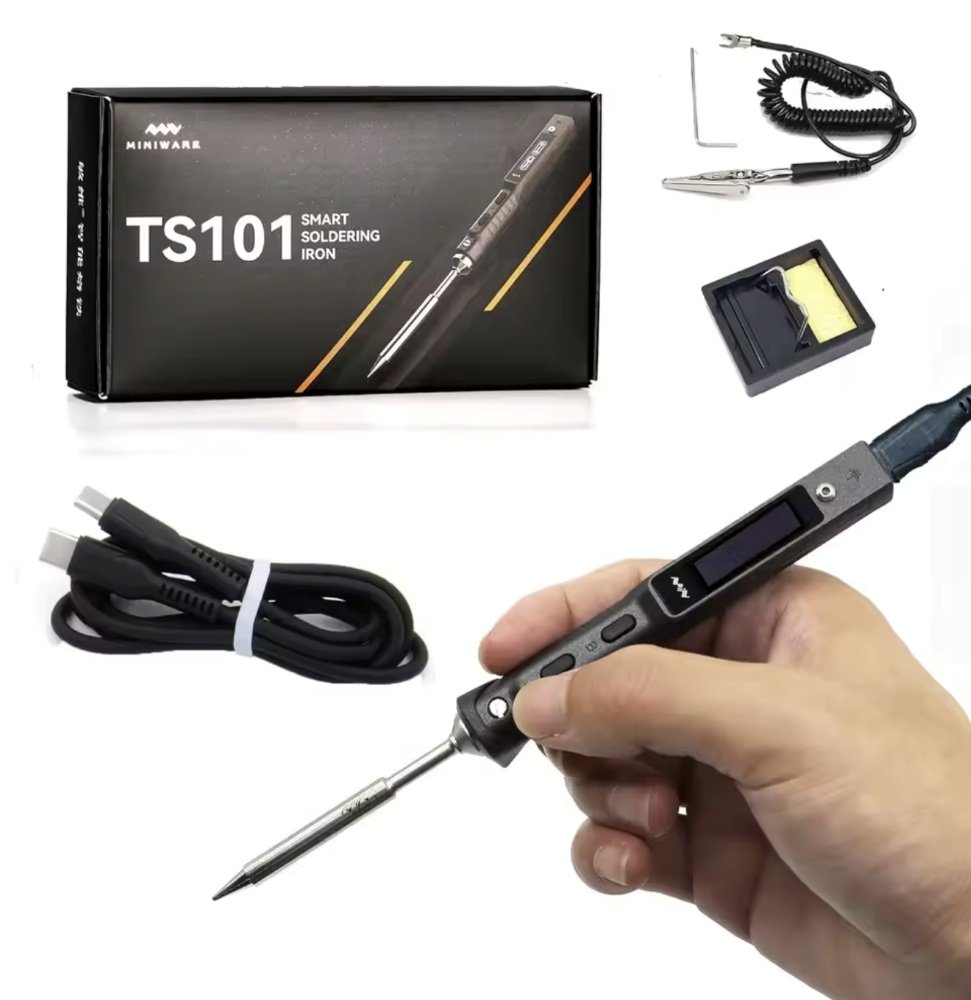
Soldering Iron
If you want something reliable to learn on, this beginner soldering iron with temperature control is a solid starting point and won’t hold you back.
3. A digital multimeter
A multimeter is one of those tools you don’t realise you need, until something doesn’t work.
It lets you measure voltage, continuity, and resistance, which helps answer the most common beginner question: “Is this thing actually getting power?”
A multimeter removes a lot of guesswork. Instead of wondering whether a board is getting power or whether two points are actually connected, you can check it in a few seconds.
Example beginner uses:
- Checking power supplies
- Confirming ground connections
- Testing batteries and USB outputs
What to look for when buying:
- Auto-ranging
- Clear display
- Continuity beep
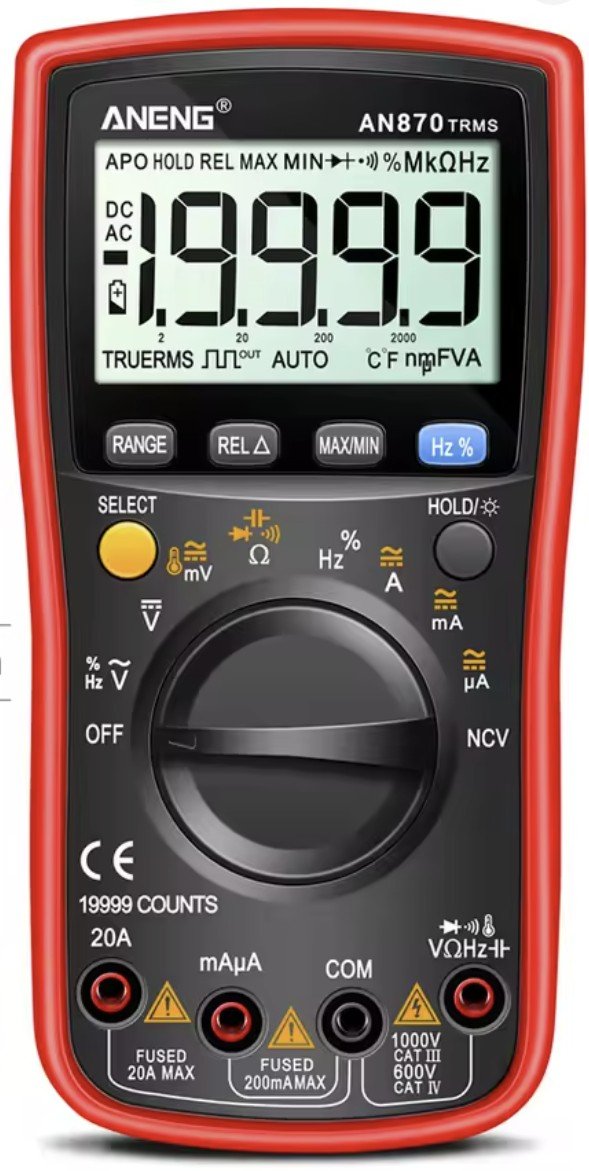
Digital Multimeter
For basic troubleshooting (power, continuity, checking a supply), a digital multimeter for DIY electronics is one of the most useful tools you can own.
4. Breadboard and jumper wire kit
Before you solder anything permanently, use a breadboard to prove that the circuit works. It lets you move wires, swap components and correct mistakes without damaging parts.
A full-size breadboard plus a mix of male-to-male and male-to-female jumper wires is enough for most early sensor and microcontroller projects. This breadboard and jumper wire starter kit covers those basics.
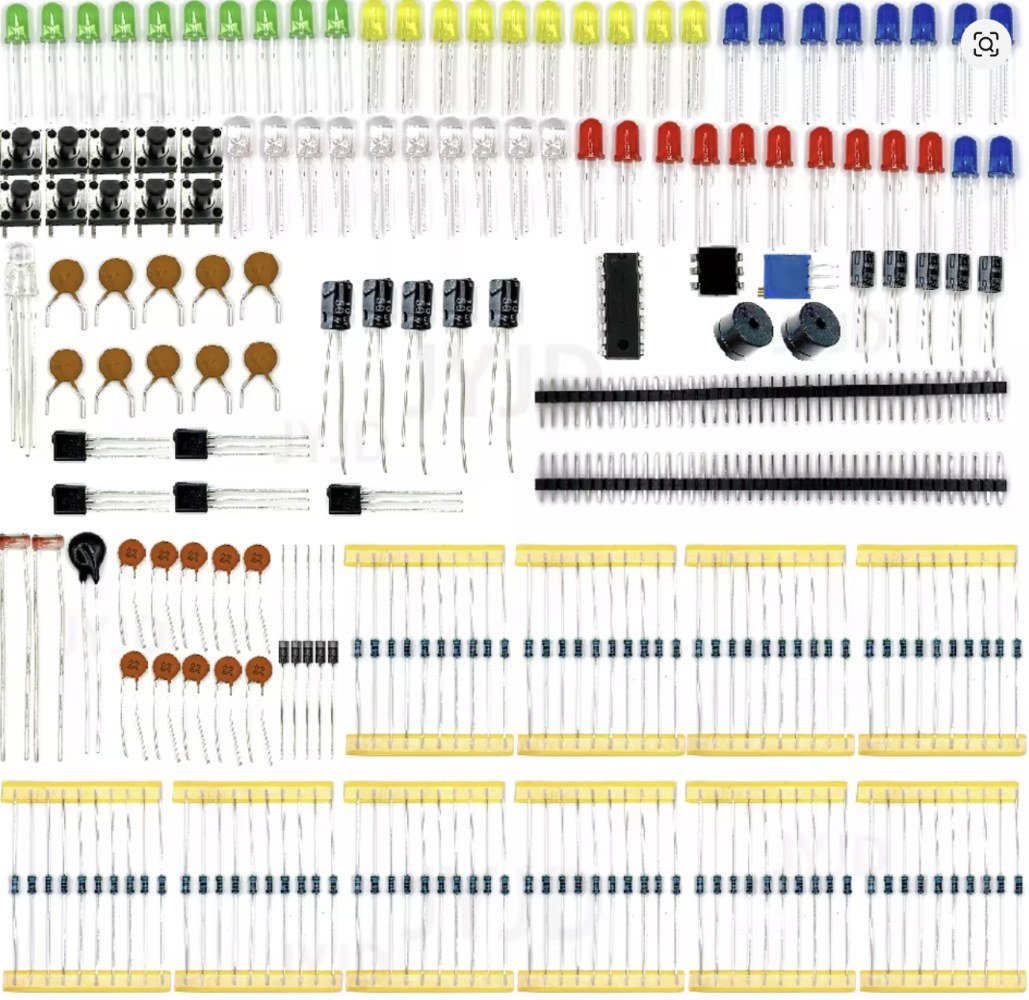
5. Basic electronics component assortment
A small assortment of resistors, LEDs, buttons, and sensors goes a long way when you’re starting out.
You don’t need thousands of parts or massive kits with components you’ll never touch. A focused starter assortment gives you just enough variety to learn how circuits work and start building useful projects without feeling overwhelmed.
Resistors, LEDs, buttons and a few common sensors turn up in project after project. They are also a straightforward way to learn things like pull-ups, input states and basic outputs without buying a huge box of obscure modules.
Example beginner projects:
- Status indicator LEDs for ESP32 projects
- Button-controlled actions or toggles
- Simple light, temperature, or motion sensors
What to look for when buying:
- Common resistor values (e.g. 220Ω, 1kΩ, 10kΩ)
- A mix of LEDs in different colours
- A small selection of basic sensors rather than dozens of niche ones
Assorted Components
If you’re building your first circuits, a basic electronics component starter kit covers essentials like resistors, LEDs, and buttons, and a sensor starter kit gives you a handful of the most useful sensors without buying a massive bundle.
6. USB power supply and cables
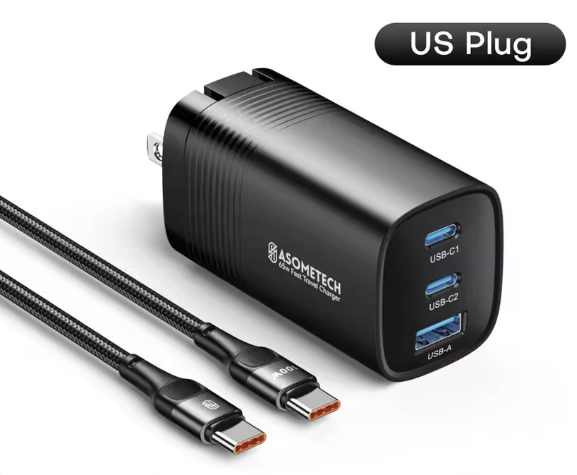
Unstable power can look like a software fault. Random resets, failed flashes and Wi-Fi dropouts are all much easier to diagnose once you know the board is being powered properly.
Use a reputable USB supply with enough current headroom for the board and attached modules, plus data-capable cables that are not excessively thin. For typical ESP32 bench projects, a well-made 5 V supply rated for at least 2 A is a practical starting point.
This USB power supply for electronics projects is the type of simple dedicated supply I mean.
USB Power Supply
For powering projects, a USB power supply is a simple way to run ESP32 boards, sensors and small modules without buying a bench supply straight away.
7. Wire cutters and small hand tools
You do not need a full toolbox. Flush cutters, needle-nose pliers and wire strippers cover most early wiring work.
Using tools sized for electronics gives you cleaner cuts and makes thin hookup wire much easier to strip without damaging the conductor.
A small set of proper hand tools saves time and makes wiring neater, especially once you move beyond pre-made jumper leads.
Essential tools:
- Flush wire cutters for clean cuts
- Small needle-nose pliers for bending and holding wires
- Wire strippers sized for common electronics wire
- Electronics hand tool kit
What to look for when buying:
- Comfortable grips
- Spring-loaded cutters or pliers
- A kit designed specifically for electronics, not general household use
8. Heat shrink tubing and electrical tape
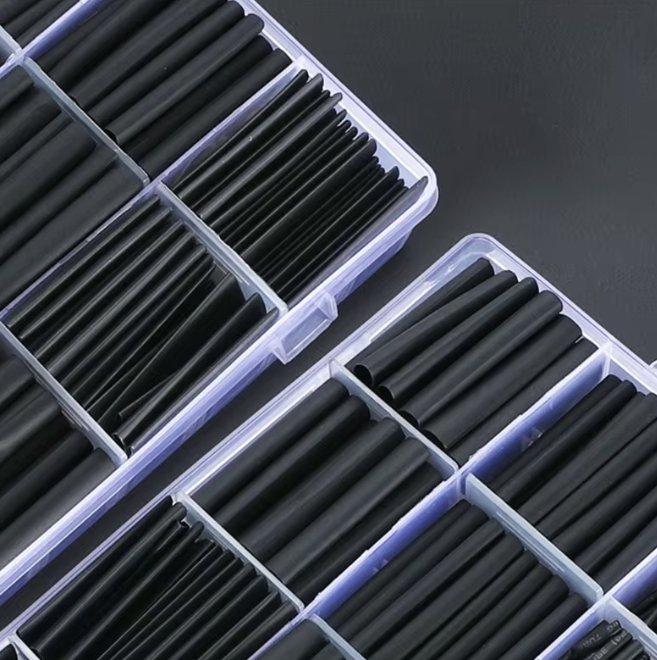
Heat shrink is the cleaner option for most permanent joints, while electrical tape is handy for temporary insulation and awkward shapes. Both are cheap and worth keeping in the parts box.
Example beginner uses:
- Insulating soldered joints
- Strengthening wire connections
- Preventing accidental shorts
What to look for when buying:
- Multiple sizes of heat shrink
- Shrink ratio suitable for electronics work
- A small roll of quality electrical tape
Heat Shrink
For safer, cleaner connections, especially on permanent builds, grab a heat shrink tubing assortment and keep it in your parts box.
9. Solder, flux and a simple desoldering pump
A soldering iron is only useful if you also have decent solder and a way to correct mistakes. A small spool of electronics solder, suitable flux and an inexpensive desoldering pump are enough for most beginner work.
Flux helps solder flow cleanly onto pads and wires, while a desoldering pump gives you a straightforward way to remove excess solder or redo a joint that did not go to plan.
- Use electronics-grade solder intended for PCB work
- Keep a small amount of flux on hand for stubborn or reworked joints
- A basic spring-loaded desoldering pump is enough to learn with
10. Precision screwdrivers, tweezers and a PCB holder
Small electronics quickly become awkward to work on with full-size household tools. A compact precision screwdriver set, fine tweezers and a simple PCB holder or helping-hands stand make assembly and troubleshooting much easier.
You do not need an expensive bench setup. The goal is simply to hold small parts securely, reach tiny screws and keep wires or boards in place while you solder.
Useful extras once you start building permanent projects
Storage boxes and project enclosures are still worth buying, but they are not among the first ten tools I would prioritise. They become more useful once you have accumulated spare components and started turning breadboard prototypes into finished devices.
- Electronics parts storage organiser for resistors, LEDs, sensors and spare boards
- Plastic electronics project enclosure for protecting finished builds
Common mistakes beginners make when buying equipment
- Buying huge component kits and using almost none of it
→ Start with small, focused kits and expand as needed. - Overspending on tools too early
→ Cheap, functional tools are fine while you’re learning. - Skipping a multimeter
→ It’s one of the most useful tools you’ll ever own. - Powering projects with random chargers
→ Use a known, reliable power supply to avoid weird bugs. - Not planning for enclosures
→ A project that lives on a breadboard forever rarely gets used.
Final thoughts
You do not need to buy the whole list in one go. Start with a board, breadboard, multimeter and whatever your first project actually needs, then add tools as you run into jobs that call for them.
That usually works out cheaper than buying a full bench setup up front, and it gives you a much better idea of which tools are worth spending more on later.
If you want project ideas, wiring guides, and real-world ESP32 builds, you can also join my newsletter for updates and new posts as I publish them.
Frequently Asked Questions
Do I need a soldering iron to start with DIY electronics?
No. Many beginner projects can be built using breadboards and jumper wires. A soldering iron becomes important once you want permanent or cleaner builds.
Is an ESP32 okay for beginners?
Yes. ESP32 boards are beginner-friendly and extremely well supported, especially for Wi-Fi and smart home projects.
How much should I spend on my first electronics setup?
A basic setup can start around $35–75 USD. If you also want a multimeter, temperature-controlled soldering iron and a few decent hand tools from day one, a more complete setup will often land closer to $100–135 USD.
Can I start without a 3D printer?
Absolutely. A 3D printer is a nice upgrade later, but not essential for beginner projects.
What tools can I skip at the start?
Logic analysers, oscilloscopes, and advanced power supplies can wait until you know you need them.