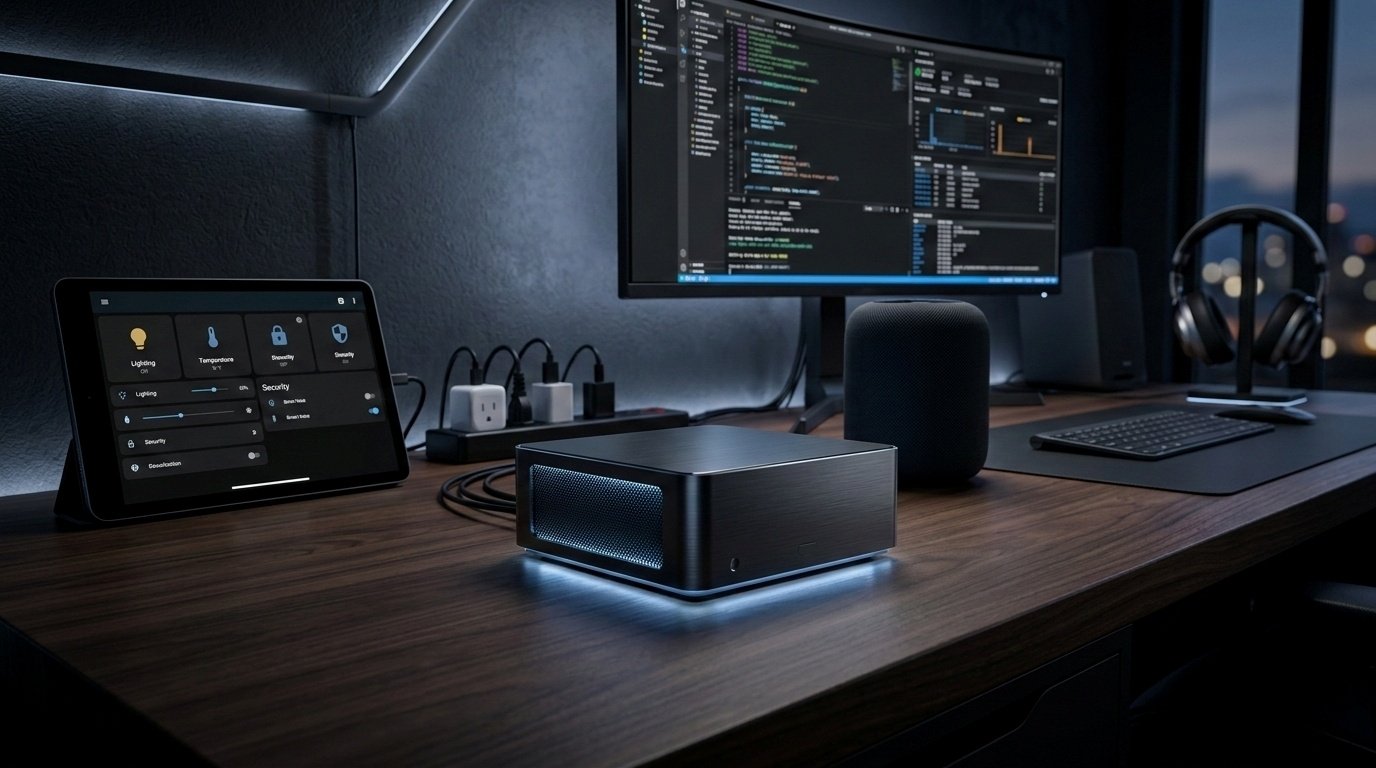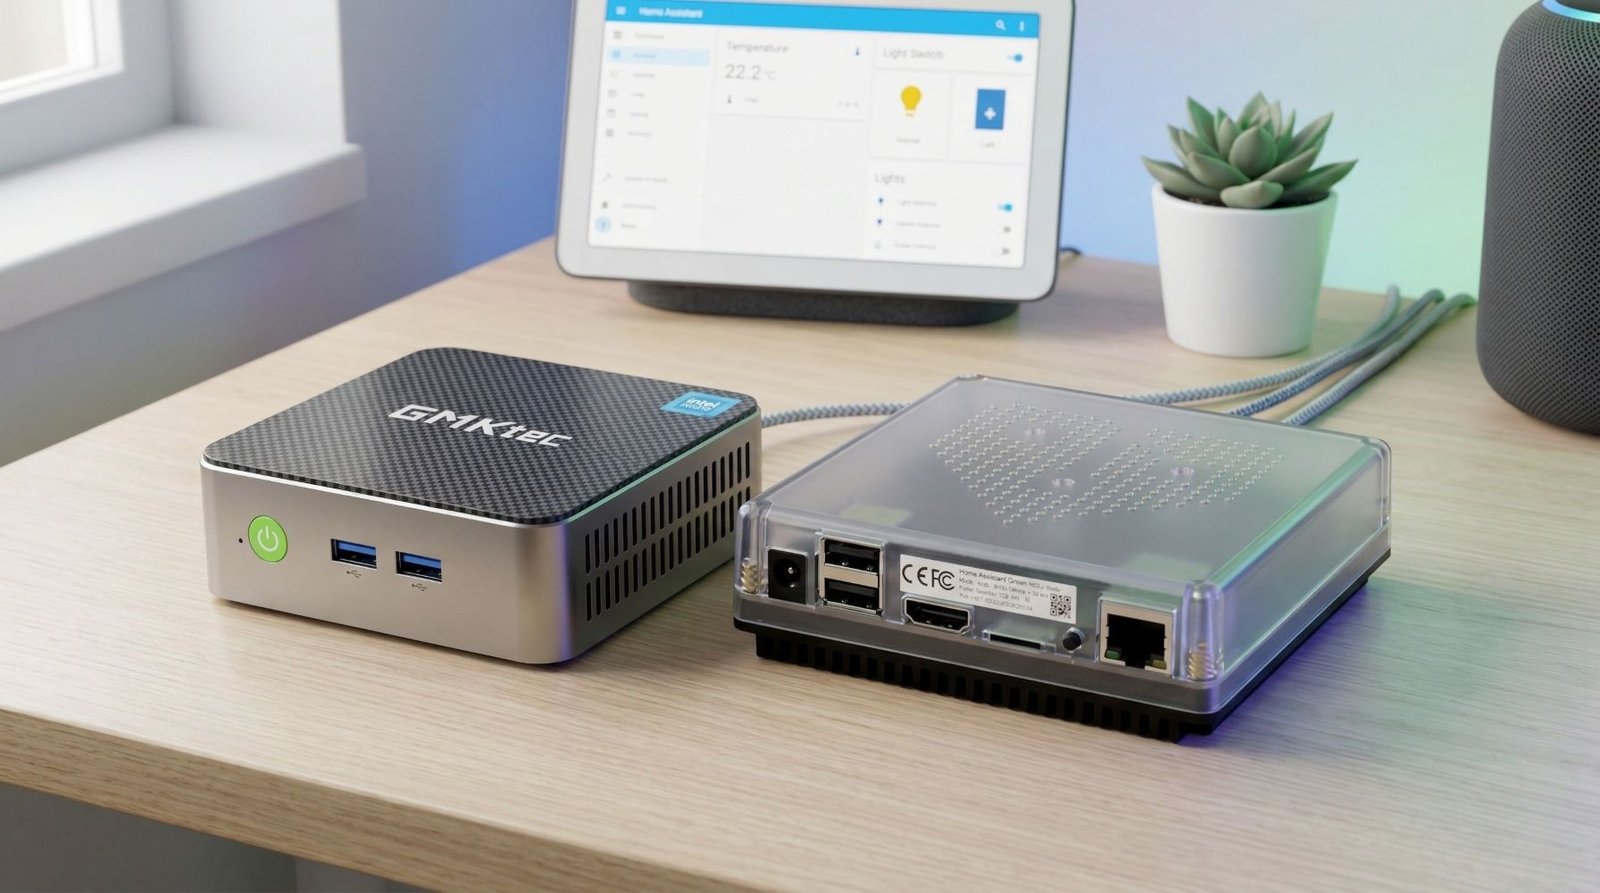
Mini PCs are almost ridiculously overqualified for Home Assistant.
Buy an N100 or N150 box with 16 GB of RAM and an SSD, install Home Assistant OS, and most of the hardware will spend its life barely breaking a sweat. That is usually the point where Proxmox starts looking tempting.
Why give the whole machine to Home Assistant when you could run Home Assistant in a VM and use the rest of it for DNS, Tailscale, Docker, monitoring or whatever else you end up adding later?
I get the appeal. I use Proxmox for other services myself. But unless I need what Proxmox gives me, I would rather not put another layer between Home Assistant and the hardware.
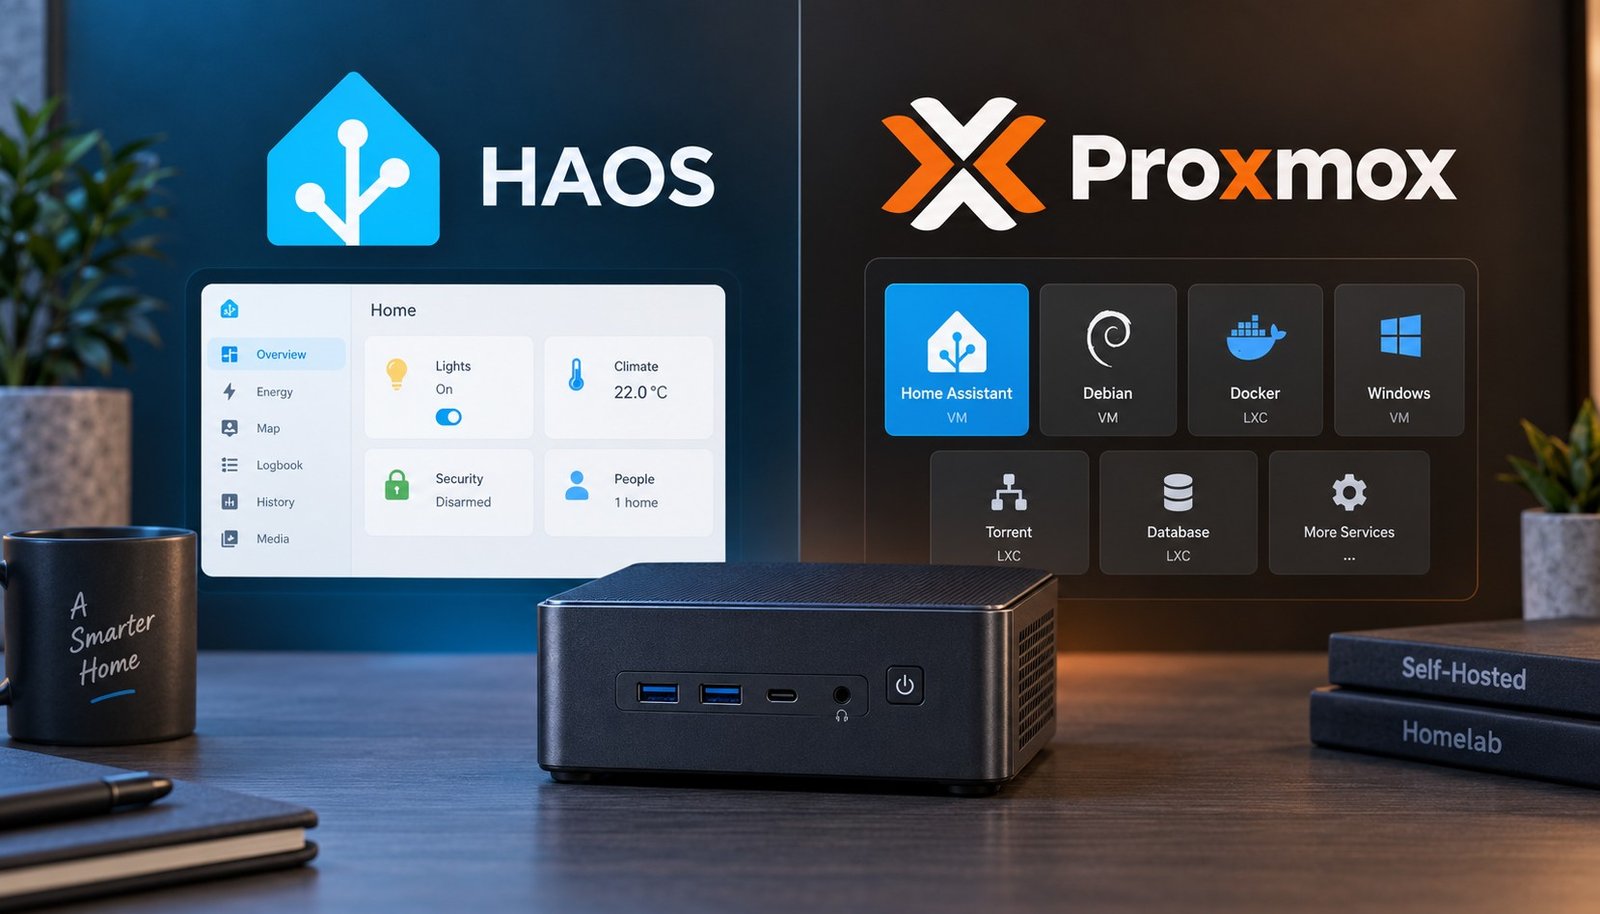
If I was setting up a mini PC only for Home Assistant, I would still install Home Assistant OS directly on the machine. If I already knew the mini PC was going to be a small home server with several jobs, then I would use Proxmox and run HAOS in a VM.
That is really the decision. Both work. One is simpler; the other gives you more freedom.
If you are still deciding which mini PC to buy, have a look at my mini PC guide for Home Assistant first.
The short version
| HAOS directly | HAOS on Proxmox | |
|---|---|---|
| Setup | Easy | More work |
| USB radios | Plug them in | USB passthrough required |
| Home Assistant updates | Managed in HA | Managed in HA |
| Host maintenance | Very little | You also maintain Proxmox |
| Other services | Mostly HA apps | VMs and LXC containers |
| VM snapshots/backups | No | Yes |
| Best fit | Dedicated Home Assistant box | Home lab / multi-purpose server |
Home Assistant still recommends Home Assistant OS for most users. HAOS can run directly on x86 hardware or inside a virtual machine, so choosing Proxmox does not mean giving up Supervisor, apps, backups or the normal Home Assistant update process.
The only difference is what sits underneath it.
Why I would start with HAOS directly
Home Assistant is one of those systems where boring is good.
If it goes offline, you notice pretty quickly. Lights stop reacting properly, automations disappear, dashboards are unavailable and whatever else you have tied into it suddenly becomes less useful.
That is why I like keeping the path between the hardware and Home Assistant as short as possible when the machine has no other job.
With HAOS installed directly on a mini PC, there is no Proxmox host to patch, no VM configuration to check and no virtual bridge or passthrough layer to think about. Home Assistant owns the machine and you manage almost everything from Home Assistant itself.
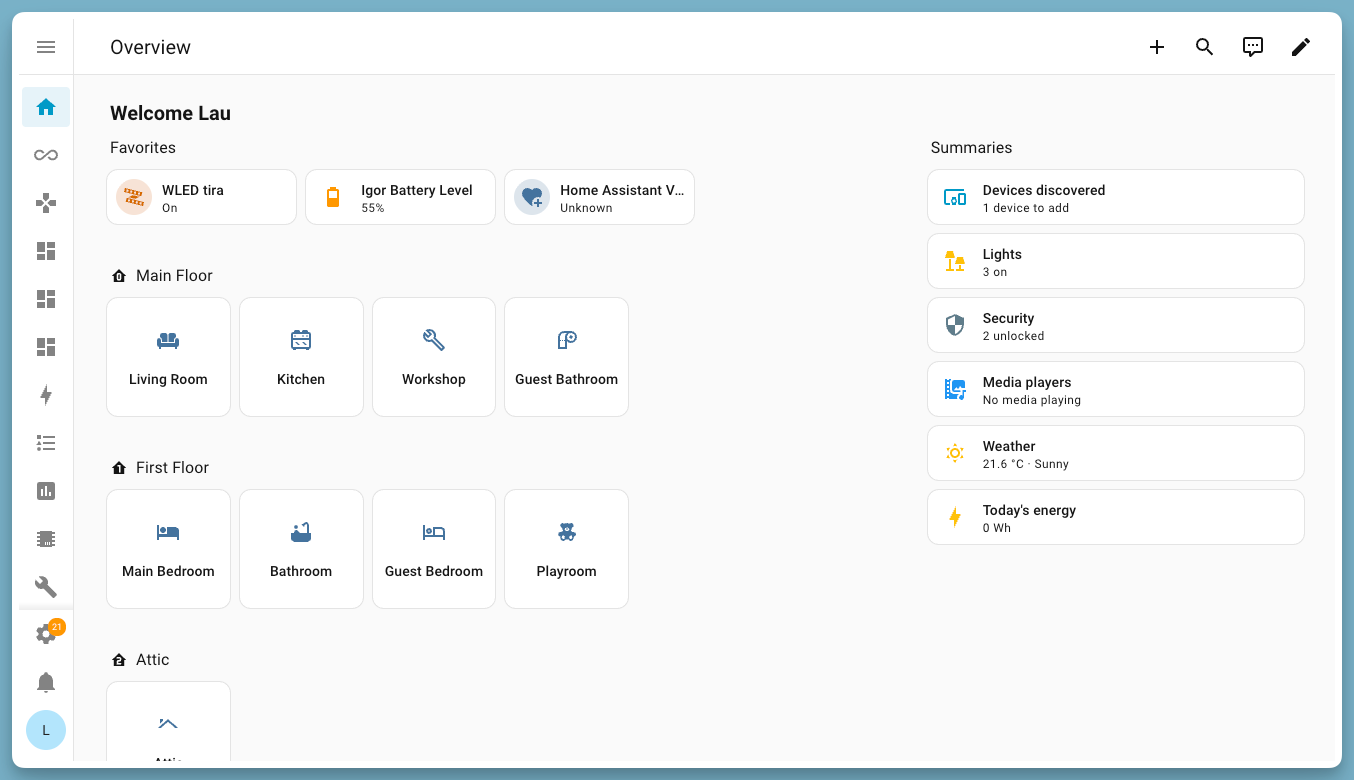
For generic Intel and AMD mini PCs, Home Assistant has an official x86-64 HAOS install method. You need UEFI boot enabled, Secure Boot disabled and a compatible SSD, but once it is installed there is not much else to look after.
If you are fairly new to Home Assistant, that simplicity is worth a lot more than squeezing another three services onto the same CPU.
My Home Assistant beginner guide takes the same approach: get the smart-home side working first, then add complexity when you actually need it.
When Proxmox starts making sense
Proxmox earns its keep when Home Assistant is not the only thing you bought the mini PC for.
Maybe you also want to run:
- AdGuard Home or Pi-hole
- Tailscale
- A Docker host
- Uptime or network monitoring
- A small Linux server
- A test Home Assistant instance
- Other VMs or LXC containers
Now the extra RAM and CPU make sense. Instead of giving the whole box to HAOS, you can split the machine into separate guests and keep each service isolated.
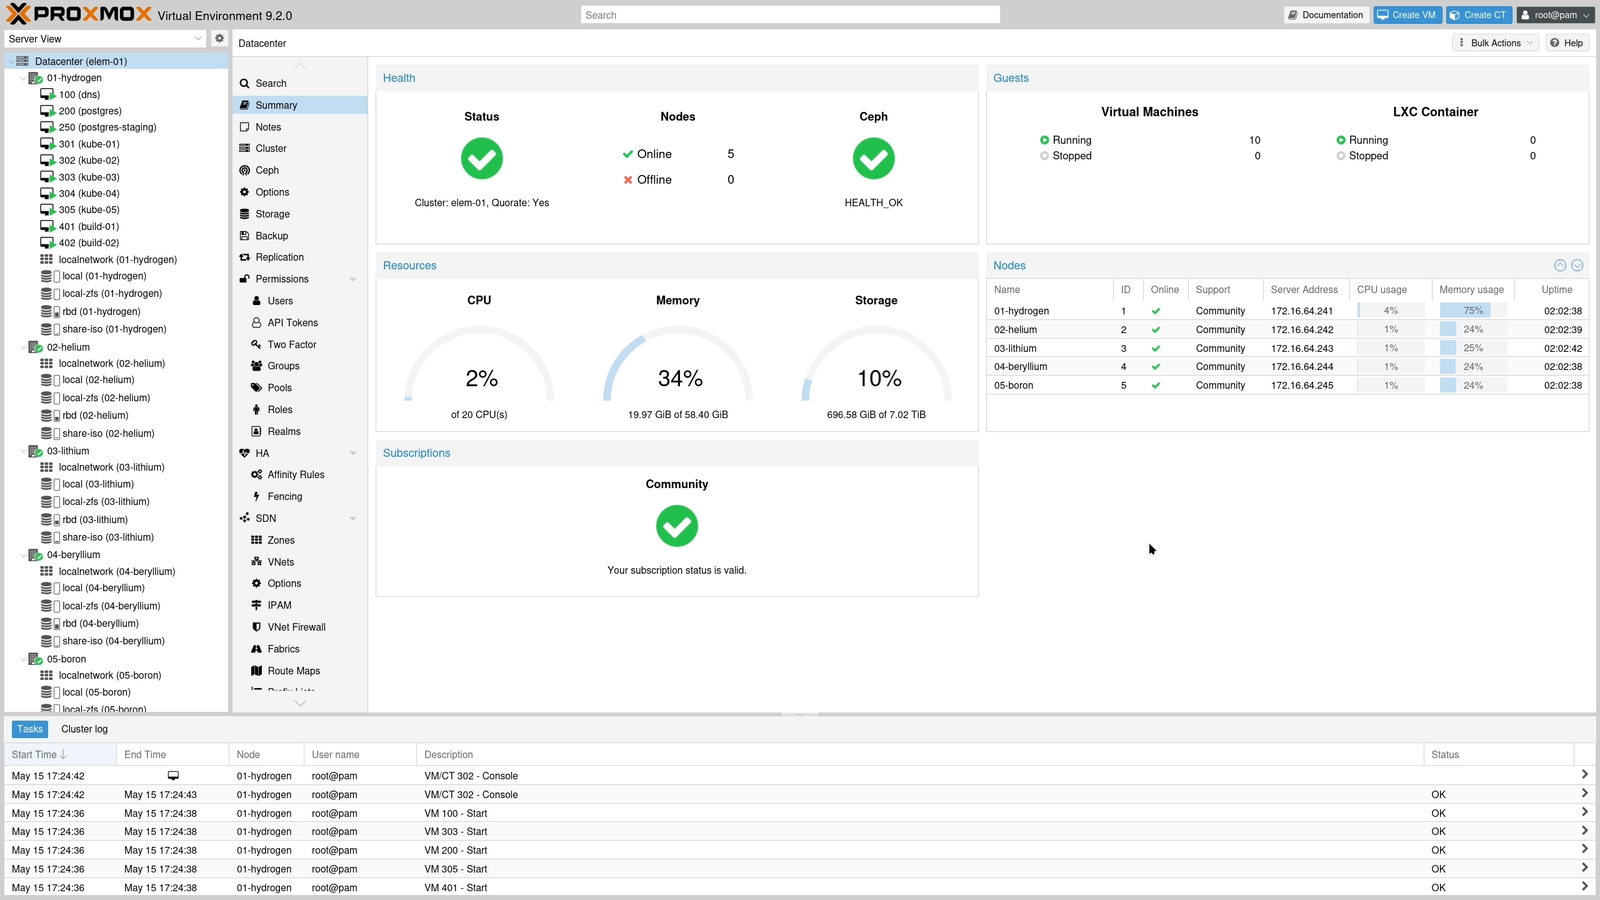
This is the part I like about Proxmox. You can break, rebuild or restart one service without touching the others. You can spin up a temporary VM to test something, then delete it when you are done. You can also back up complete VMs from the host.
I like having that freedom. The trade-off is that Proxmox becomes another thing I have to keep running and understand when something goes wrong.
The part people tend to gloss over: extra moving parts
A lot of Proxmox guides make the setup look almost too clean: install Proxmox, create a VM, import the HAOS disk, done.
And to be fair, once it is set up properly, it can be that uneventful.
But when something stops working, you now have more places to look.
- Is the Proxmox host healthy?
- Is the HAOS VM running?
- Did the VM get the right network interface?
- Is storage full?
- Did a USB device stop passing through?
- Did another guest chew through the RAM or disk I/O?
None of those are especially scary if you already use Proxmox. They are still things you do not have to think about on a dedicated HAOS box.
I would not install a hypervisor just because it feels like the more advanced option. Use it because you actually want the features it gives you.
USB Zigbee and Thread radios are simpler on bare-metal HAOS
USB radios are where the extra Proxmox layer becomes much more noticeable.
With HAOS directly on the mini PC, a Zigbee, Z-Wave or Thread adapter is just connected to the machine and exposed to Home Assistant.
With Proxmox, the host sees the USB device first. You then pass that device through to the HAOS VM.
Proxmox supports this perfectly well, and Home Assistant even documents USB passthrough for virtual-machine installs. It is not a reason to avoid Proxmox. It is simply another thing to configure and remember.
It becomes more noticeable when you change hardware. Move the dongle to another USB port, replace it with a different coordinator or rebuild the VM and you may need to check the passthrough configuration again.
If you are still choosing a coordinator, I have a separate Zigbee dongle guide for Home Assistant.
Proxmox makes backups easier
Backups are one area where Proxmox has a real advantage.
HAOS already has its own backup system, and I would use that regardless of how Home Assistant is installed. Those backups are what I would want if I had to move Home Assistant to completely different hardware.
Proxmox gives you another layer on top of that. You can back up the complete VM and take snapshots before making changes.
That can be very handy when you are about to do something you are not completely confident about. If the VM ends up in a mess, rolling the whole thing back is quick.
I still would not treat a snapshot as your only backup. Keep proper Home Assistant backups as well, preferably somewhere that is not sitting on the same SSD as the VM.
Performance is mostly a non-issue
I would not choose between HAOS and Proxmox based on Home Assistant performance.
A modern N100 or N150 mini PC is already far more powerful than Home Assistant needs for a normal installation. Running HAOS inside a properly configured VM is not going to make your lights suddenly respond slowly.
The performance question only becomes interesting when the Proxmox host starts doing a lot of other work.
A few lightweight containers are one thing. Frigate, media transcoding, big databases and several busy VMs are another. Once the machine is shared, you need to pay some attention to CPU, RAM and storage use.
For HAOS directly, an N100/N150 with 8 GB RAM and an SSD is already very comfortable. For Proxmox, I would buy 16 GB or more so there is actually room for the other services that justified using Proxmox in the first place.
If you are unsure how much hardware you need overall, my Home Assistant hardware guide covers the main options.
The downside of putting everything on one box
Proxmox gives you good isolation between services, but it also encourages you to pile more jobs onto one machine.
That is great right up until the host itself needs maintenance.
If Home Assistant, DNS, monitoring and several other services all live on one Proxmox box, rebooting that host takes all of them down together. A failed SSD or power supply also has a bigger blast radius.
A dedicated HAOS mini PC wastes more resources, but it keeps the smart-home system independent. There is something to be said for that.
You can always move to Proxmox later
This is why I would not overthink the first install.
If you start with HAOS directly and six months later decide you want the mini PC to do more, you are not stuck.
The basic migration is:
- Make a fresh Home Assistant backup.
- Copy it somewhere off the mini PC.
- Install Proxmox.
- Create a HAOS VM using the KVM/Proxmox image.
- Restore your Home Assistant backup.
- Set up USB passthrough for any radios.
It is a bit of work, but it is not a rebuild-from-zero job.
Which would I choose?
I would install HAOS directly if:
- The mini PC is mainly for Home Assistant.
- I want the least amount of maintenance.
- I use USB Zigbee, Z-Wave or Thread hardware.
- I do not already have other server workloads planned.
- I want Home Assistant to stay separate from my homelab experiments.
I would use Proxmox if:
- I already know I want several always-on services on the machine.
- I am comfortable looking after VMs, containers, networking and storage.
- I want VM snapshots and host-level backups.
- I want test VMs or a second Home Assistant instance.
- The mini PC is really a home server that also happens to run Home Assistant.
Final verdict: HAOS vs Proxmox
If you bought a mini PC specifically for Home Assistant, HAOS directly on the hardware is still my pick.
Yes, an N100 or N150 mini PC has enough spare power to do more. That does not mean it has to. A dedicated Home Assistant machine is simple to understand, easy to recover and less likely to disappear because you were tinkering with something unrelated.
Proxmox is the better choice when the machine already has a broader job. If you want a small home server with Home Assistant sitting alongside several other services, the extra complexity is justified and the flexibility is excellent.
I would not choose Proxmox simply because it sounds more advanced. I would choose it when I had a reason to virtualise the box.
If you have settled on a mini PC but have not chosen the hardware yet, see my best mini PCs for Home Assistant. If you are still deciding whether you need a mini PC at all, I have also compared Home Assistant Green vs a mini PC.
Frequently asked questions
Is Proxmox better than installing HAOS directly?
Not automatically. Proxmox is better when you want the mini PC to run several services. If the machine is only for Home Assistant, direct HAOS is usually simpler.
Does Home Assistant run properly in Proxmox?
Yes. Home Assistant provides a KVM/Proxmox HAOS image and supports running HAOS as a virtual machine. You still get Supervisor, apps, backups and the normal HAOS update experience.
Can I use a Zigbee USB dongle with Home Assistant in Proxmox?
Yes. Pass the USB coordinator through from the Proxmox host to the HAOS VM. It works well, but it adds one extra layer compared with plugging the coordinator directly into a bare-metal HAOS machine.
Is an Intel N100 mini PC enough for Proxmox and Home Assistant?
For Home Assistant and a handful of lightweight services, yes. Heavier workloads such as camera processing or media transcoding can change the calculation quickly.
How much RAM should a Home Assistant VM have?
Home Assistant itself is not especially RAM-hungry. Home Assistant’s current VM documentation lists 2 GB of RAM and 2 vCPUs as the minimum. I would give it more breathing room on a modern mini PC, but I would not assign most of the host RAM to HAOS unless your actual usage justifies it.
Can I move from HAOS bare metal to Proxmox later?
Yes. Create a current Home Assistant backup, install Proxmox, create a new HAOS VM and restore the backup. You will then need to set up passthrough again for any physical USB radios.
Some of the links in this post may be affiliate links. If you buy through them, I may earn a small commission at no extra cost to you.