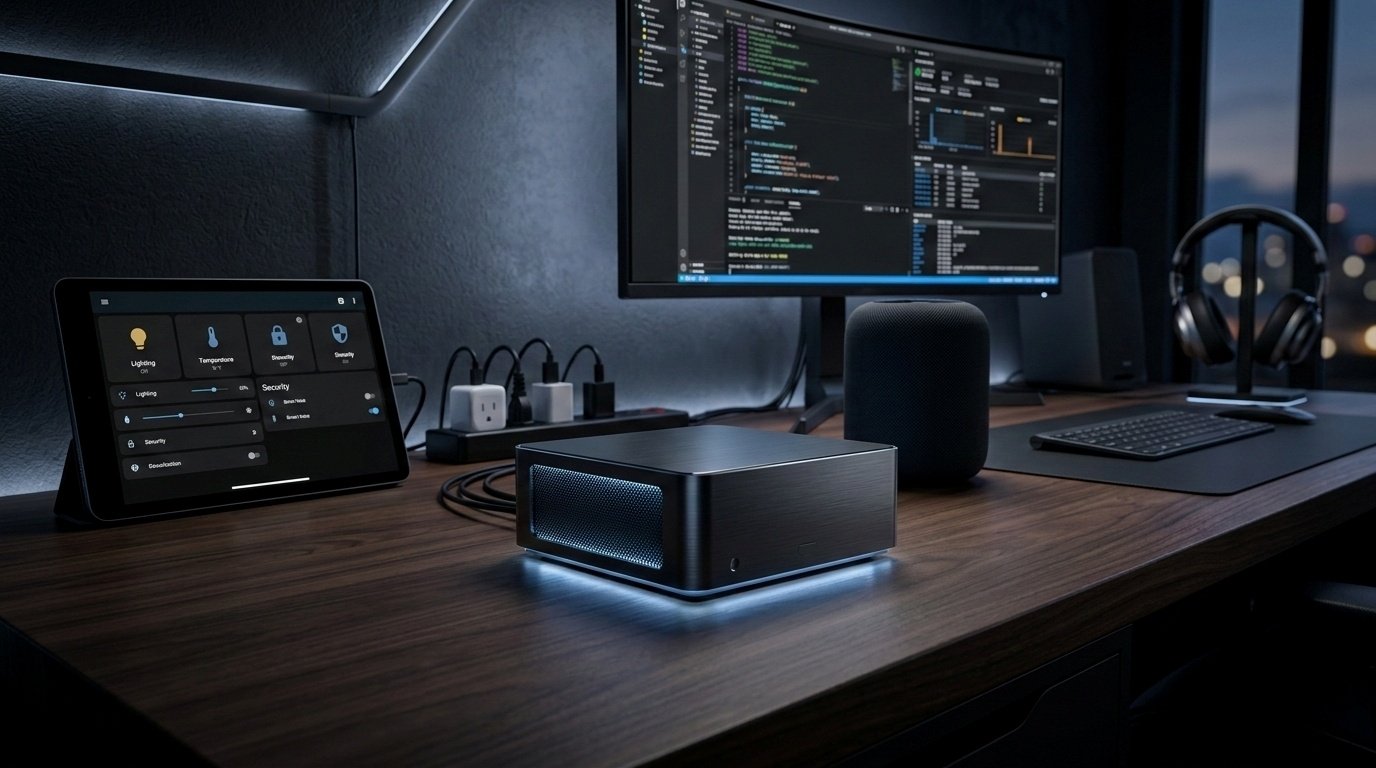
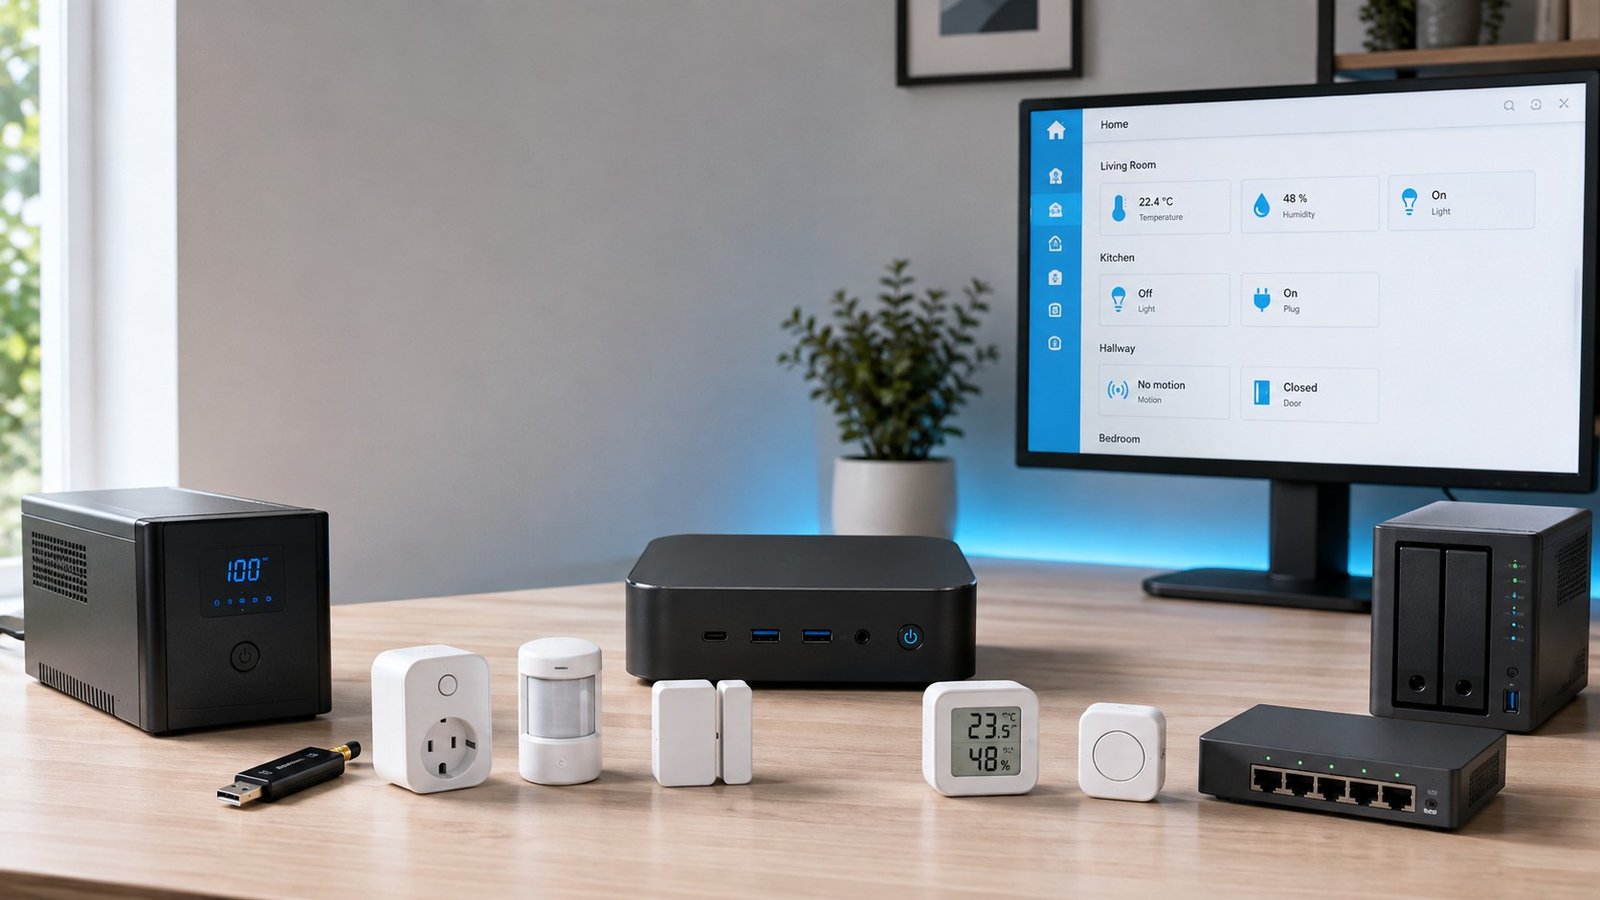
Starting with Home Assistant can feel more complicated than it actually is.
You will often see setups involving mini PCs, network racks, USB adapters, custom sensors and enough cables to fill a drawer. Those systems can be great, but you do not need to buy all of your Home Assistant hardware at once.
A good Home Assistant setup can start with one small hub, a Zigbee adapter and a handful of useful devices. From there, you can add extra hardware as you discover what you actually want to automate.
In this guide, I’ll cover the hardware I would recommend to someone starting Home Assistant for the first time, beginning with the device that runs it and then moving through the accessories that make the system genuinely useful.
1. Start with Home Assistant Green
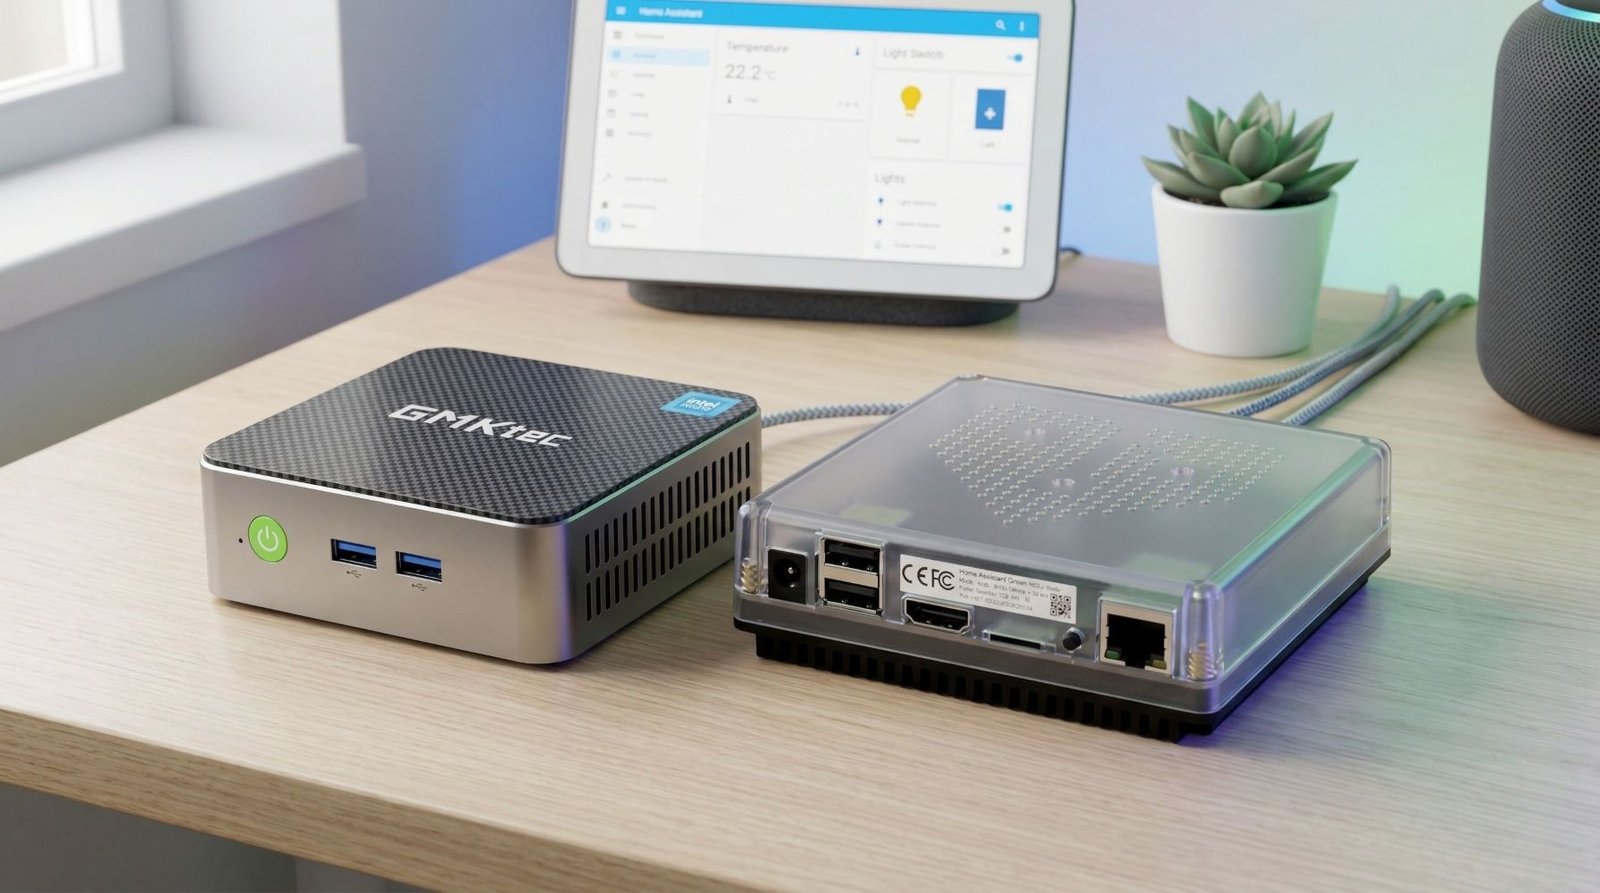
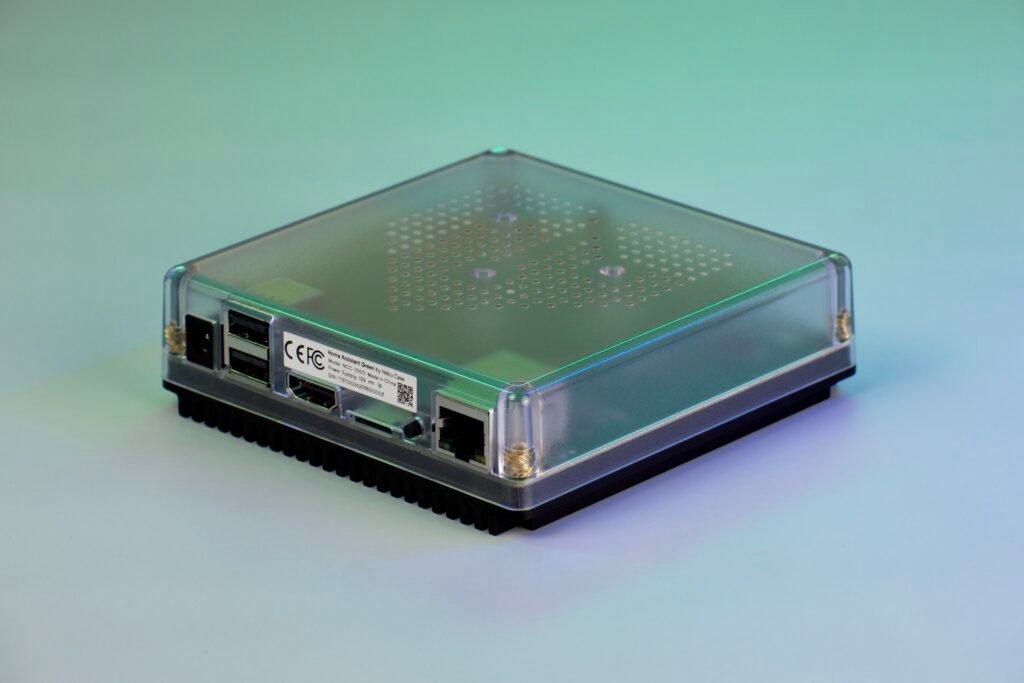
For most beginners, Home Assistant Green is the easiest place to start.
It is a dedicated Home Assistant hub with Home Assistant OS already installed. You do not need to choose an operating system, prepare an SD card or work through a complicated installation process. Connect the included power and Ethernet cables, follow the setup wizard and you can begin adding devices.
Inside, Home Assistant Green has a 1.8 GHz quad-core processor, 4 GB of RAM and 32 GB of built-in eMMC storage. It also includes two USB ports and Gigabit Ethernet. That is plenty for a typical smart home running automations, dashboards, Zigbee devices, ESPHome and common Home Assistant apps.
The built-in storage is another nice advantage. There is no separate microSD card to buy, and the unit arrives in a finished enclosure with passive cooling, so there are no fans adding noise.
Home Assistant Green also uses very little electricity. Home Assistant lists its power consumption at approximately 1.7 watts while idle and around 3 watts under load, making it easy to leave running around the clock.
What comes with Home Assistant Green?
The box includes:
- Home Assistant Green
- Power supply
- Ethernet cable
- Quick-start documentation
That means the only immediate requirement is a spare Ethernet port on your router or network switch.
Who should buy Home Assistant Green?
Home Assistant Green is particularly well suited to:
- People setting up Home Assistant for the first time
- Anyone who wants a dedicated smart home hub
- Users who would prefer not to install an operating system
- Friends or family members who want a straightforward setup
- People who want a small, silent and energy-efficient device
More powerful hardware is available, but most beginners do not need a high-end server to control lights, plugs, sensors and everyday automations. Home Assistant Green gives you a clean starting point without taking away your ability to expand later.
Home Assistant Green
An official plug-and-play Home Assistant hub with Home Assistant OS pre-installed, making it one of the easiest ways to get started.
2. Add a Home Assistant Connect ZBT-2
Home Assistant Green does not have a built-in Zigbee or Thread radio. To connect those devices directly, you need a compatible adapter.
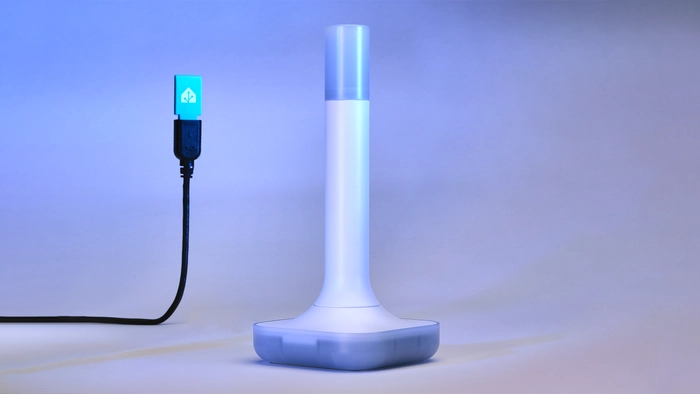
My first recommendation would be the Home Assistant Connect ZBT-2, configured for Zigbee.
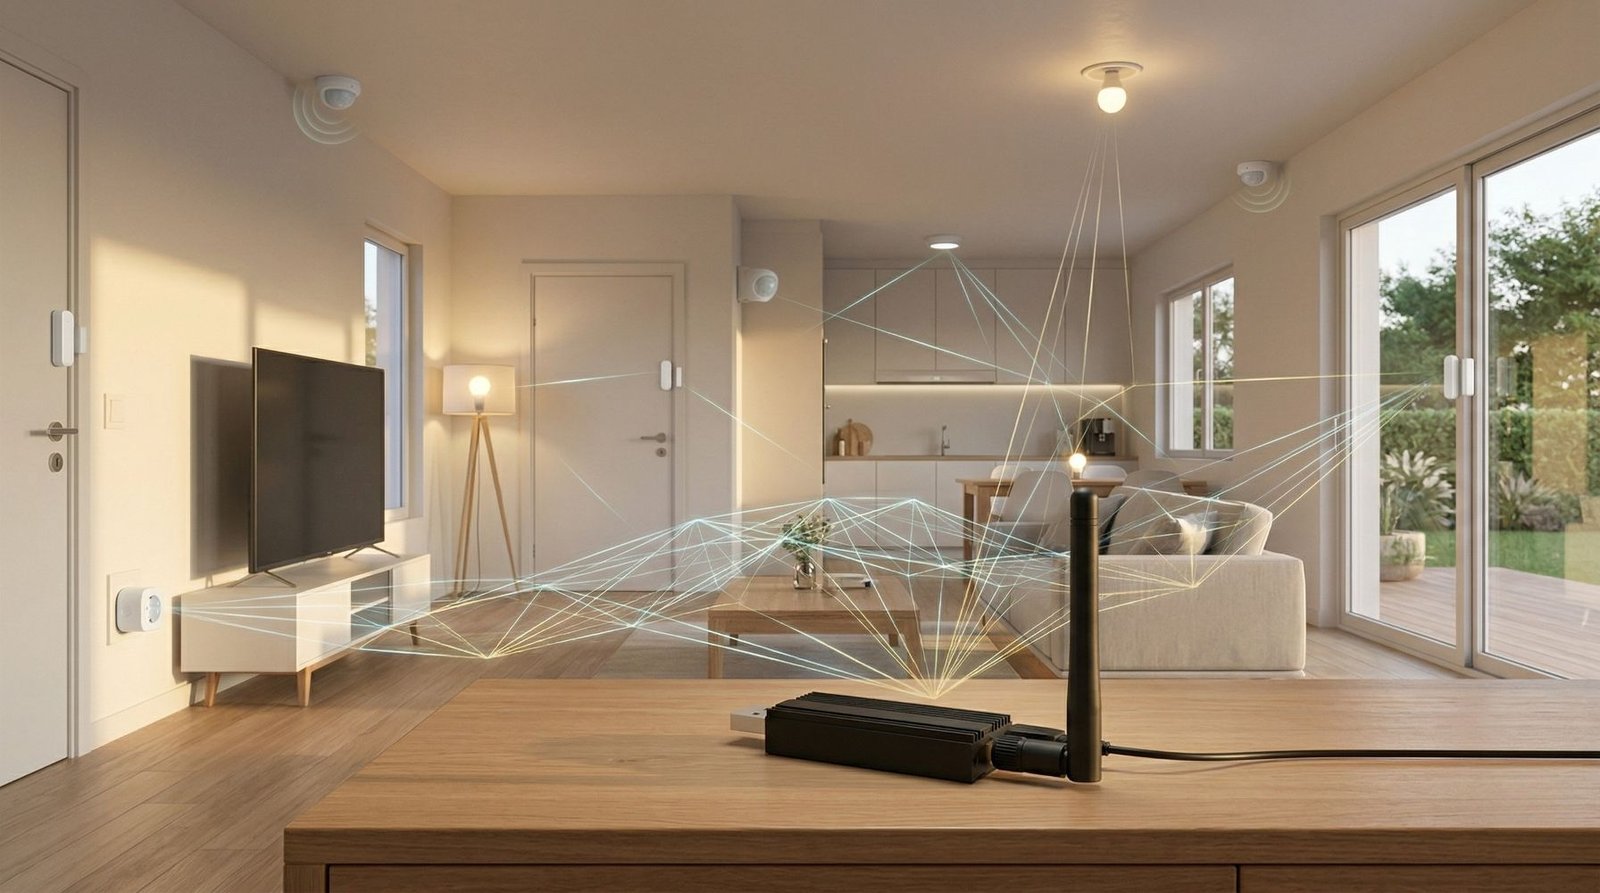
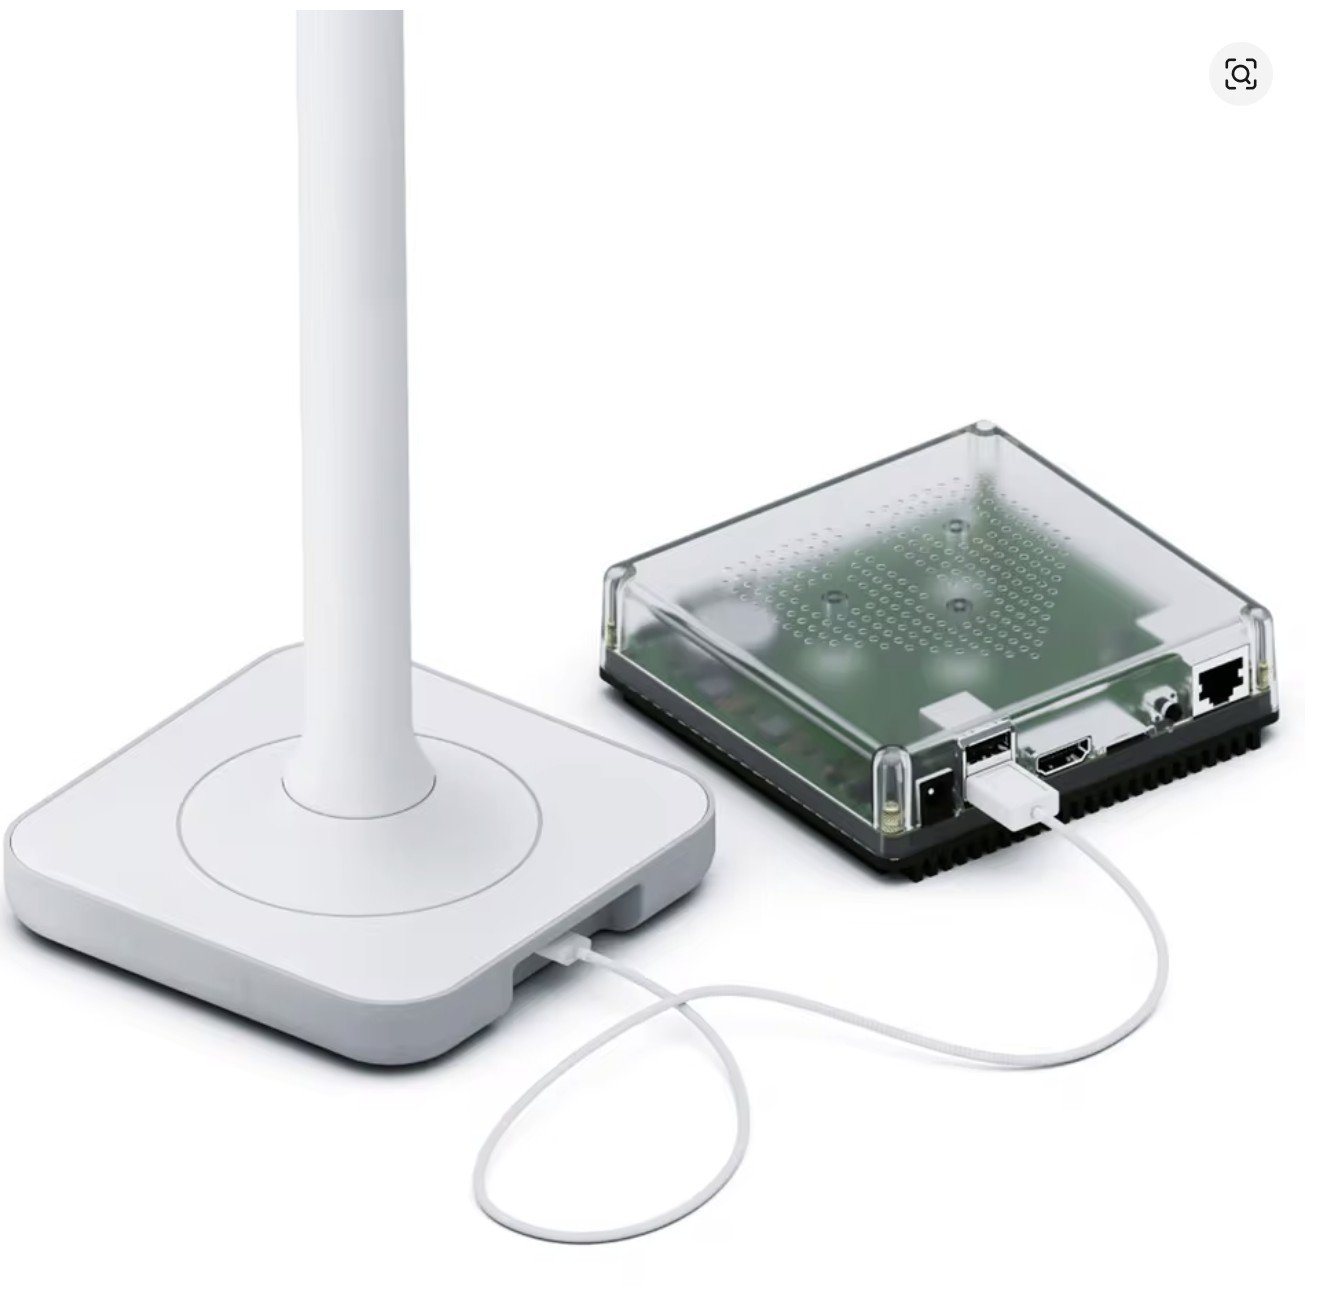
The ZBT-2 is the current official Zigbee and Thread adapter from Home Assistant. It connects to Home Assistant Green using USB and includes a dedicated antenna designed to provide a reliable connection to compatible devices.
It can operate as either:
- A Zigbee coordinator
- A Thread border router
You choose one protocol during setup. A single ZBT-2 cannot run Zigbee and Thread simultaneously, so anyone wanting dedicated radios for both would need two adapters.
Why I would begin with Zigbee
Thread and Matter are continuing to grow, but Zigbee currently gives a new Home Assistant user access to a very broad range of affordable products.
You can find Zigbee versions of:
- Smart plugs
- Motion sensors
- Door and window sensors
- Temperature sensors
- Wireless buttons
- Light bulbs
- Wall switches
- Water-leak sensors
- Smoke alarms
- Blind controllers
Zigbee devices can connect directly to Home Assistant through the ZBT-2, allowing you to bring products from different manufacturers into one system.
The ZBT-2 works with Home Assistant’s built-in ZHA integration and is also being used with Zigbee2MQTT. Home Assistant provides setup and migration tools, along with firmware updates through Home Assistant.
It also comes with a 1.5-meter USB cable, which gives you some flexibility when deciding where to place the antenna.
Home Assistant Connect ZBT-2
An official Home Assistant Zigbee and Thread adapter with a larger external antenna, USB-C connection and simple setup inside Home Assistant.
3. Buy Two Zigbee Smart Plugs
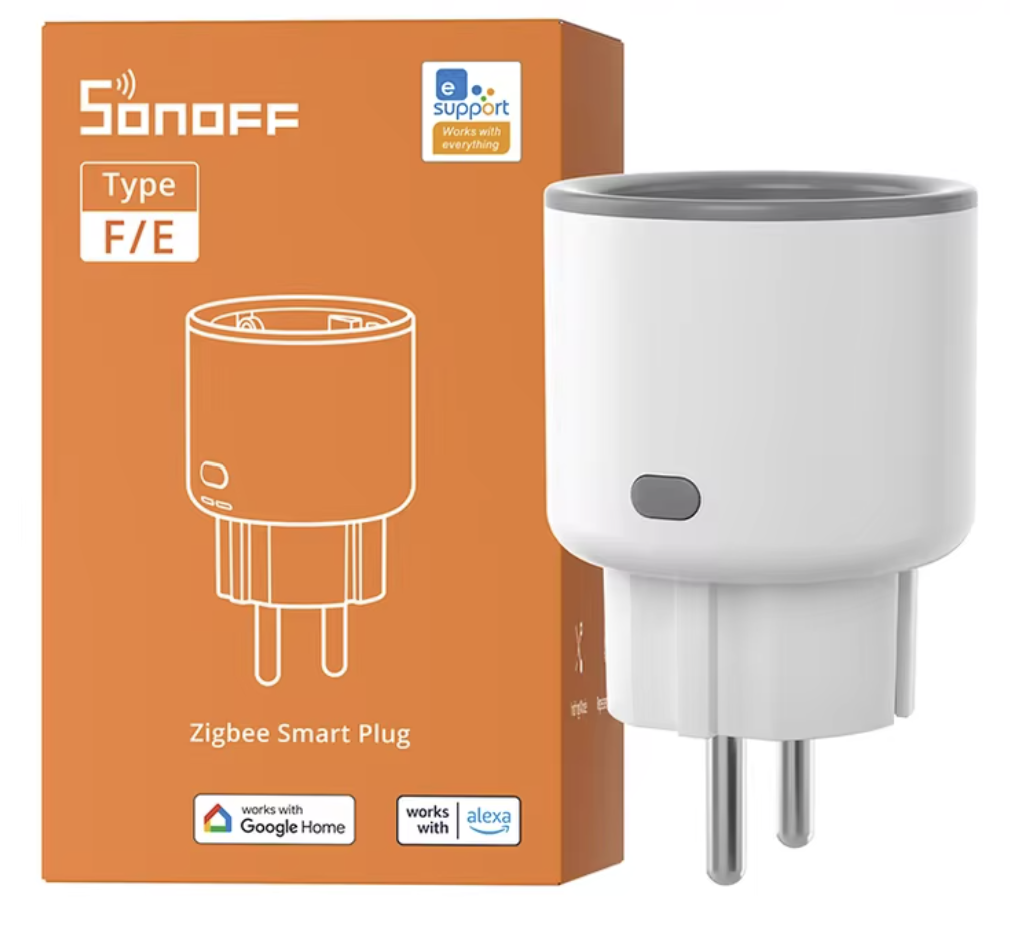
Once the Zigbee adapter is installed, I would purchase at least two Zigbee smart plugs.
Smart plugs are one of the easiest Home Assistant devices to find a use for. Depending on the model, they can control and monitor equipment such as:
- Lamps
- Fans
- Coffee machines
- Chargers
- Televisions
- Computer equipment
- Dehumidifiers
- Small appliances
Some models also include power monitoring, allowing Home Assistant to measure current power use and total energy consumption.
That extra data can make the plug useful for more than simply turning something on and off. For example, Home Assistant can determine when a washing machine has finished, alert you when an appliance has been left running or track how much energy a device uses over time.
Smart plugs also help build the Zigbee network
Zigbee uses a mesh network. Many permanently powered Zigbee products can relay messages for other devices, helping the network cover more of the home.
A pair of smart plugs positioned in different rooms can therefore be useful both as controllable outlets and as early building blocks for the Zigbee network. Zigbee is designed around a low-power, self-organizing mesh, although the exact routing behavior still depends on the individual product.
When buying a smart plug, check:
- It matches your country’s plug and socket type
- Its maximum current rating suits the intended appliance
- Whether it includes energy monitoring
- Whether it is confirmed to work with ZHA or Zigbee2MQTT
- Whether it behaves as a Zigbee router
For a first setup, I would choose a recognizable model with plenty of Home Assistant users rather than simply selecting the cheapest listing available.
Zigbee Smart Plug
Make any appliance smarter with easy Home Assistant control, useful automations and real-time energy monitoring.
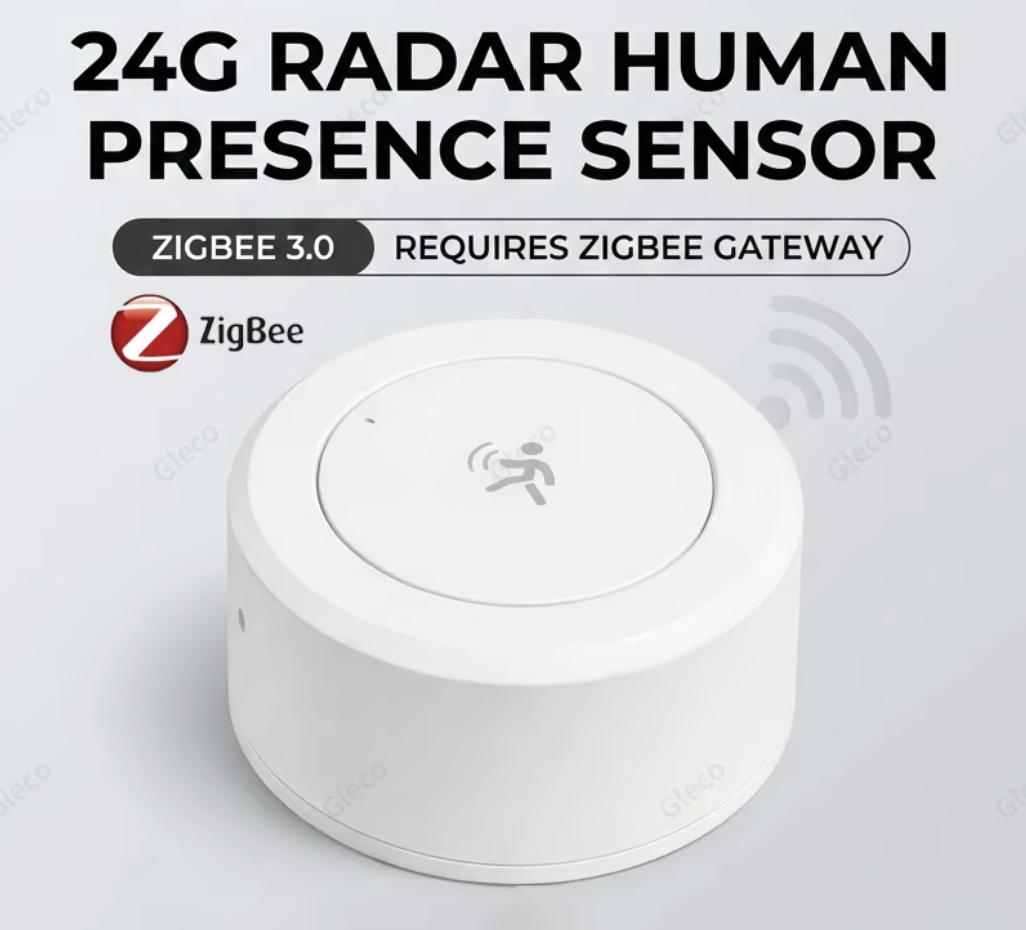
4. Add a Zigbee Motion Sensor
A motion sensor is one of the first products that makes Home Assistant feel like an actual home automation system rather than a remote-control app.
Instead of opening your phone to turn on a light, Home Assistant can do it automatically when someone enters the room.
Motion sensors are useful in:
- Hallways
- Bathrooms
- Laundries
- Garages
- Walk-in wardrobes
- Entryways
- Kitchens
- Home offices
A simple automation can turn on a light when movement is detected and turn it off again after the room has been empty for a set period.
You can also combine motion with other conditions. The light could only activate after sunset, at a reduced brightness overnight or when the house is occupied.
For many beginners, a hallway or laundry is a good first location. These rooms have predictable movement, making them easy places to build and test an automation.
Some sensors also report light levels, which can help Home Assistant decide whether the room is already bright enough.
Zigbee Motion Sensor
Bring your automations to life with reliable motion detection for smarter lighting, alerts and everyday convenience.
5. Add Door and Window Sensors
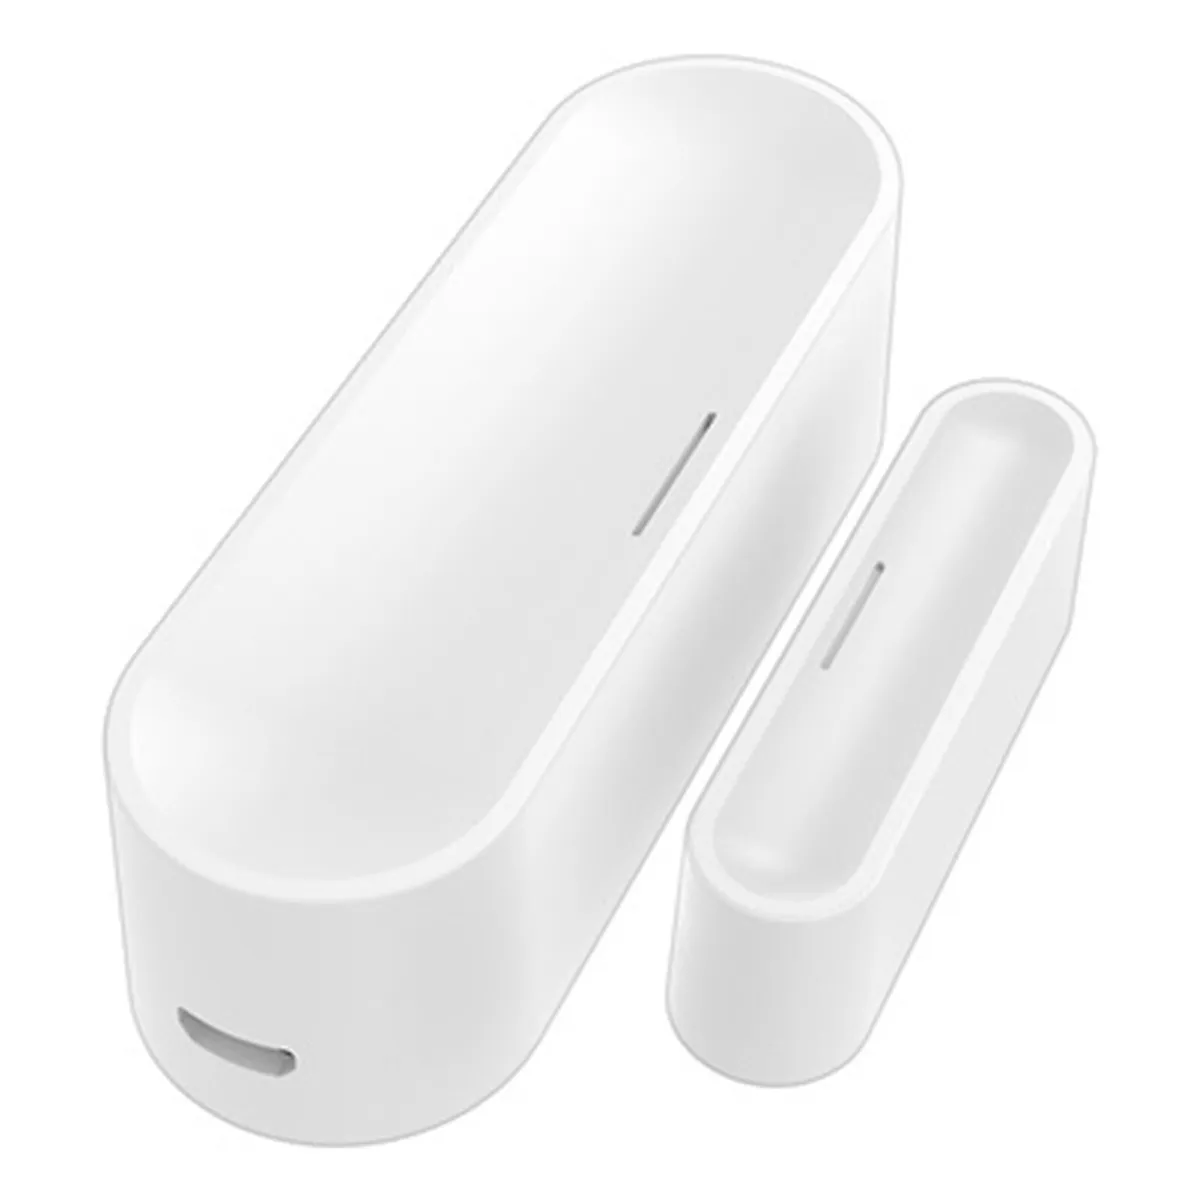
A contact sensor tells Home Assistant whether a door or window is open or closed.
These small battery-powered sensors are inexpensive, simple to install and surprisingly versatile.
They can be used to:
- Send an alert when an exterior door opens
- Turn on an entry light
- Warn you that a window is open while the heating or air conditioning is running
- Show whether a garage door is closed
- Remind you that a freezer door has been left open
- Trigger a hallway automation
- Record when a gate or cupboard is accessed
A contact sensor on the front door is an excellent starting point. It can later be combined with lights, alarms, cameras, presence detection and mobile notifications.
You will probably find more uses for these than you initially expect, so contact sensors are also suitable products to purchase in a small multipack.
The Works with Home Assistant directory includes certified open-and-close sensors from manufacturers such as Aqara and ThirdReality, although many additional devices are supported through ZHA and Zigbee2MQTT.
Zigbee Door Sensor
Know instantly when a door or window opens, and use it to trigger alerts, lights and smarter automations.
6. Add Temperature and Humidity Sensors
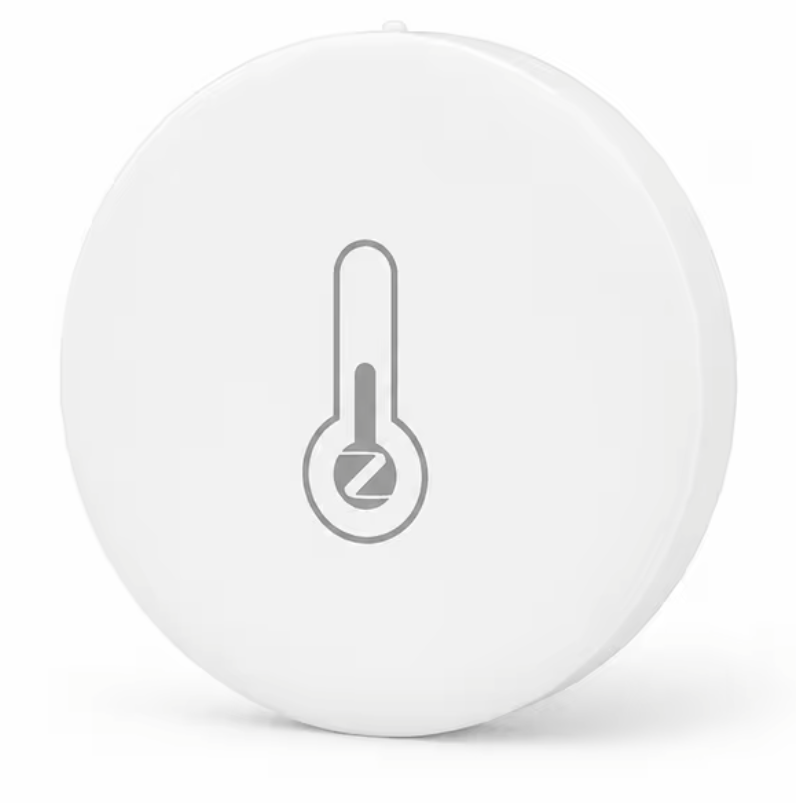
Temperature and humidity sensors give Home Assistant useful information about different parts of the house.
They can be placed in:
- Bedrooms
- Living areas
- Bathrooms
- Roof spaces
- Garages
- Refrigerators
- Wine storage areas
- Greenhouses
- Outdoor enclosures
Once the readings are available in Home Assistant, you can display them on dashboards, review historical graphs or use them in automations.
For example, Home Assistant could:
- Turn on a fan when humidity rises
- Control a heater using room temperature
- Notify you when a refrigerator becomes too warm
- Run a bathroom exhaust fan after a shower
- Compare conditions across different rooms
- Control ventilation in a garage or equipment cupboard
These sensors are normally small and battery-powered, which makes them easy to place without adding more wiring.
Temperature/Humidity Sensor
Keep every room comfortable with accurate temperature and humidity monitoring, helpful alerts and smarter climate automations.
7. Add a Wireless Zigbee Button
Phone control is convenient, but physical controls still have an important place in a smart home.
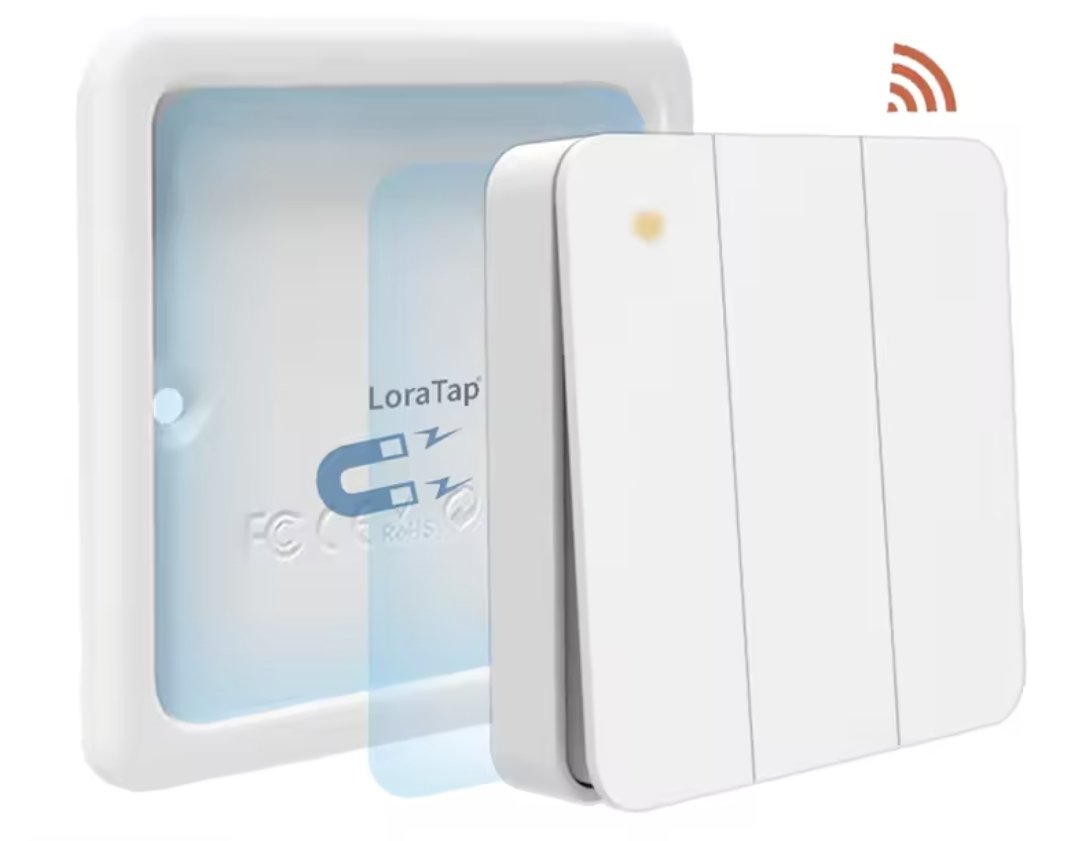
A wireless Zigbee button can be placed on a bedside table, attached to a wall or kept somewhere that is easy to reach. One button can often provide several actions through single presses, double presses and long presses.
Possible uses include:
- Turning off every light before bed
- Activating a movie scene
- Controlling blinds
- Starting a morning routine
- Operating a fan
- Triggering a doorbell
- Turning off selected appliances
- Activating a “leaving home” routine
Buttons are also useful for family members or guests who do not want to open the Home Assistant app.
Certified Zigbee buttons listed in the Works with Home Assistant program include products from frient and ThirdReality, with many more options supported by Home Assistant’s Zigbee integrations.
Wireless Button
Control lights, scenes and automations instantly with one convenient wireless button.
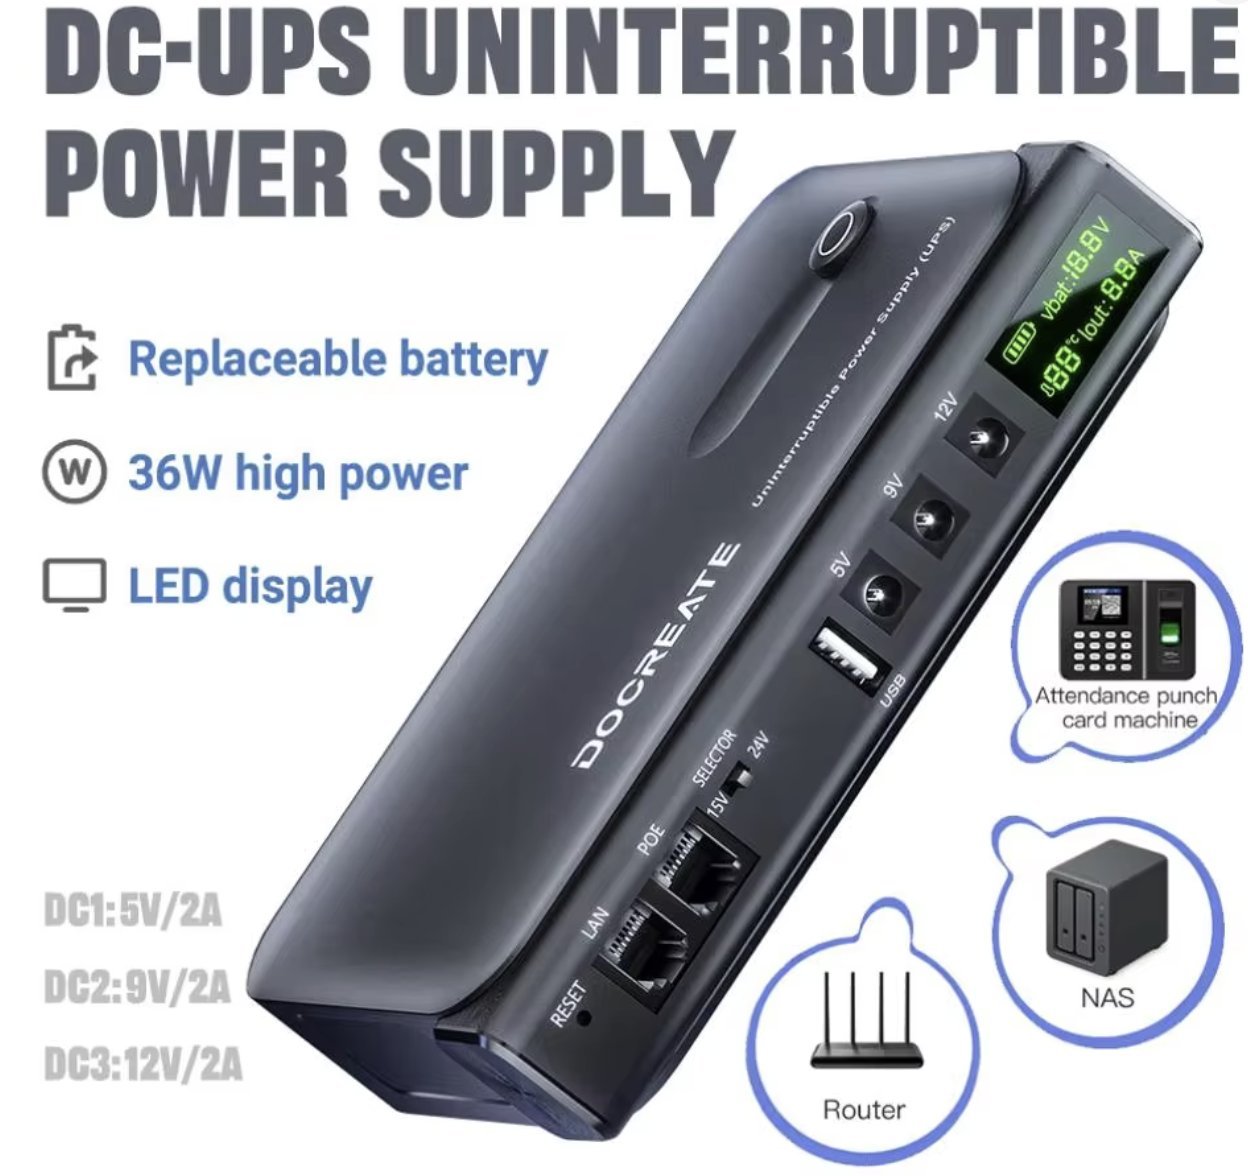
8. Protect the Setup with a Small UPS
Home Assistant is designed to run continuously. A short power interruption can shut down the Home Assistant hub, router and smart home network at the same time.
A small uninterruptible power supply, or UPS, provides temporary battery power when mains electricity drops out.
For a basic setup, you may be able to connect the following equipment to one compact UPS:
- Home Assistant Green
- Internet router
- Ethernet switch
- Fibre ONT or modem
- Other small smart home hubs
These devices generally use much less power than a desktop computer, so even a modest UPS may keep the essential parts of the smart home operating through short outages.
It also gives the equipment cleaner power and reduces the chance of Home Assistant being abruptly switched off during a brief interruption.
Look for a reputable UPS with enough outlets for your networking equipment. A model with USB monitoring can be particularly useful because compatible systems may be able to report battery status and trigger notifications or shutdown actions.
UPS
Keep Home Assistant and your network running through short power outages while protecting your equipment from unexpected shutdowns.
9. Add a Gigabit Ethernet Switch When You Need More Ports
Home Assistant Green is connected through Ethernet rather than Wi-Fi.
A wired connection is ideal for a device that controls the home because it provides a stable connection to the local network. The Green includes a Gigabit Ethernet port and an Ethernet cable in the box.
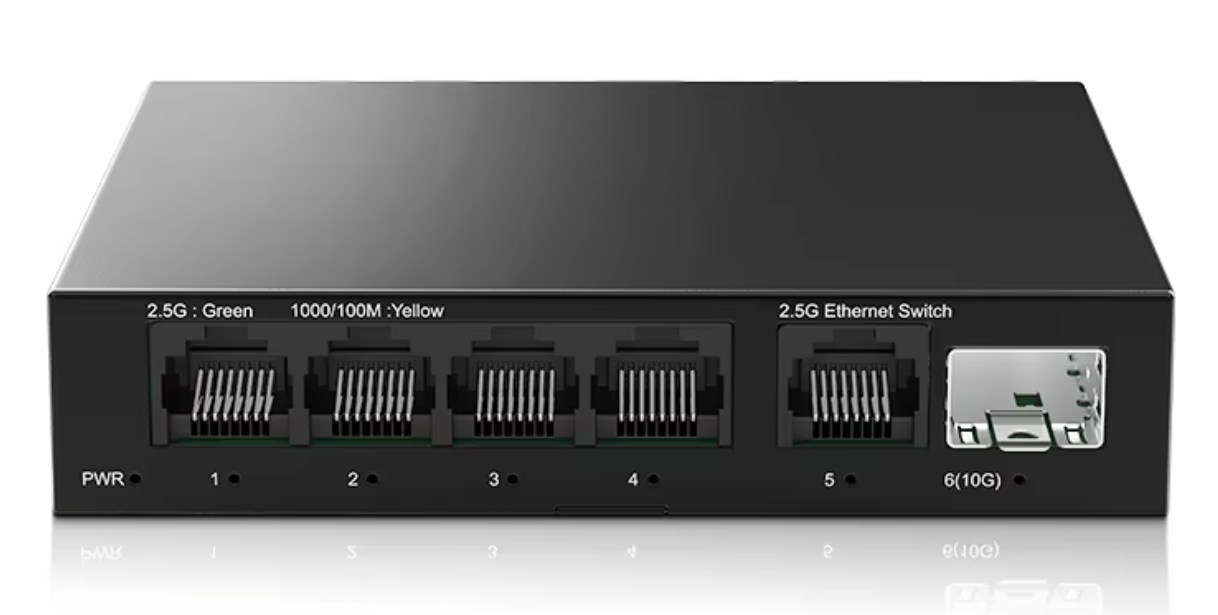
Your existing router may already have a spare port. When those ports begin filling up, a small unmanaged Gigabit Ethernet switch is an inexpensive way to add more.
A basic five-port or eight-port switch can provide connections for:
- Home Assistant Green
- A desktop computer
- A television
- A network storage device
- Security cameras
- Additional smart home hubs
- Wireless access points
You do not need an advanced managed switch just to get started. A straightforward unmanaged model will work for most homes and normally requires no configuration.
Ethernet Switch
Expand your wired network with fast, reliable Gigabit connections for Home Assistant and all your essential smart home devices.
10. Set Up an External Backup Location
Home Assistant now supports automatic backups directly through its interface. You can choose a schedule, set how many backups to retain and select where they should be stored.
The important part is keeping at least one backup somewhere other than the Home Assistant Green itself.
Possible backup locations include:
- A NAS
- Network storage
- Google Drive
- Microsoft OneDrive
- Home Assistant Cloud
- Another computer
- A manually downloaded backup stored on an external drive
Home Assistant specifically recommends keeping a copy on another system and ideally also storing one copy off-site.
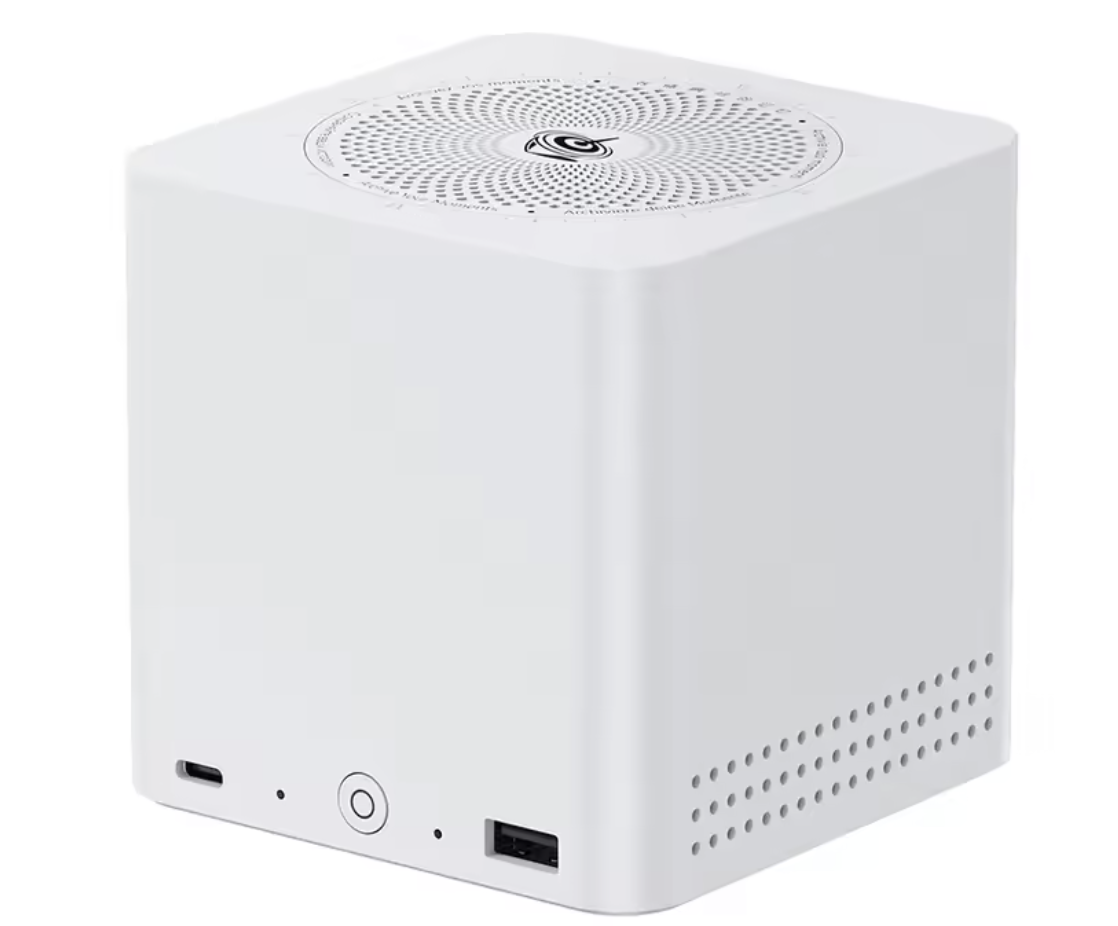
NAS
Keep your Home Assistant backups, photos and important files safely stored in one reliable place.
Is a NAS worth buying?
You do not need to purchase a NAS solely to begin using Home Assistant. However, a NAS can be a worthwhile long-term addition when it will also be used for:
- Computer backups
- Photo storage
- Video storage
- Security-camera footage
- Media libraries
- Shared household files
Home Assistant can use supported network storage as a backup destination, keeping the backup separate from the Green.
For smaller setups, Home Assistant Cloud or an existing cloud-storage service may be the simpler starting point. An external SSD can also be useful for keeping manually downloaded copies on another computer.
11. Use ESP32 Bluetooth Proxies for Better Coverage
Home Assistant can communicate with a growing range of Bluetooth devices, including temperature sensors, plant sensors, buttons, locks and SwitchBot products.
The challenge is that Bluetooth has a relatively short range. If Home Assistant Green is located at one end of the house, it may not reliably receive signals from devices several rooms away.
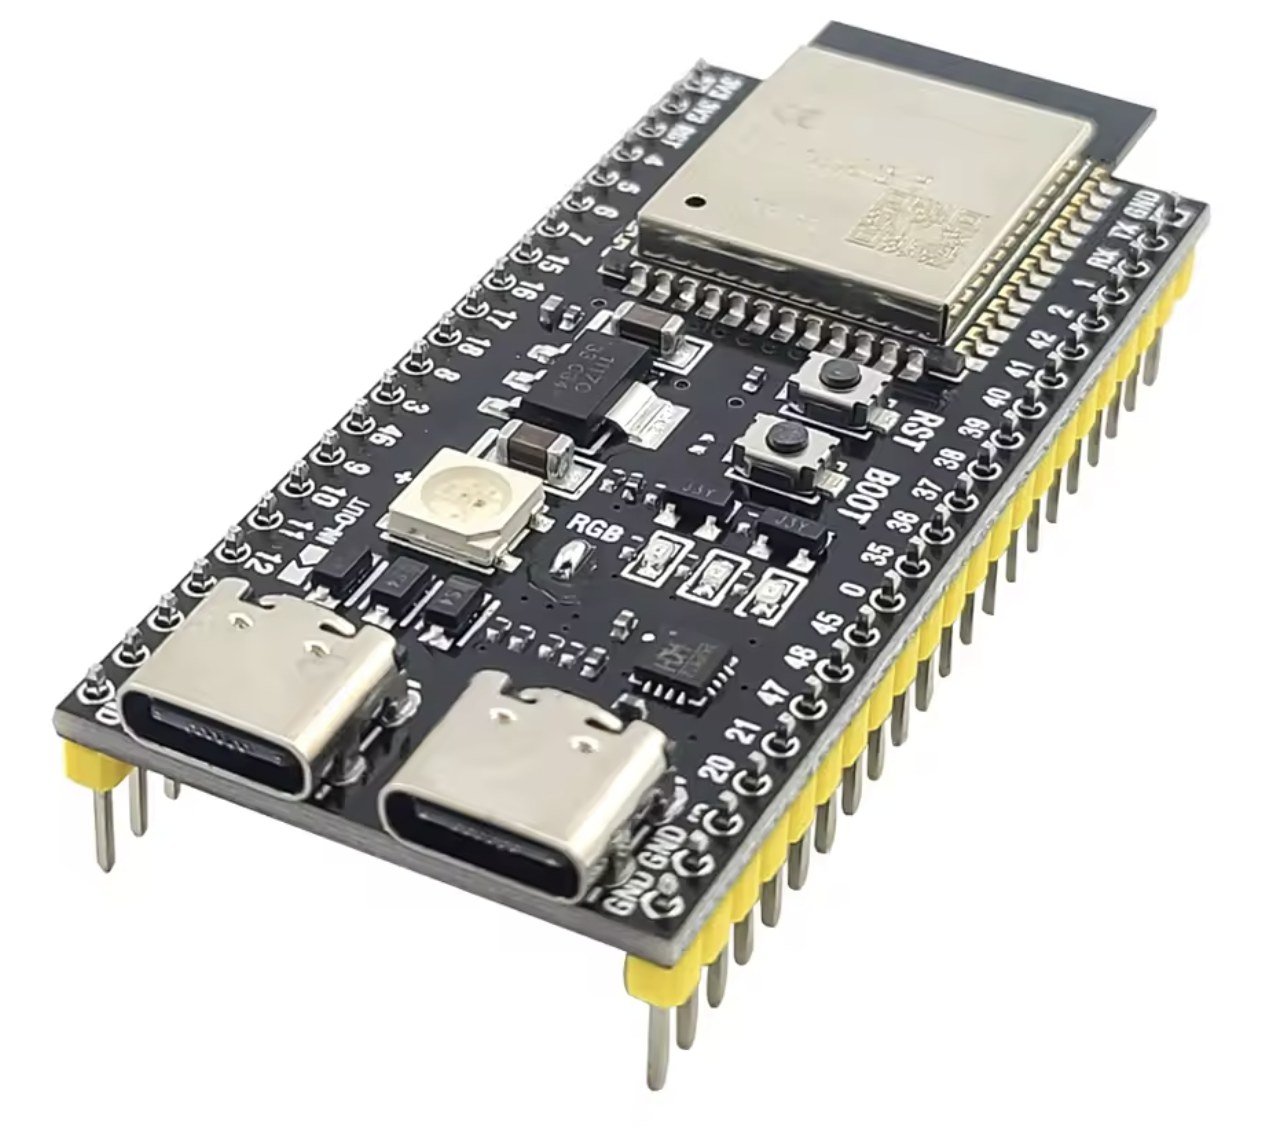
An ESP32 Bluetooth proxy solves this by listening for nearby Bluetooth devices and forwarding their information to Home Assistant over Wi-Fi or Ethernet.
You can place several proxies around the house to extend coverage between rooms and floors. Home Assistant officially describes these as remote Bluetooth adapters, with ESP32 boards running ESPHome being a typical option.
A basic Bluetooth proxy setup normally requires:
- Compatible ESP32 board
- USB power supply
- USB cable
- Wi-Fi connection
This is a particularly affordable expansion for anyone who already has several Bluetooth sensors or SwitchBot devices.
ESP32 Bluetooth Proxy
Extend Bluetooth coverage throughout your home for faster, more reliable connections to nearby sensors and smart devices.
12. Consider Home Assistant Connect ZWA-2 for Z-Wave
Zigbee would be my first choice for most beginners, but Z-Wave is another strong smart home protocol.
Z-Wave is commonly used for:
- Smart locks
- In-wall switches
- Dimmers
- Door sensors
- Motion sensors
- Garage controls
- Outdoor devices
- Security products
The Home Assistant Connect ZWA-2 is the official Z-Wave adapter designed for Home Assistant. It uses an 800-series Z-Wave chipset and supports standard Z-Wave alongside Z-Wave Long Range where Long Range is available.
Because Z-Wave operates in sub-GHz frequency bands, it can be particularly useful in large houses or buildings with dense walls. Its frequency is also separate from the 2.4 GHz band used by Wi-Fi, Bluetooth, Zigbee and Thread.
The ZWA-2 is designed to automatically configure its region using the location set in Home Assistant. You still need to purchase Z-Wave end devices designed for the correct region, as Z-Wave frequencies differ around the world.
I would add Z-Wave when you find a specific Z-Wave product that suits your home, rather than feeling that every new system needs all available protocols immediately.
ZWA-2 for Z-Wave
Add reliable Z-Wave control to Home Assistant with excellent range, strong connectivity and support for compatible smart devices.
13. Add Home Assistant Voice Preview Edition
Once lights, sensors and automations are running, voice control can make the system easier to use.
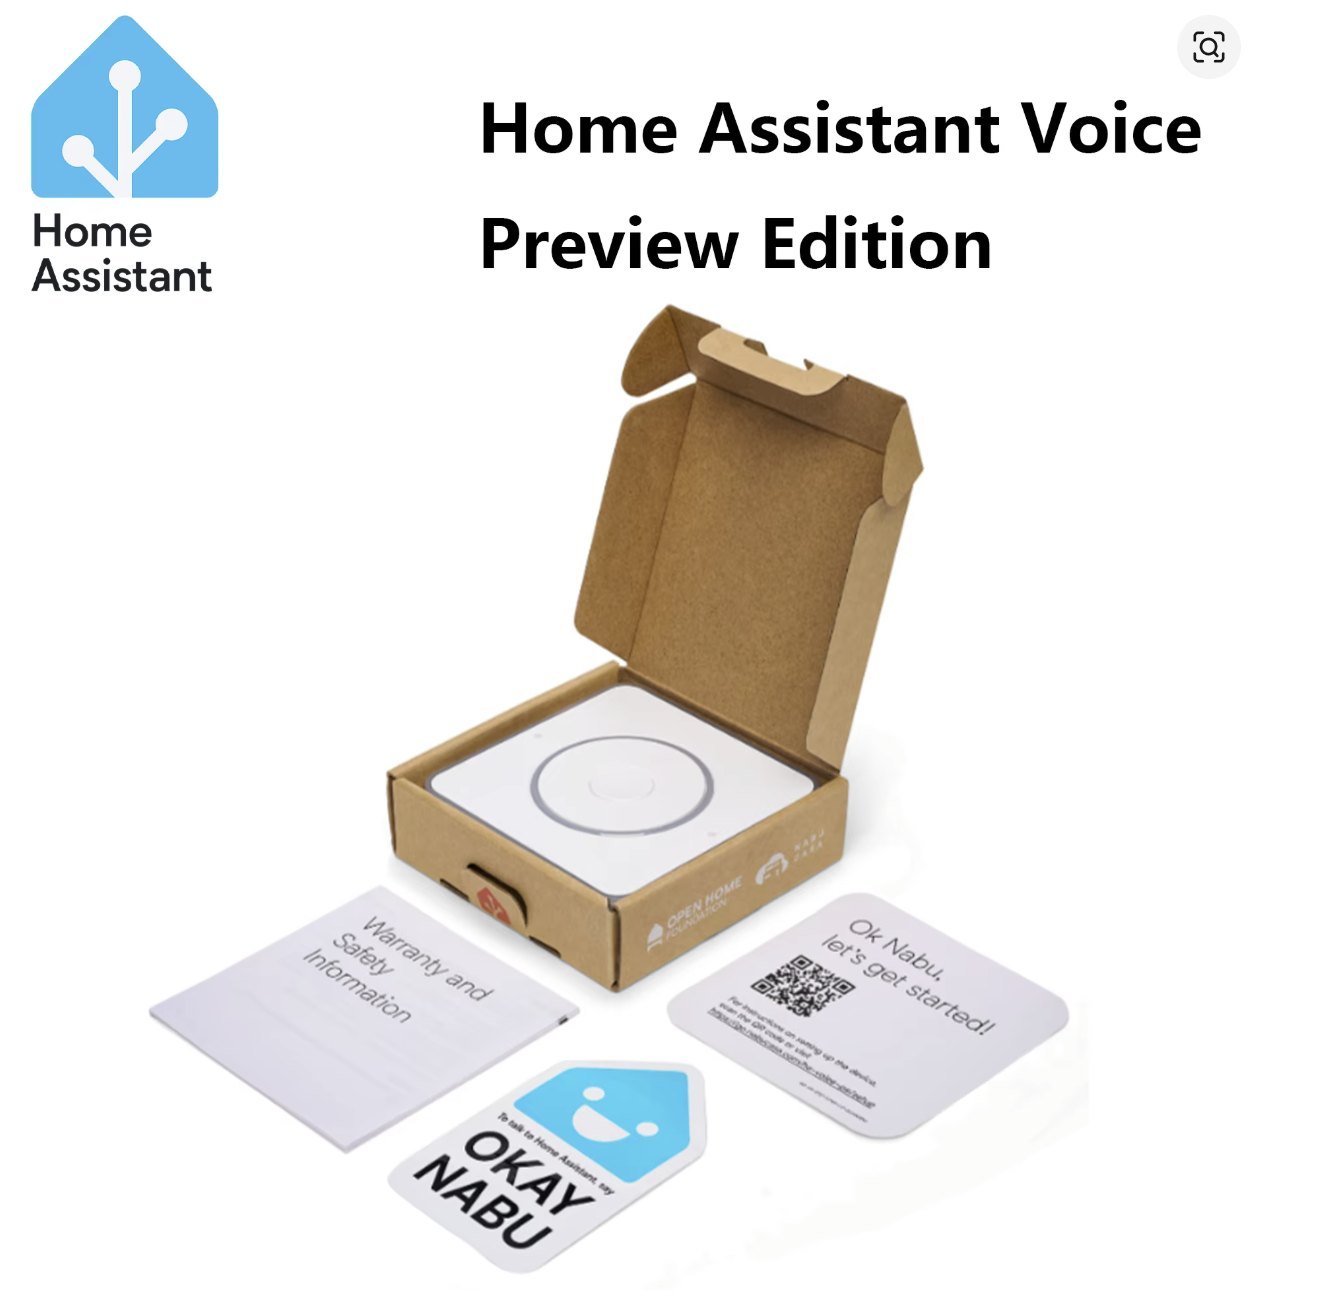
The Home Assistant Voice Preview Edition is a dedicated voice-control device built for Home Assistant. It includes dual microphones, an internal speaker, a physical microphone mute switch, a volume dial and an LED status ring.
Setup uses a USB-C power connection and a guided setup process, with no custom microphone or speaker assembly required.
It can be used for commands such as:
- Turning lights on and off
- Controlling fans
- Checking temperatures
- Setting timers
- Controlling media
- Adding items to a shopping list
- Running Home Assistant scripts and scenes
Voice processing can use Home Assistant Cloud or supported local voice options. The device can also connect to supported AI providers or local language models for more conversational control.
As the name suggests, this is still a Preview Edition and the voice platform continues to develop. That also makes it an interesting product for users who enjoy following new Home Assistant features and want a ready-made device designed specifically for the project.
Home Assistant Voice Preview Edition
Enjoy convenient, privacy-focused voice control for your lights, devices and Home Assistant automations.
My Recommended Home Assistant Starter Shopping List
You do not need to purchase every product in this guide immediately.
A practical first order would be:
- Home Assistant Green
- Home Assistant Connect ZBT-2
- Two Zigbee smart plugs
- One Zigbee motion sensor
- One door or window sensor
- One wireless Zigbee button
- One temperature and humidity sensor
That gives you enough hardware to create several genuinely useful automations while also beginning to build your Zigbee network.
A more complete starter bundle
For a more rounded setup, I would add:
- Additional door sensors
- Water-leak sensors
- Energy-monitoring smart plugs
- A compact UPS
- A small Gigabit Ethernet switch
- An external backup destination
Optional upgrades for later
As the system grows, consider:
- ESP32 Bluetooth proxies
- Home Assistant Connect ZWA-2
- Home Assistant Voice Preview Edition
- A NAS
- Additional Zigbee smart plugs and routers
- A second ZBT-2 dedicated to Thread
Final Thoughts
The best Home Assistant starter setup does not need to be complicated.
Home Assistant Green gives you a simple and reliable foundation. The Connect ZBT-2 adds access to a huge range of Zigbee products, while a few carefully selected plugs, sensors and buttons give you everything needed to begin building useful automations.
From there, the system can grow alongside your home. You can add backup storage, power protection, Bluetooth coverage, Z-Wave and voice control when those features become useful to you.
My overall recommendation for someone purchasing their first Home Assistant setup is:
Home Assistant Green + Connect ZBT-2 + two Zigbee smart plugs + a small selection of Zigbee sensors.
It is a manageable place to start, but it also leaves plenty of room to expand into a much more capable smart home over time.
Some of the links in this post may be affiliate links. If you buy through them, I may earn a small commission at no extra cost to you.