The ESP32-C3 has quietly become one of the best choices for DIY smart home projects, especially if you care about low power, battery powered sensors and compact enclosures.
It’s small, efficient, and still gives you Wi-Fi and Bluetooth, so it slots nicely into things like water tank level sensors, environmental monitors and little smart controllers.
This guide walks through what the ESP32-C3 actually is, how it compares to other ESP boards, and how to use it for real-world projects.
What is the ESP32-C3?
The ESP32-C3 is part of the ESP32 family, built around a single-core RISC-V CPU with 2.4 GHz Wi-Fi and Bluetooth Low Energy. At the simplest level, it’s a tiny “little brain” you put on a small circuit board so it can read sensors, switch things on and off, and talk to your Wi-Fi network.
In plain terms, it gives you:
- Wi-Fi for connecting to your home network or Home Assistant
- BLE for pairing, provisioning or future integrations
- Enough processing power for typical sensor and control tasks
- A smaller, more efficient package than many classic ESP32 boards
From a firmware point of view, it still feels like “an ESP32”. You can use the same tools: ESPHome, the Arduino core, PlatformIO, OTA updates and so on. It fits neatly into the same ecosystem you’re probably already using.
ESP32-C3 vs ESP32 vs ESP8266
If you’re deciding between an ESP32-C3, a “normal” ESP32, or an ESP8266, here’s the short version.
Compared to a classic ESP32 dev board:
- The ESP32-C3 is single-core, not dual-core. For sensors, relays and small lights, that’s more than enough.
- It often comes on smaller boards with fewer pins, which is ideal for tight enclosures.
- It’s tuned for low power and value, which makes it great for battery powered devices.
Compared to an ESP8266:
- The ESP32-C3 gives you Bluetooth LE as well as Wi-Fi.
- It benefits from the more modern ESP32 toolchain and libraries.
- Some C3 modules are pin-compatible with popular ESP8266 modules, so they can act as drop-in replacements in some designs.
If your goal is a battery powered Wi-Fi sensor that talks to Home Assistant, the C3 is usually a better pick than both the old ESP8266 and a big, power-hungry ESP32 dev kit.
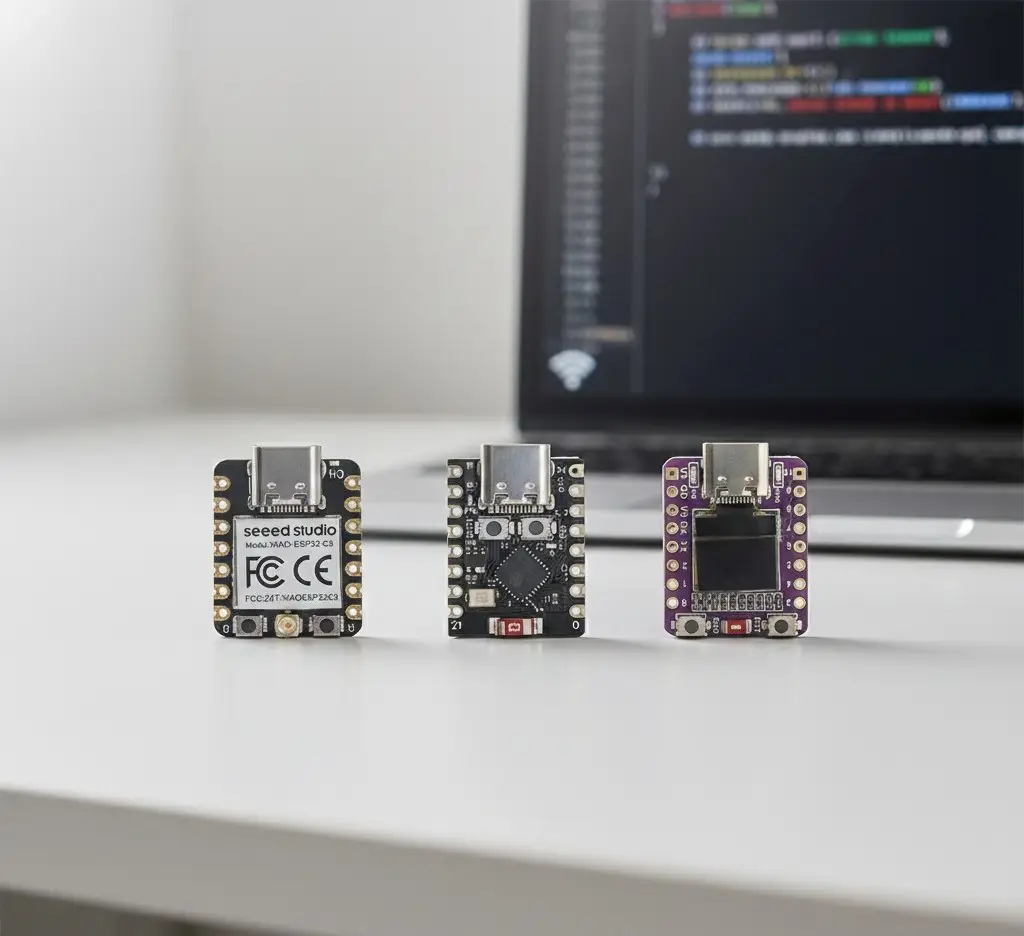
ESP32-C3 pinout and dev board styles
You’ll find the ESP32-C3 on a few common board styles.
Two popular types:
- Mini / stamp-style boards
Tiny boards with USB (often USB-C), a regulator and a tight row of pins. They’re perfect when you want a small ESP32-C3 board inside a 3D-printed case or junction box. - Breadboard-friendly dev boards
These look more like the classic ESP32/ESP8266 dev kits, with pins down the sides, a USB connector at one end and a couple of buttons. They’re easier for prototyping when you’re still working out your wiring.
Whichever board you choose, grab the pinout diagram for that exact model. Don’t assume that labels like D0, D1 or A0 match any particular GPIO number, always check.
For ESPHome projects, you’ll use the actual GPIO numbers in your YAML (for example GPIO2, GPIO4), so having the pinout handy avoids a lot of frustration.
Some of the links in this post may be affiliate links. If you buy through them, I may earn a small commission at no extra cost to you.
Why ESP32-C3 is great for low-power sensors
A big selling point of the ESP32-C3 is how well it works for low power ESP32 projects.
If you pair a C3-based board with:
- sensible deep sleep settings
- a decent regulator
- a switched supply for your sensors
…you can build battery powered sensors that run for weeks or months between charges, or even indefinitely with a small solar panel.
Typical “sweet spot” projects:
- Water tank level sensors
- Outdoor temperature and humidity sensors
- Shed or gate status sensors
- Small light bars or status indicators that only wake occasionally
The pattern is almost always the same: wake up, power the sensor, wait for warm-up if needed, take a reading, connect Wi-Fi, send the data, and go back to deep sleep.
The chip is designed to spend most of its life asleep, which is exactly what you want for battery powered smart home devices.
Using ESP32-C3 with ESPHome and Home Assistant
For smart home projects, the friendliest path is ESPHome on an ESP32-C3, talking to Home Assistant.
The typical setup is:
- Add a new device in the ESPHome dashboard
- Choose an
esp32platform and the rightboardoption for your ESP32-C3 - Configure Wi-Fi,
api:andota: - Add your sensors, outputs and deep-sleep settings
After the first USB flash, you can usually do everything over-the-air. The device appears in Home Assistant as a native ESPHome device, and you get entities like “Tank Level” or “Garden Temperature” with very little boilerplate.
A simple example for a basic sensor node might look like this:
esphome:
  name: c3_garden_sensor

esp32:
  board: esp32-c3-devkitm-1
  variant: esp32c3

wifi:
  ssid: "YourWiFi"
  password: "YourPassword"

api:
ota:
logger:

sensor:
  - platform: adc
    pin: GPIO4
    name: "Soil Moisture"
    update_interval: never
    id: soil_raw

deep_sleep:
  run_duration: 20s      # Time awake
  sleep_duration: 10min  # Time asleep
From there you can build up to more complex ESP32-C3 devices by adding ultrasonic sensors, temperature sensors, relays or LED outputs.
Powering an ESP32-C3: batteries and solar
Because the C3 is so good for battery powered Wi-Fi sensors, power design matters.
Common setups:
- A single 18650 + low quiescent regulator for compact battery nodes
- A LiPo pouch cell + charge board for 3D-printed sensor housings
- A small solar panel plus lithium cell for fully remote sensors
Most practical advice comes back to the same points:
- Use deep sleep aggressively
- Keep Wi-Fi wake-ups as infrequent as you can get away with
- Turn off status LEDs and other always-on extras
- Switch off sensor power between readings where possible
The combination of an ESP32-C3, good sleep settings and sensible power hardware is what turns your project from “nice demo” into something you can leave on a fencepost or tank for months.
Common ESP32-C3 pitfalls
A few ESP32-C3-specific gotchas to watch out for:
- Some pins are strapping pins used during boot. Avoid hanging heavy loads or odd pull-ups on them, or you might find the board fails to boot or enter flashing mode.
- Different dev boards expose different GPIOs, even though they all use the same chip. Always check the pinout and recommended pins for ADC, I²C, etc.
- Don’t forget the 3.3 V logic. Many beginners assume every sensor can be powered from 5 V and wired straight in. Double-check what your sensor expects, and whether it needs level shifting.
- A lot of dev boards ship with an always-on power LED, which quietly burns current. For serious low-power builds, consider removing it or using a board designed with low deep sleep current in mind.
Most “ESP32-C3 not working” problems come back to one of those issues: wrong pins, boot strapping, or power.
Who should choose ESP32-C3?
If you want a quick rule for when to reach for an ESP32-C3:
Pick an ESP32-C3 when:
- You’re building a battery powered Wi-Fi sensor that might also use BLE
- You care about low power and small size more than maximum I/O count
- You’re using ESPHome and Home Assistant, and want a smooth workflow
Pick a bigger ESP32 or an ESP32-S3 when:
- You need lots of GPIOs, multiple buses, displays or cameras
- You’re building something mains powered where size and power aren’t a big concern
Pick something like an ESP32-C6 or H2 when:
- You specifically want to get into Thread / Zigbee / Matter and 802.15.4 meshes
For most “normal” DIY smart home builds – tank sensors, garden nodes, little light bars and status indicators – an ESP32-C3 dev board is a very safe default.
Wrapping up
The ESP32-C3 is one of the nicest middle-ground options in the ESP32 lineup. It hits a sweet spot between power, size and features, and it plays perfectly with the tools many people already use: ESPHome, Home Assistant, Arduino and PlatformIO.
If you’re planning low-power Wi-Fi sensors or compact smart devices, it’s hard to beat. Grab a small C3-based dev board, wire up a basic sensor, get it talking to Home Assistant, and then build from there. Once you’ve done one project on it, you’ll start reaching for ESP32-C3 boards first whenever a new DIY smart home idea pops into your head.