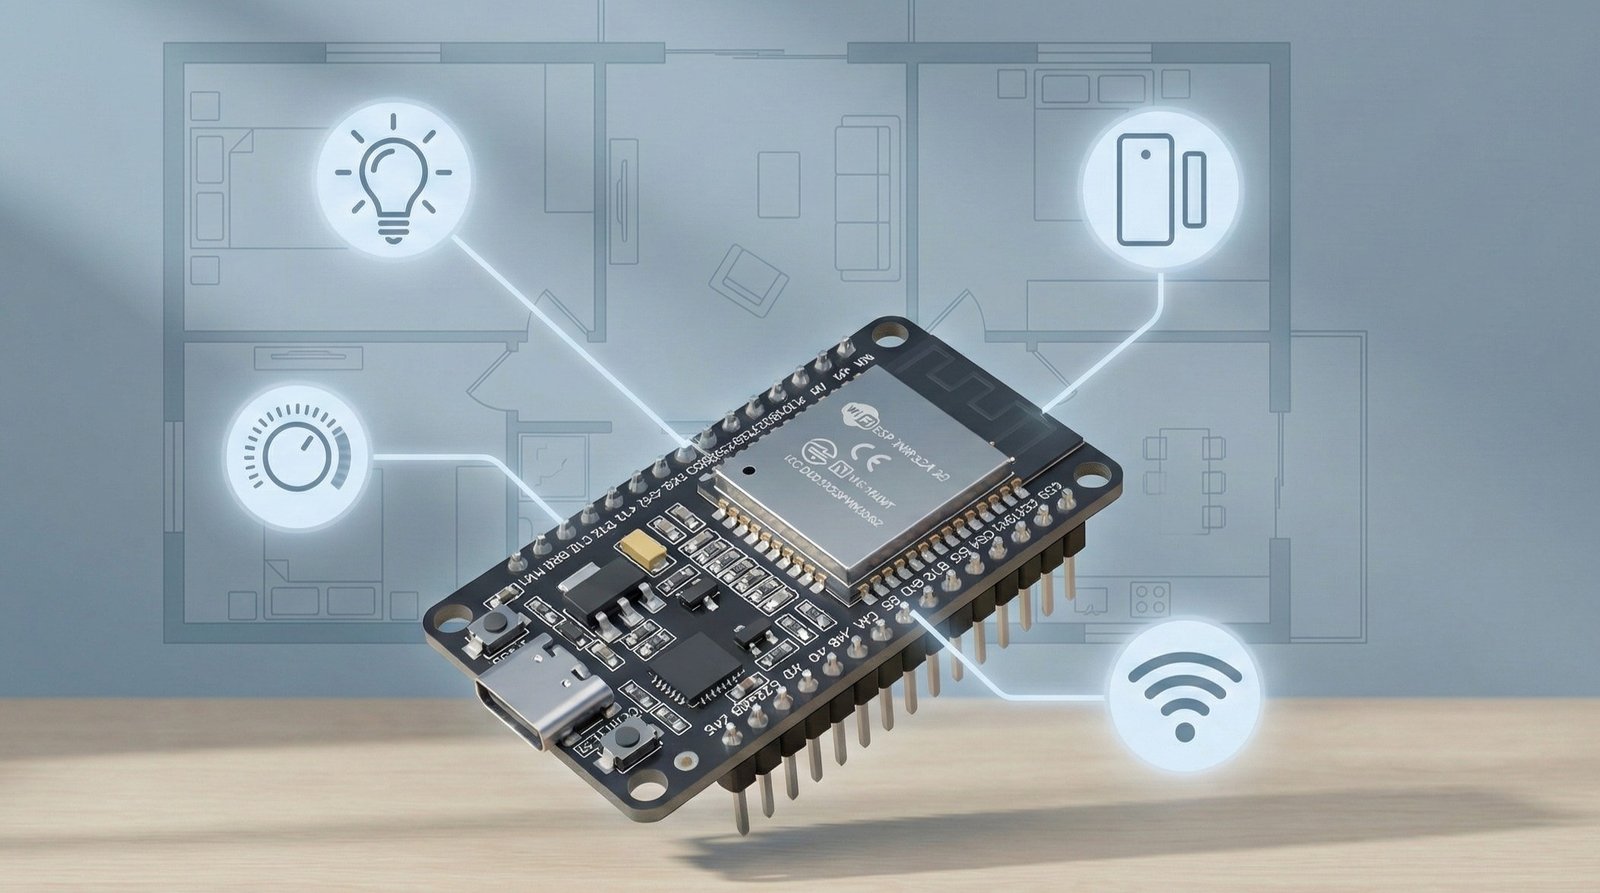
If you’ve searched for DIY smart home projects, you’ve probably seen the term ESP32 everywhere. It shows up in water tank monitors, smart lights, weather stations and a heap of other little gadgets.
The nice thing is you don’t need to be an engineer to use one. You just need to know what it is, pick a sensible board, and get through your first couple of simple projects.
By the end of this post you should have a clear idea of:
- What the ESP32 actually is
- Which ESP32 boards make sense for home projects
- How to get from “I’ve never used one” to “I’ve got a sensor talking to my network”
What is the ESP32?
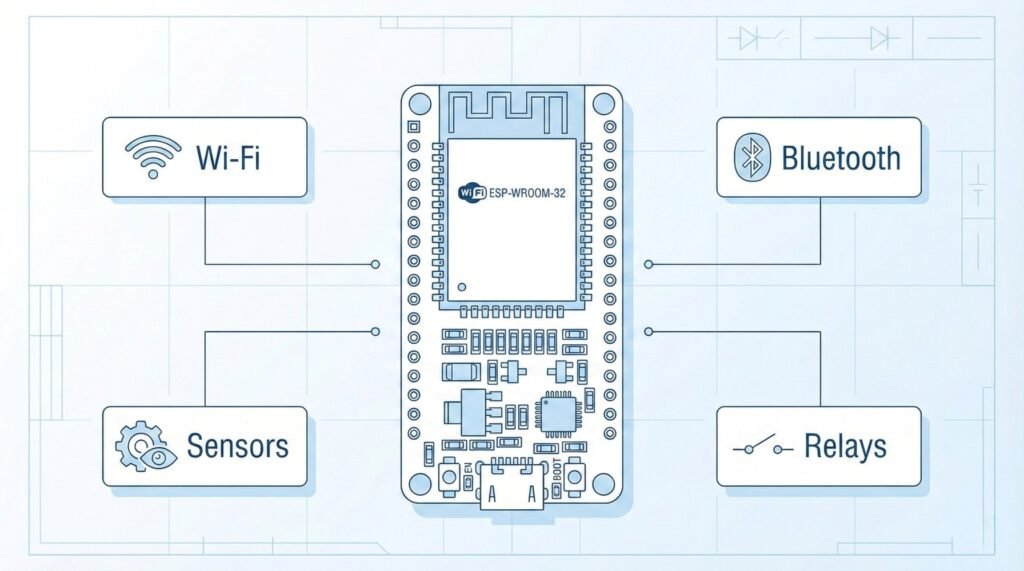
The ESP32 is a tiny microcontroller with Wi-Fi and Bluetooth built in. Think of it as a small, cheap, internet-connected brain you can drop into your projects.
It’s not a full computer like a Raspberry Pi. It runs a single program that you flash onto it. That program might read a sensor, control a relay, send data to Home Assistant, or all of the above.
Because it’s low power and inexpensive, it’s perfect for little dedicated devices: one ESP32 for a water tank, one in the shed, one behind the TV for a light strip, and so on.
What can you build with an ESP32?
Most ESP32 home projects fall into a few broad categories.
First are sensors. A classic example is a water tank level sensor that measures distance to the water and reports a percentage. You can do the same thing with temperature, humidity, light levels, power usage or even presence detection.
Then you’ve got controllers. These are devices that switch things on and off. An ESP32 can drive a relay for a pump, a fan, a garage door, or anything you want to control remotely or automate.
Finally there are lights and indicators. An ESP32 can run an LED strip, a custom light bar, a status panel for your network gear or a little indicator that tells you when the tank is low.
If you use Home Assistant, the ESP32 often becomes the bridge between the physical world and the cards you see on your dashboard.
The ESP32 family: main variants
“ESP32” started as one chip, but it’s now a whole family of parts that share similar tools and code. You don’t need to memorise specs, but it helps to know the main names you’ll see.
Here are the core families you’ll run into most often:
- ESP32 (original) – dual-core, Wi-Fi + Bluetooth, lots of pins, very common on “ESP32 DevKit” boards.
- ESP32-S2 – Wi-Fi only, more I/O and USB support, no Bluetooth.
- ESP32-S3 – Wi-Fi + Bluetooth LE, aimed at projects with displays, cameras or a bit more processing.
- ESP32-C2 / C3 – RISC-V based, Wi-Fi + Bluetooth LE, small and power-efficient. The C3 is a popular choice for sensors and battery projects.
- ESP32-C5 / C6 – newer parts that bring in Wi-Fi 6 and 802.15.4 (Thread/Zigbee-style networking).
- ESP32-H2 – focuses on 802.15.4 and Bluetooth LE, no Wi-Fi, aimed at low-power Thread/Zigbee devices.
- ESP32-P4 – more processing power, no built-in radio, used when you want grunt plus a separate wireless chip.
On top of those there are modules and boards with names like WROOM, WROVER, MINI and so on. Those are mostly about how the chip is packaged: how much flash it has, what kind of antenna it uses, and how easy it is to solder.
For home projects, the big picture is simple:
- If you want Wi-Fi sensors and controllers, any of the classic ESP32, S3, C3 or similar boards will do the job.
- If you want to play with Thread/Zigbee-style networks, the C6 and H2 families are the more modern options.
You don’t have to overthink it on day one.
Which ESP32 board should you start with?
Choosing a board is where people get stuck. The trick is to stop hunting for the perfect one and pick something that is:
- Easy to power and plug in
- Easy to flash firmware onto
- Has enough pins for basic sensors, buttons and LEDs
A simple way to approach it is to pick one small board for real projects and one larger board for breadboard tinkering.
For compact builds that live in an enclosure, an ESP32-C3 “mini” style board works really well. These are small, often use USB-C, and are a good fit for battery-powered sensors or slim light bars.
For learning on the desk, a generic ESP32 DevKit is hard to beat. It’s a rectangular board with pins down each side, a USB connector on one end and a couple of buttons. You plug it into a breadboard, wire things up, and you can see everything clearly while you experiment.
Once you’ve done a few projects, you’ll get a feel for what you like. At that point it’s easier to decide whether you care more about size, pin count, power usage, or newer features like Thread.
Example boards to search for:
- “ESP32 DevKit V1” – full-size board, easy for breadboard learning.
- “XIAO ESP32-C3” / “ESP32-C3 Super Mini” – tiny boards for enclosures.
- Any “ESP32-S3 DevKit” – if you want a bit more power and maybe future camera/display projects.
What else do you need to get started?
You don’t need a full lab.
A basic starter setup looks like this:
- Your ESP32 board
- A matching USB cable
- A breadboard and some jumper wires
- A couple of LEDs and resistors
- Optional: a simple sensor like a temperature/humidity module or ultrasonic sensor
On the software side, you’ll normally pick one of two paths.
If you’re running Home Assistant, then ESPHome is the easiest way to get going. You describe your device in a YAML file (for example: “one LED on this pin, one ultrasonic sensor on that pin”), and ESPHome handles compiling and flashing. Home Assistant then discovers the device and its entities.
If you want a more traditional coding route, you can use the Arduino IDE or PlatformIO. There you write C++-style code, manage your own libraries and work a bit closer to the hardware.
Both flows end up looking similar from the outside: plug the board in, select the port, click upload, and wait for it to reboot with your new firmware.
Simple first projects
It’s worth starting with a couple of very small wins before you tackle something like a full water tank monitor.
A classic first step is a blinking LED. Wire an LED and a resistor to one of the pins, flash a simple program, and make it blink. Once you can change the blink speed and you understand which number in the code matches which physical pin, things start to click.
Next, add a button. Read the button state and use it to control the LED. This teaches you the difference between inputs and outputs, and gets you comfortable with pull-up or pull-down resistors.
From there you can move to a basic sensor. With ESPHome, that might mean wiring up a temperature sensor, adding a few lines of YAML, and seeing the value pop up in Home Assistant. With Arduino, you’d read the sensor and print the value to the serial monitor.
Once you’ve done those three things, building something “real” is mostly just combining the same ideas with better power and mounting.
A very simple first ESPHome project
If you’re using Home Assistant, here’s roughly what a first ESPHome project looks like from start to finish:
- Plug in the ESP32
Connect your ESP32 to your computer with a USB cable. - Open ESPHome in Home Assistant
In Home Assistant, go to Settings → Devices & services → ESPHome and open the ESPHome dashboard. - Add a new device
Click New Device, give it a name (for exampleesp32-test-board), pick your board type if it asks, and let ESPHome create a basic config for you. - Add a simple LED output and switch
Edit the config and add one output for an LED, plus a switch that controls it. For example, if your LED is on GPIO2:
output:
  - platform: gpio
    pin: GPIO2
    id: status_led

switch:
  - platform: output
    name: "Status LED"
output: status_ledYou don’t need to understand every option yet – the goal is just to see something on the board change.
- Install the firmware
Click Install, choose Plug into this computer (or similar), and let ESPHome compile and flash the firmware to your board. - Watch it appear in Home Assistant
Once it reboots, Home Assistant should pop up a “New device found” notification. Add it, and you’ll see your ESP32 and its entities in your dashboard. - Play around
Use the switch in Home Assistant to turn the LED on and off. Try changing the pin number or adding another output in the YAML and reinstall the firmware to see how it behaves.
Common beginner mistakes
Everyone hits a few of the same potholes early on. Knowing them in advance helps.
The first one is pin confusion. The numbers printed on the board and the GPIO numbers used in code don’t always match how you expect. It’s worth grabbing the pinout diagram for your exact board and keeping it open while you wire and write config.
The second is voltage mismatches. Most ESP32 boards use 3.3 V logic. Some sensors are happy with 3.3 V, some expect 5 V, and some have onboard regulators that hide the details. If something is unstable or not reading correctly, double-check power and logic levels.
A third common issue is forgetting a common ground. The ESP32 and any other boards or sensors need to share the same ground reference or the signals won’t make sense. One extra ground wire can fix what looks like a “mystery bug”.
Power quality can also cause trouble. A dodgy USB cable or a weak USB port can lead to random resets, flaky Wi-Fi, or failed flashes. Swapping the cable or trying a different port is an easy test before you pull your wiring apart.
Finally, there’s Wi-Fi reality. Metal boxes, thick walls, distance and water all block or weaken the signal. If you’re putting a sensor outside on a tank, expect to experiment with where the ESP32 sits, and consider keeping the brain closer to the house with a cable running to the sensor itself.
Where to next?
Once you’ve had an ESP32 blinking an LED, reading a button and sending a sensor value somewhere useful, you’ve covered most of the basics you’ll reuse in every project.
From there you can dive into more focused topics, like:
- Powering ESP32 projects with batteries and solar
- Getting good battery life using deep sleep
- Comparing different ways to measure something like water level
FAQs About ESP32
Not necessarily. If you’re using ESPHome with Home Assistant, you’ll mostly be writing YAML, not C++. There are also options like MicroPython that feel more like scripting. Knowing some basic programming concepts helps, but you can get through your first few projects by following examples and tweaking them.
Yes. You can program an ESP32 directly with the Arduino IDE or PlatformIO and have it run completely standalone. It can host its own little web page, talk over MQTT, send data to cloud services or just read a sensor and switch a relay with no Home Assistant involved at all.
For most people, a common ESP32 DevKit-style board is the easiest starting point. It has USB built in, plenty of pins, and loads of example code online. If you want something smaller for finished projects, boards like the XIAO ESP32-C3 or ESP32-C3 Super Mini are great once you’re past your first couple of experiments.
Not in the “little Linux computer” sense. A Raspberry Pi can run an operating system, a desktop, Docker containers, browsers and so on. An ESP32 runs a single program you flash onto it. It’s perfect as a small, dedicated node in your setup (sensor, relay, light controller), but it’s not a drop-in replacement for a Pi.
Yes, as long as you design for it. The ESP32 has deep sleep modes that let it wake up, take a reading, send it, and go back to sleep using very little power. The catch is that some development boards have onboard LEDs and regulators that waste power, so for serious battery builds you’ll want a more efficient board (like many ESP32-C3 variants) and a bit of thought around your power circuit.