If you’re building a temperature sensor or a simple switch for Home Assistant, you probably don’t need the newest ESP32. A cheap ESP32-C3 or classic ESP32 board will handle many ESPHome projects. I’d look at the ESP32-C6 for projects that specifically need its extra radio hardware, and the ESP32-S3 when a display, camera or larger memory requirement changes the job.
For the usual Wi-Fi sensor build, you’d flash ESPHome onto the board and connect it through Home Assistant’s ESPHome integration. What matters when buying is whether the board has the right pins, regulator, memory and software support for what you’re making.
Quick picks: best ESP32 boards for Home Assistant
| Project | Board to shortlist | Why |
|---|---|---|
| Basic Wi-Fi sensor / beginner | Seeed Studio XIAO ESP32-C3 | Small board, straightforward 2.4 GHz Wi-Fi/BLE and ESPHome suitability; limited pins. |
| General-purpose ESPHome experiments | ESP32-DevKitC / ESP32-WROOM development board | Lots of community examples, larger pin selection and easy breadboard prototyping. |
| Zigbee/Thread radio experimentation | Seeed Studio XIAO ESP32-C6 | 802.15.4-capable chip, Wi-Fi 6 at 2.4 GHz and BLE; Zigbee is not automatic through ordinary ESPHome sensor firmware. |
| Display, audio or high-memory projects | ESP32-S3 development board with PSRAM | Useful for larger graphics, extra memory and USB-oriented projects. |
| A specific need for 5 GHz Wi-Fi | Seeed Studio XIAO ESP32-C5 | Dual-band Wi-Fi 6; check current ESPHome compatibility for the exact hardware and any special peripherals. |
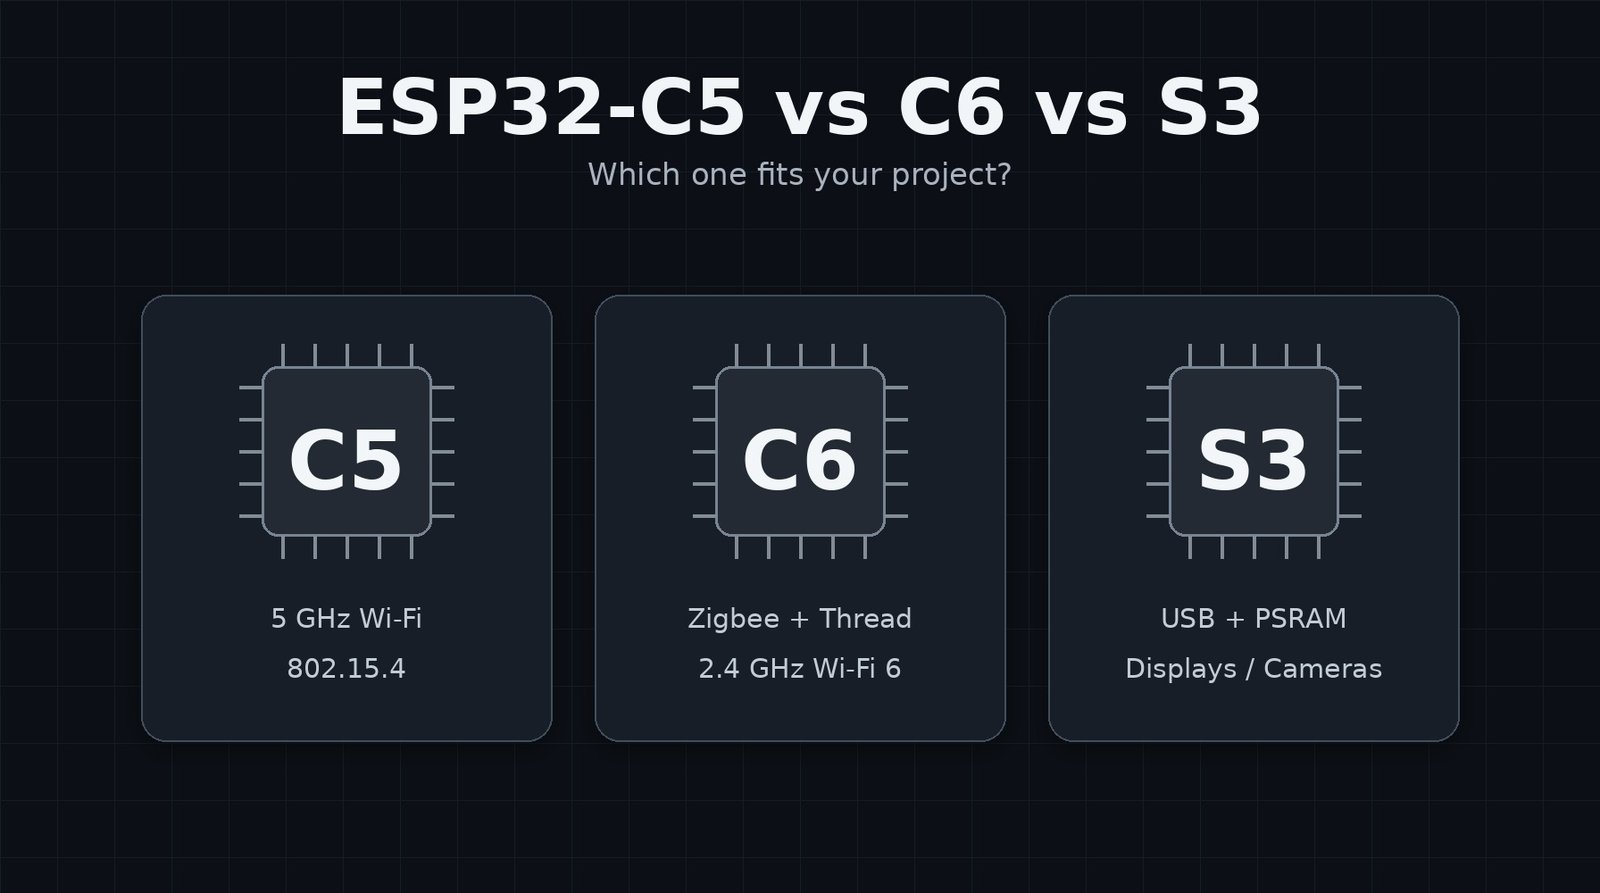
I’ve compared the newer chips in more detail in my ESP32-C5 vs ESP32-C6 vs ESP32-S3 guide if you’re deciding between those three.
What makes an ESP32 board good for Home Assistant?
The ESP32 is a microcontroller, not a miniature Home Assistant server. Home Assistant runs on a separate machine or appliance and receives data from the ESP32. Your board needs the connectivity, GPIO pins and compatible firmware for its intended job.
- ESPHome support: confirm the chip and framework are supported by the current ESPHome ESP32 platform, especially for new variants.
- Enough usable pins: compare your I²C, SPI, UART, ADC, PWM and interrupt requirements with the board’s pinout.
- Correct voltage: most ESP32 GPIO is 3.3 V logic and is not safely interchangeable with 5 V signals.
- Power arrangement: a USB-powered board is simple; battery projects need a separate power-budget calculation.
- On-board hardware: USB connector, voltage regulator, exposed pins, reset/boot controls and supported external antennas vary by board.
- Physical fit: a compact board is not always easier if its pin spacing or connectors make prototyping awkward.
XIAO ESP32-C3: compact Wi-Fi sensors
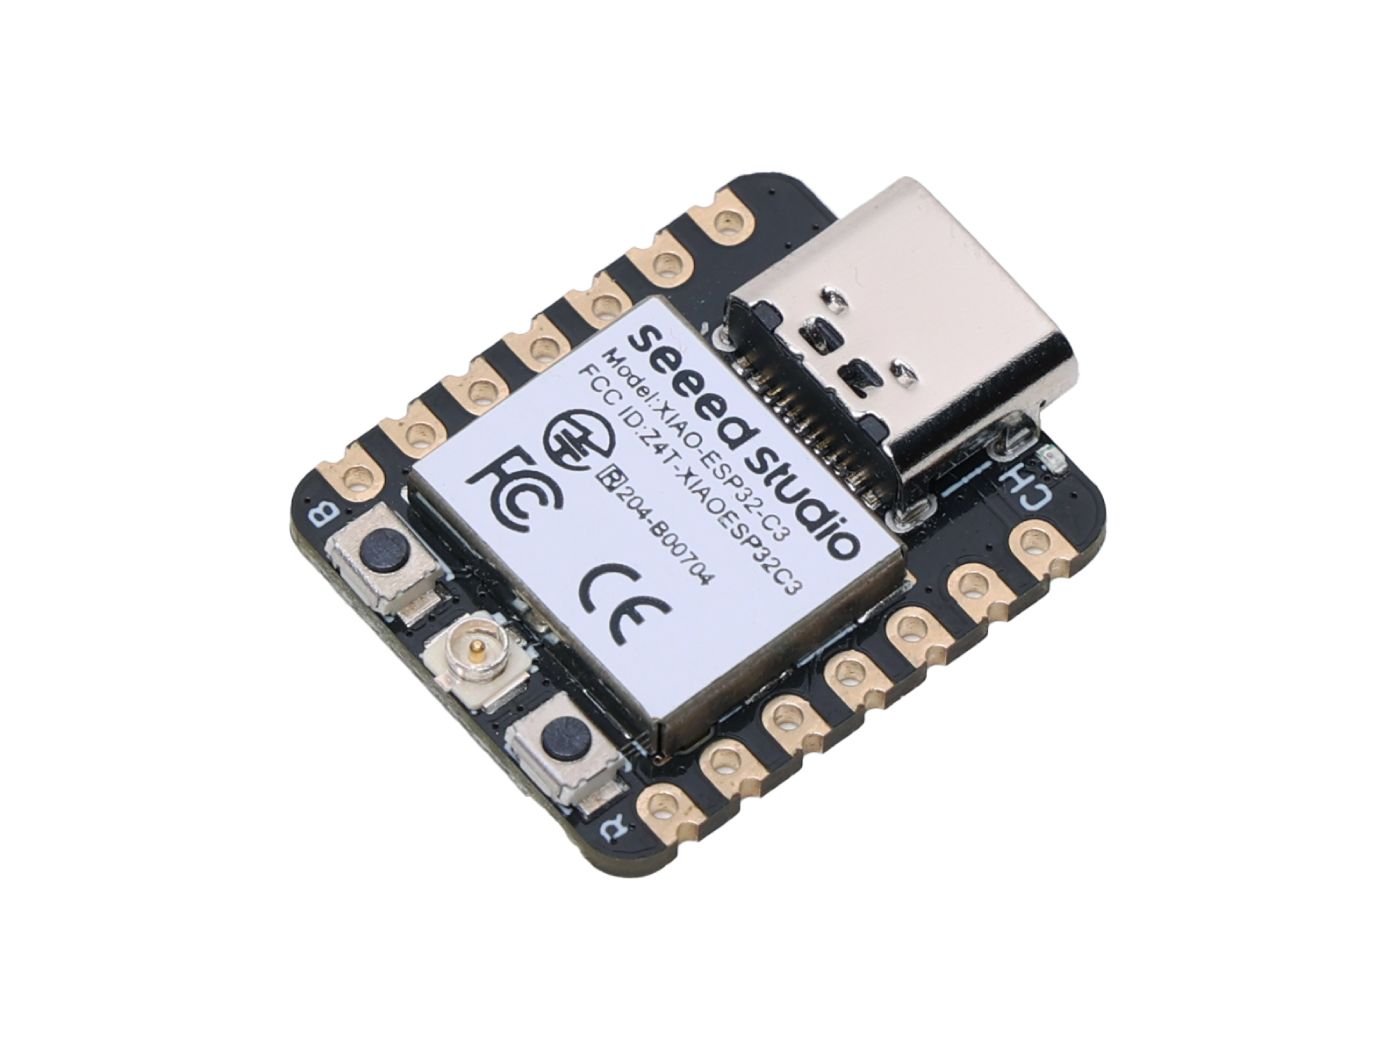
The XIAO ESP32-C3 makes sense if you want a compact Wi-Fi temperature sensor, door sensor or other simple ESPHome node. It has 2.4 GHz Wi-Fi and Bluetooth LE, and the small board is easier to fit inside a tight enclosure.
The trade-off is limited exposed GPIO compared with a larger developer board. A project that needs an SPI display, several interrupt inputs and multiple independent analog channels may run out of practical pins quickly. Always check the manufacturer’s pinout rather than assuming that every ESP32 pin mentioned in a chip datasheet is available on the XIAO.
- Good fit: one or two digital or I²C sensors, modest Wi-Fi telemetry and compact enclosures.
- Think twice: lots of independently wired sensors, unusual pin timing needs, or very complex graphical displays.
- Check before buying: whether you need built-in battery charging, an antenna connection, extra flash or a different physical footprint.
I have a XIAO ESP32-C3 parts reference, and my ESPHome beginner guide explains the software side.
ESP32-DevKitC / WROOM: an easy board to learn on
A full-size ESP32-DevKitC / ESP32-WROOM development board remains a sensible learning tool. It usually exposes more pins than an ultra-compact board, has a huge number of community examples, and is inexpensive to replace if a prototype goes wrong.
The classic ESP32 has 2.4 GHz Wi-Fi and Bluetooth support, but not built-in Thread/Zigbee 802.15.4. It is less attractive for high-memory displays than a suitable S3, and generic boards may have regulators with surprisingly high idle draw. That matters much more for battery-powered projects than for USB-powered sensors.
XIAO ESP32-C6: Thread and Zigbee experiments
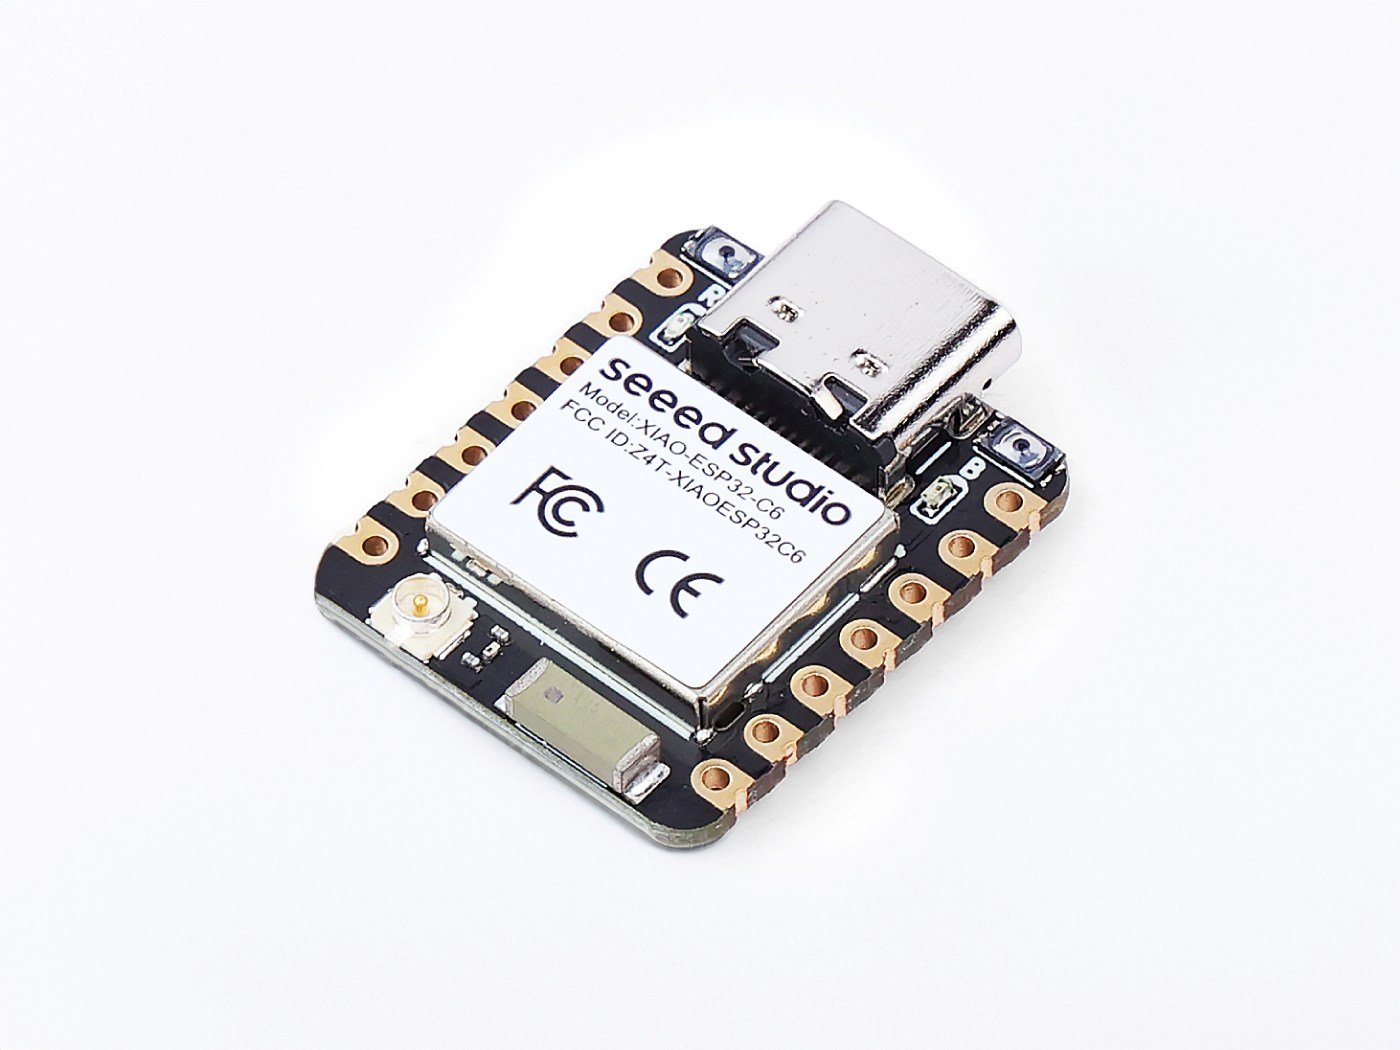
The XIAO ESP32-C6 uses the ESP32-C6 chip, which provides 2.4 GHz Wi-Fi 6, Bluetooth LE and an 802.15.4 radio used by technologies such as Thread and Zigbee. That makes the C6 interesting if you want to explore more than conventional Wi-Fi sensors.
Don’t assume: buying an ESP32-C6 doesn’t automatically give you a Zigbee router or Thread border router. The role depends on the firmware, supported stack and current project integrations. A normal ESPHome Wi-Fi sensor is not automatically a Zigbee device.
If you simply want a reliable Wi-Fi temperature sensor, a C3 may be the simpler option. Choose a C6 because you have a real need for its extra radio capabilities, not because the model number is higher. See my separate ESP32-C6 Zigbee router guide for the specific router workflow.
ESP32-S3: displays, audio and bigger projects

If the project involves a colour display, images or a more complicated interface, I’d look at an ESP32-S3 development board with PSRAM. The S3 has dual-core processing, native USB capability on suitable designs, and a broad ecosystem of display-focused development boards.
Make sure the product listing identifies the actual PSRAM and flash capacities. An S3 without enough memory for your graphics assets can be much less useful than it looks in a headline product comparison. Also confirm that your chosen display controller has an actively maintained ESPHome driver or another firmware option.
- Good fit: larger displays, status panels, advanced UI experiments, and memory-heavy firmware.
- Potential compromises: higher board cost, more complicated memory/board variants and sometimes greater power consumption.
- Not the right choice just for Zigbee: the ESP32-S3 does not include an 802.15.4 radio.
I’ve also written about using an e-paper display with an ESP32-C3 if you want to try a display build.
When would I choose an ESP32-C5?
The XIAO ESP32-C5 is worth looking at if you want dual-band Wi-Fi 6, including 5 GHz, alongside Bluetooth LE. That can be useful where 2.4 GHz is crowded or the intended installation specifically needs a 5 GHz network.
However, 5 GHz is not automatically better for a distant sensor. It normally penetrates obstacles less effectively than 2.4 GHz and has different coverage characteristics. For most smart-home sensors, reliable 2.4 GHz connectivity and software support matter more than the extra band.
Before purchasing a C5 for a specific ESPHome feature, verify the current supported board/framework combinations and any component-specific restrictions. Newer silicon can be supported at the platform level while an individual peripheral integration still needs work.
Which board for a battery-powered sensor?
For battery applications, the development board itself can matter as much as the ESP32 chip. The regulator, USB serial circuit, LEDs, pull-ups and connected sensor electronics may all continue drawing power while the microcontroller sleeps. A low advertised chip-level sleep current is not a guarantee of good battery life on a complete dev board.
A battery-powered project should specify its awake current, awake duration, sleep current, reporting interval and battery capacity. You can estimate the resulting lifetime with my ESP32 Battery Life Calculator, then test the real hardware. For a broader purchasing comparison, see best low-power boards for battery projects.
ESPHome and Home Assistant: how the connection works
In the common setup, ESPHome firmware runs on the ESP32 and exchanges sensor readings and control commands with Home Assistant over the ESPHome native API. You do not need MQTT for this standard workflow.
- Install and open ESPHome using a supported Home Assistant installation, or run an ESPHome dashboard separately.
- Create a device configuration for your exact chip/board variant.
- Set up network access, the ESPHome API and OTA updates.
- Add a supported sensor or output component and validate the configuration.
- Flash the board over USB using the ESPHome tools appropriate to your host.
- When the device is online, add it to Home Assistant through the ESPHome integration and verify entities update.
The exact connection and flash screens change with software releases, so follow the current ESPHome getting-started guide. If your first attempt fails, start with a minimal configuration before adding every sensor.
Things I’d check before ordering
- Ordering a 5 V-only sensor and connecting its output directly to a 3.3 V GPIO.
- Choosing a tiny board before counting the pins required by your display and sensors.
- Assuming any ESP32-C6 firmware will operate as a Thread or Zigbee router.
- Choosing an S3 variant without checking flash and PSRAM.
- Expecting a USB-powered development board to achieve the chip datasheet’s deep-sleep current.
- Buying a board with a poorly documented USB, boot or serial configuration.
- Assuming that a Wi-Fi board will connect to Home Assistant without ESPHome, custom firmware or another suitable integration.
Frequently asked questions
Is ESP32-C3 powerful enough for Home Assistant?
Yes, for many ordinary ESPHome sensors, switches and simple automations. The limiting factors are often pins, memory and connected hardware rather than raw CPU speed.
Do I need a Zigbee ESP32 board for Home Assistant?
No. The usual ESPHome sensor communicates over Wi-Fi through the native API. Use Zigbee or Thread hardware when you have a specific reason to build around those protocols.
Can Home Assistant run directly on an ESP32?
No. Home Assistant requires a separate computer or appliance. An ESP32 is generally an endpoint running firmware such as ESPHome.
Is ESP32-S3 better than ESP32-C6?
For display, audio and memory-heavy workloads, an S3 may be more suitable. For experimentation with 802.15.4/Thread/Zigbee radios, the C6 is the more relevant family. Neither is universally superior.
My pick for each type of project
For a first ESPHome build, I’d buy a well-documented C3 or classic ESP32 board and get the sensor working before worrying about newer chips. I’d choose a C6 for an actual 802.15.4 project, an S3 for a display with meaningful memory demands, and a C5 only if 5 GHz Wi-Fi solves a specific problem. The board’s pinout and power circuit deserve at least as much attention as the chip name.
If you’re planning the whole system rather than just a sensor, start with my Home Assistant hardware buying guide and ESP32 vs Arduino vs Raspberry Pi comparison.