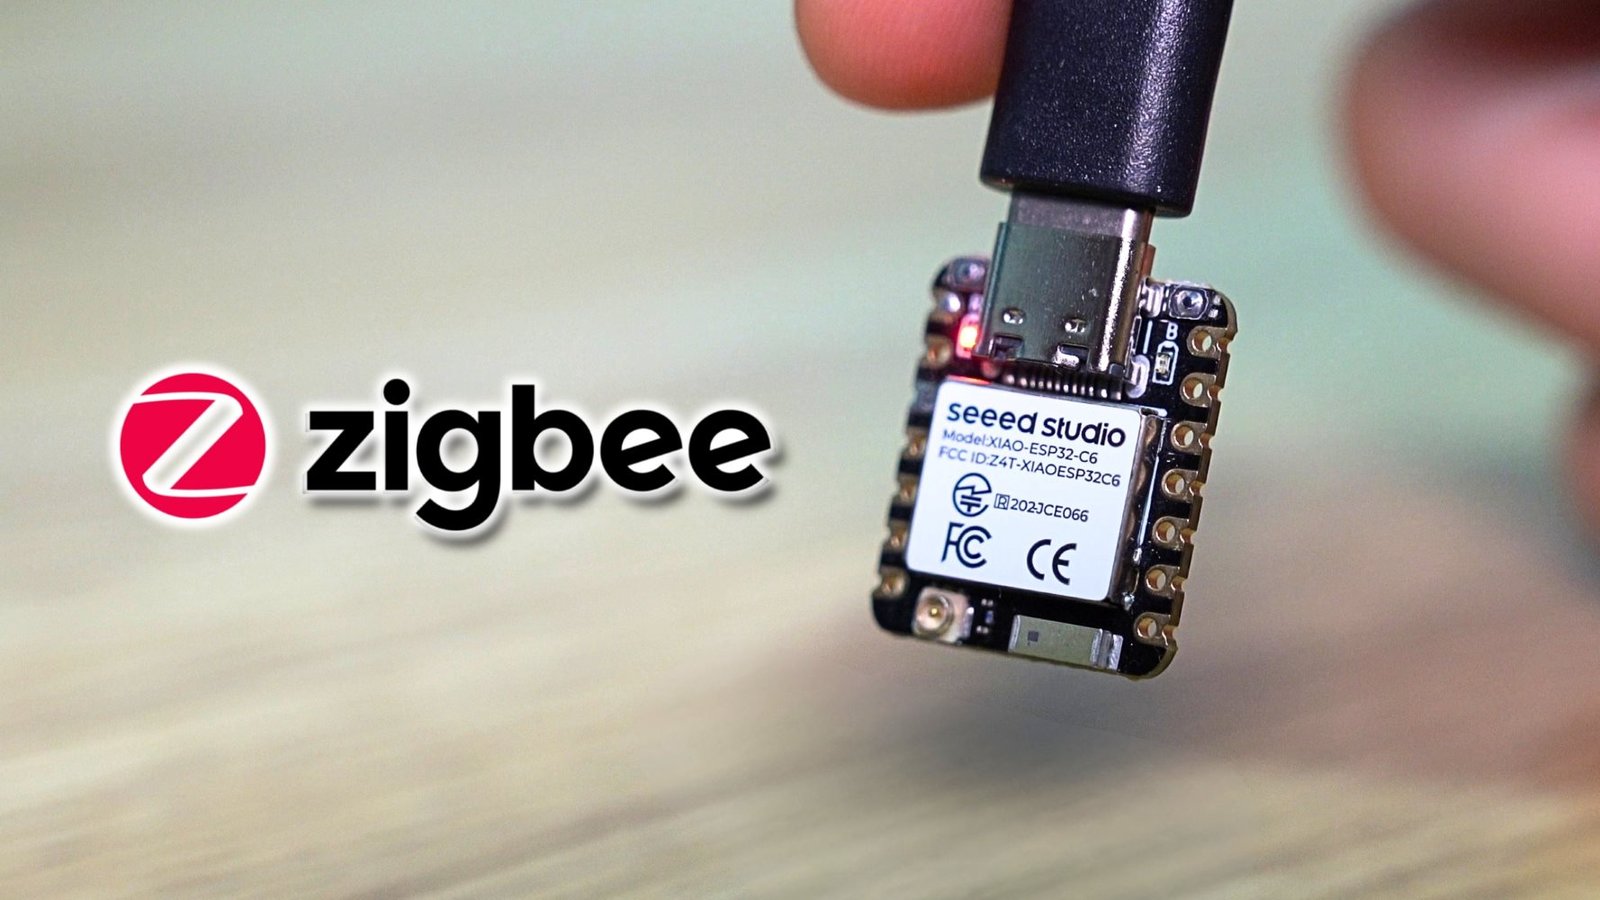
The ESP32-C6 is one of the more interesting ESP32 boards for smart home projects because it supports more than just Wi-Fi and Bluetooth.
It also includes an 802.15.4 radio, which allows it to work with wireless protocols like Zigbee and Thread. That makes it possible to use an ESP32-C6 in a Zigbee network, including as a powered Zigbee router.
In this guide, we’ll go through how to flash an ESP32-C6 with Zigbee router firmware and pair it with an existing Zigbee2MQTT setup in Home Assistant.
This is not a replacement for your Zigbee coordinator. The ESP32-C6 joins your existing Zigbee network as a router, helping pass messages through the mesh when it is placed in a useful location.
What Does a Zigbee Router Do?
A Zigbee network is usually made up of three main device types:
- Coordinator
- Router
- End device
The coordinator is the main device that creates and manages the Zigbee network. In a Home Assistant setup, this is usually a USB Zigbee dongle running through Zigbee2MQTT or ZHA.
A router is different.
A Zigbee router joins the existing network and helps pass messages between devices. It extends the mesh by giving other Zigbee devices another powered device they may be able to connect through.
An end device is usually something battery-powered, like a contact sensor, temperature sensor, motion sensor, or button. These devices normally sleep most of the time to save power, so they do not usually route messages for other devices.
This is why powered Zigbee devices are important.
Smart plugs, some Zigbee lights, in-wall switches, and dedicated repeaters can often act as routers because they stay powered all the time.
The ESP32-C6 can be used in a similar way when flashed with the right firmware.
Why Use an ESP32-C6 as a Zigbee Router?
A Zigbee smart plug is still the easiest way to add another router to a Zigbee mesh.
It is simple, useful, and usually works without much setup.
The ESP32-C6 is more of a DIY option. It makes sense if you already have one, want to experiment with Zigbee on ESP32 hardware, or want to build a custom device that can also help your Zigbee mesh.
Using an ESP32-C6 as a Zigbee router can be useful if:
- You have weak Zigbee coverage in part of the house
- You have sensors dropping offline
- You want a small powered router in a specific spot
- You already have an ESP32-C6 board available
- You want to learn more about how Zigbee routing works
- You want to build a custom Zigbee device later
The main thing to understand is that this is not a magic fix for every Zigbee issue.
It can help, but only if it is placed somewhere useful and left powered.
What You Need
For a basic ESP32-C6 Zigbee router, the hardware list is very small.
You will need:
- ESP32-C6 development board
- USB cable
- Computer for flashing
- Home Assistant
- Zigbee2MQTT or ZHA already set up
- Power source for the ESP32-C6
No extra sensors or modules are required if the goal is only to use the ESP32-C6 as a router.
The board just needs to stay powered so it can remain awake and route Zigbee messages.
Important: This Needs to Stay Powered
A Zigbee router needs to be awake all the time.
That means the ESP32-C6 should be treated as a powered device, not a battery sensor.
Battery-powered Zigbee devices are usually end devices because they sleep to save power. A sleeping device cannot reliably route messages for other devices.
For this project, the ESP32-C6 should stay plugged into USB power.
That could be from:
- A USB wall adapter
- A powered USB port
- A small USB power supply
- Another stable 5V power source
If the board is unplugged often, it will not be very useful as a router.
Firmware Used
For this project, the easiest option is to use the ESP32-C6 Zigbee Router project by firsttris.
This project provides an ESPHome configuration already set up for using the ESP32-C6 as a Zigbee router.
The two important files are:
- esp32-c6-zigbee-router.yaml
- partitions_zb.csv
The YAML file is the main ESPHome configuration.
The partitions_zb.csv file also needs to be placed in the same ESPHome config folder. If the CSV file is missing, the firmware build may fail because the YAML expects that partition file to be available.
Preparing the ESPHome Files
After downloading the project files, copy both required files into your ESPHome config folder:
- esp32-c6-zigbee-router.yaml
- partitions_zb.csv
Before compiling the firmware, open the YAML file and check the name settings near the top.
If you are only making one router, the default name may be fine.
If you plan to make multiple ESP32-C6 routers, rename each device before flashing.
For example:
- esp32-c6-router-office
- esp32-c6-router-hallway
- esp32-c6-router-garage
This makes the devices much easier to identify later in Zigbee2MQTT and Home Assistant.
It is also worth setting a clear friendly name, such as:
- Office Zigbee Router
- Hallway Zigbee Router
- Garage Zigbee Router
Clear naming helps later when checking the Zigbee map or troubleshooting routing.
Should Wi-Fi Be Enabled?
The ESP32-C6 can be used as a Zigbee router without using Wi-Fi as the main connection.
Even though the firmware is built through ESPHome, the useful routing happens over Zigbee.
Wi-Fi is optional.
There are two main ways to use this setup.
Option 1: Zigbee Router Only
In this setup, Wi-Fi is not used for normal operation.
The board is flashed over USB, paired to Zigbee2MQTT, and then left to run as a Zigbee router.
This is the cleaner option if you only want the board to help the Zigbee mesh.
Option 2: Zigbee Router with ESPHome Access
You can also enable Wi-Fi, API, and OTA in the YAML.
This can be useful if you want the board to appear in Home Assistant as an ESPHome device as well.
That may help with:
- Viewing logs
- Checking whether the board is online
- Updating the firmware over Wi-Fi
- Exposing extra diagnostic values
However, Wi-Fi is not what makes it a Zigbee router.
The Zigbee radio is still responsible for joining the mesh and routing Zigbee traffic.
Flashing the ESP32-C6
Once the YAML file is ready, the firmware can be built in ESPHome.
A common process is:
- Open ESPHome.
- Add or upload the ESP32-C6 router YAML file.
- Make any required changes to the device name or Wi-Fi settings.
- Compile the firmware.
- Download the compiled firmware file.
- Flash the ESP32-C6 using ESPHome Web.
To flash with ESPHome Web:
- Connect the ESP32-C6 to your computer with a USB cable.
- Open ESPHome Web in a supported browser.
- Connect to the ESP32-C6.
- Select the compiled firmware file.
- Start the flash process.
- Wait for the flash to complete.
- Unplug the ESP32-C6 when finished.
After flashing, the board is ready to be paired to the Zigbee network.
Pairing the ESP32-C6 with Zigbee2MQTT
To pair the ESP32-C6 router with Zigbee2MQTT:
- Open the Zigbee2MQTT dashboard.
- Enable permit join.
- Plug the ESP32-C6 back into power.
- Wait for it to join the network.
- Rename the device once it appears.
- Disable permit join.
The ESP32-C6 should appear in Zigbee2MQTT as a new device.
Depending on the firmware and Zigbee2MQTT support, it may show as something like:
Not supported: generated
It may also show some values as unknown.
This does not always mean the router has failed.
The important thing is whether Zigbee2MQTT shows the device type as:
Router
If it joins the network, stays online, and appears as a router, the core function is working.
What to Expect in Zigbee2MQTT
Because this is a DIY Zigbee device, it may not look as polished in Zigbee2MQTT as a normal commercial smart plug or sensor.
You may see:
- Generated device support
- Unknown manufacturer details
- Unknown model details
- Limited exposed values
- Basic router information
For this project, that is not necessarily a problem.
The main job is to act as a router in the Zigbee mesh.
If the ESP32-C6 is listed as a router and remains connected, it is doing the important part.
Optional: Exposing Extra Values to Home Assistant
The ESP32-C6 router can also expose simple values to Home Assistant if they are added to the firmware.
Useful diagnostic values include:
- Heartbeat
- Uptime
- Internal temperature
These are not required for Zigbee routing.
They are mostly useful for monitoring.
A heartbeat can show that the board is still running. Uptime can show how long the board has been online since its last reboot. Internal temperature can give a rough indication of the chip temperature.
This makes the device more useful in Home Assistant because it is not just a silent router sitting in the background.
Can You Add Sensors to the ESP32-C6 Router?
Yes, but it is best to keep the first setup simple.
Once the router is working reliably, the ESP32-C6 could potentially be expanded with external sensors or inputs.
Possible additions include:
- Temperature sensor
- Humidity sensor
- Light sensor
- Motion sensor
- Button
- Contact sensor
This is where the ESP32-C6 becomes more interesting than a basic Zigbee smart plug.
A smart plug may be easier, but the ESP32-C6 gives you more room to build a custom device.
For example, you could build a powered room sensor that reports temperature and also acts as a Zigbee router in the background.
The main thing is not to overcomplicate the first version.
Get the router working first.
Then add extra features later if needed.
Where to Place the ESP32-C6 Zigbee Router
Placement is one of the most important parts of this project.
A Zigbee router is most useful when it is placed between the coordinator and the devices that are further away or less reliable.
Putting the ESP32-C6 right beside the coordinator may work, but it usually will not add much value.
Better locations may include:
- A hallway between the coordinator and distant rooms
- Near a bedroom with weak Zigbee sensors
- Near the garage if devices are dropping offline there
- Close to an outdoor area, while still inside and protected
- Somewhere between the main Zigbee network and a weak area
The router still needs a good connection back to the rest of the network.
Do not place it so far away that it also struggles to connect.
A good Zigbee router location is usually somewhere in the middle, not at the very edge of the network.
Places to Avoid
Avoid placing the ESP32-C6 router:
- Behind a metal cabinet
- Inside a metal enclosure
- Behind large appliances
- Directly beside electrical noise sources
- In a spot where it will be unplugged
- In a location with poor USB power
- Too far away from the rest of the mesh
A simple powered location in the right part of the house is usually best.
For example, a USB charger in a hallway or office may be more useful than hiding the board behind furniture.
Give the Zigbee Mesh Time to Update
After adding a new router, the Zigbee network may not change instantly.
Nearby sensors may not immediately start routing through the ESP32-C6.
Some devices may keep their existing route for a while. Battery-powered devices can also take longer to show changes because they spend most of their time asleep.
The best approach is:
- Pair the ESP32-C6 router.
- Move it to a useful location.
- Leave it powered.
- Give the mesh time to settle.
- Check the Zigbee2MQTT map later.
The Zigbee2MQTT map can help show how devices are connected, but it should not be treated as a perfect live view of the network.
It is useful for checking whether the router appears in the mesh, but real-world stability matters more than the map looking perfect.
Basic Troubleshooting
If the ESP32-C6 does not join or does not behave as expected, start with the simple checks.
Check Permit Join
Make sure permit join is enabled in Zigbee2MQTT before powering the ESP32-C6.
Once the device has joined, turn permit join back off.
Check the Files
Make sure both files are in the ESPHome config folder:
esp32-c6-zigbee-router.yaml
partitions_zb.csv
If the partition file is missing, the firmware may not build correctly.
Check the Board Configuration
Make sure the YAML matches the ESP32-C6 board being used.
Different ESP32-C6 boards may need small config changes.
Pair Near the Coordinator First
If pairing fails, try pairing the ESP32-C6 closer to the coordinator.
After it joins successfully, move it to the final location.
Restart the Board
After flashing, unplug the ESP32-C6 and plug it back in.
This can help start the pairing process cleanly.
Check Zigbee2MQTT
In Zigbee2MQTT, check whether the device appears and whether it is listed as a router.
It may show as unsupported or generated, but the router type is the important part.
Leave It Running
Do not judge the setup immediately.
Leave the ESP32-C6 powered and check the network later.
Zigbee routing can take time to settle.
ESP32-C6 Router vs Zigbee Smart Plug
A Zigbee smart plug is still the better option for most people who just want an easy router.
It is simple, useful, and usually supported properly in Zigbee2MQTT or ZHA.
The ESP32-C6 router is better suited to DIY projects.
Here is the simple way to look at it.
A Zigbee smart plug is best if you want:
- The easiest setup
- A useful device as well as a router
- Better Zigbee2MQTT support
- A simple plug-and-play option
An ESP32-C6 router is best if you want:
- A DIY project
- A small custom router
- To experiment with Zigbee on ESP32 hardware
- To build a custom powered Zigbee sensor later
- To reuse an ESP32-C6 board you already have
Both can be useful.
They just suit different situations.
Is It Worth Doing?
Using an ESP32-C6 as a Zigbee router is worth doing if you understand what the project is for.
It is not the easiest way to improve a Zigbee mesh. A smart plug is usually easier.
But it is a good project if you already have the hardware or want to experiment with the ESP32-C6’s Zigbee support.
The key points are:
- It needs to be flashed with router firmware.
- It needs to stay powered.
- It joins your existing Zigbee network.
- It does not replace your coordinator.
- It may show as unsupported or generated in Zigbee2MQTT.
- It may take time for devices to start using it.
- Placement matters.
If it joins the network, stays online, and appears as a router, the main job is done.
Final Thoughts
The ESP32-C6 can be turned into a useful little Zigbee router for a Home Assistant setup.
It is a simple hardware project, but it helps explain how Zigbee mesh networks work. The coordinator manages the network, routers help pass messages around, and battery-powered end devices usually sleep to save power.
For a basic setup, the process is straightforward:
- Flash the ESP32-C6 with Zigbee router firmware.
- Pair it with Zigbee2MQTT.
- Rename it clearly.
- Place it somewhere useful.
- Leave it powered.
- Give the mesh time to settle.
A Zigbee smart plug is still the easier option if you only want to improve your mesh quickly.
But if you enjoy DIY smart home projects, the ESP32-C6 is a good board to experiment with. It can act as a small powered router, expose a few useful values to Home Assistant, and potentially become the base for a custom Zigbee sensor later on.


bonjour merci pour votre travaille
Thank you, I appreciate it 🙂